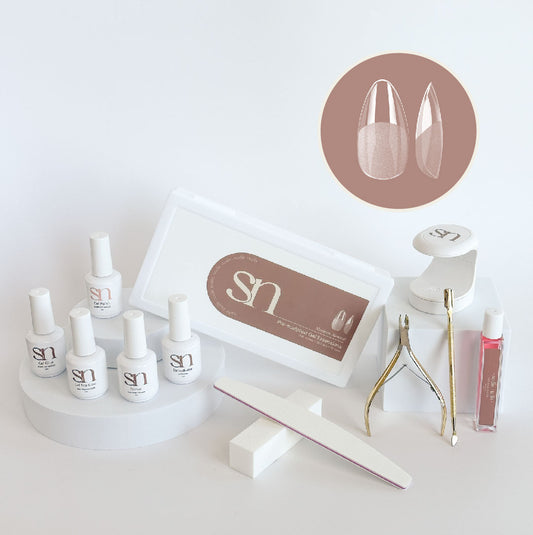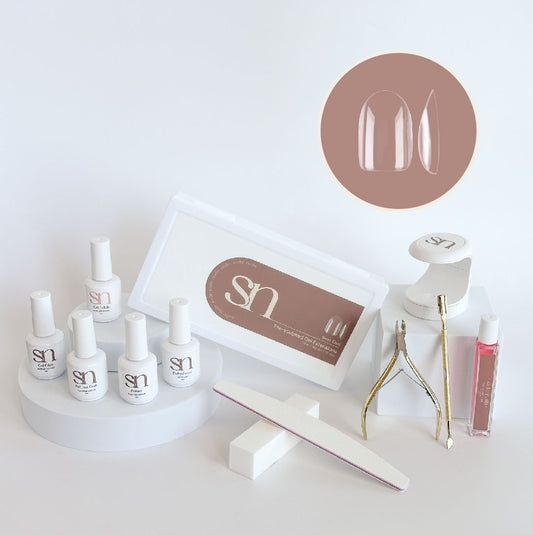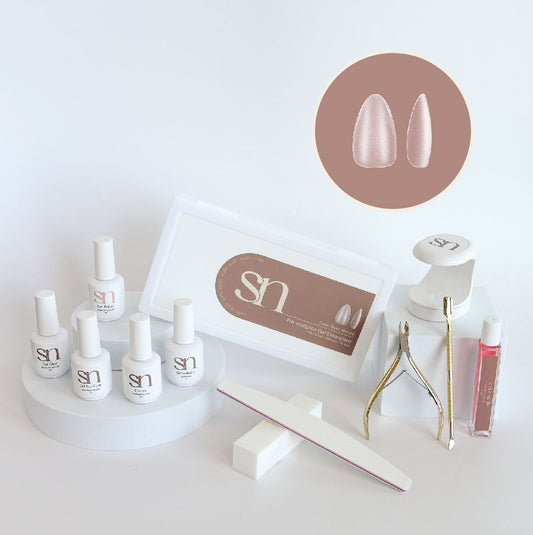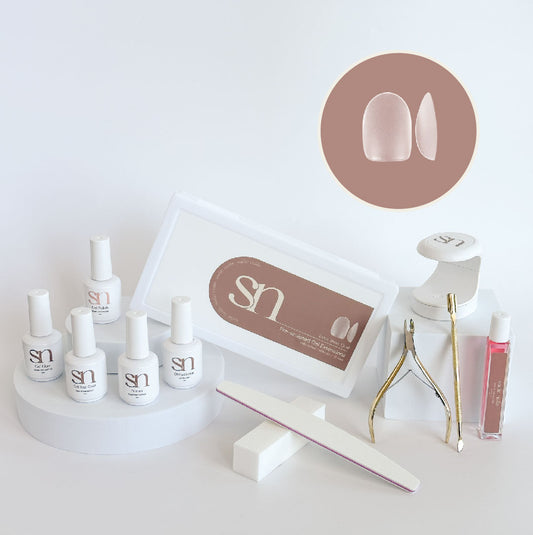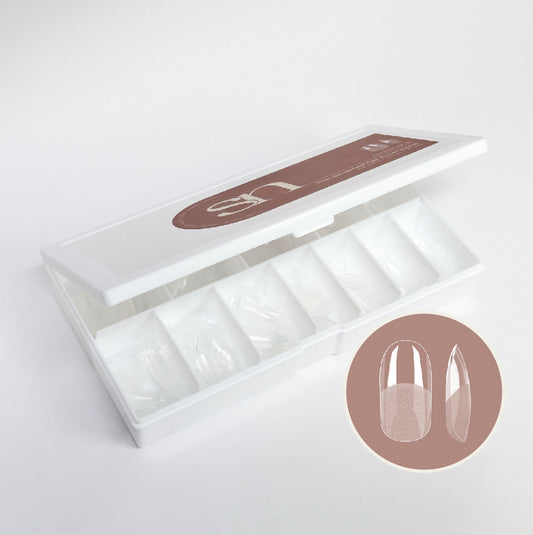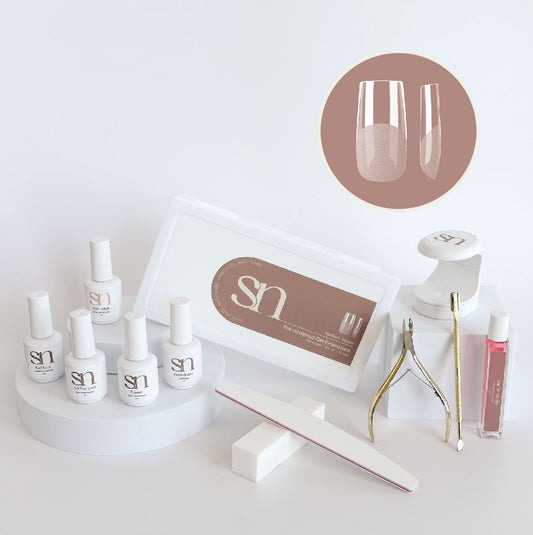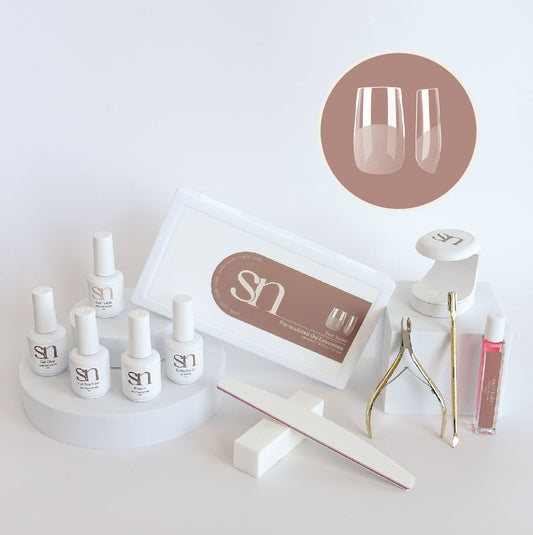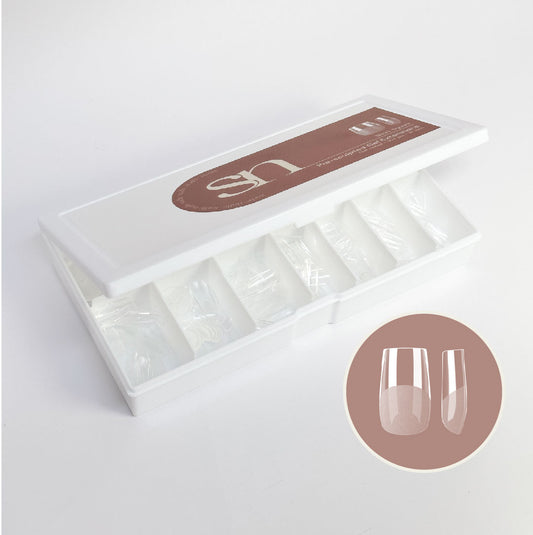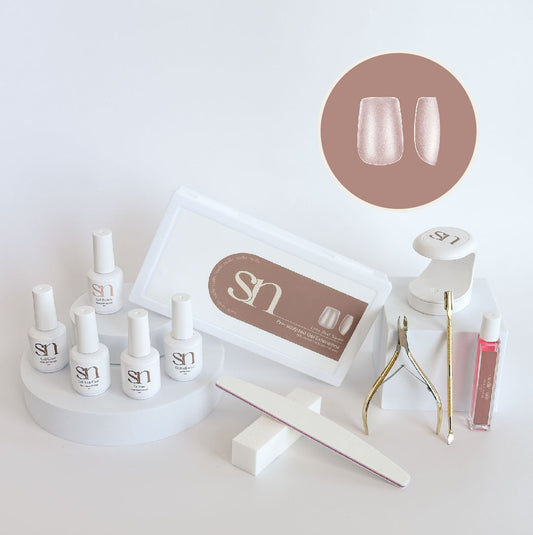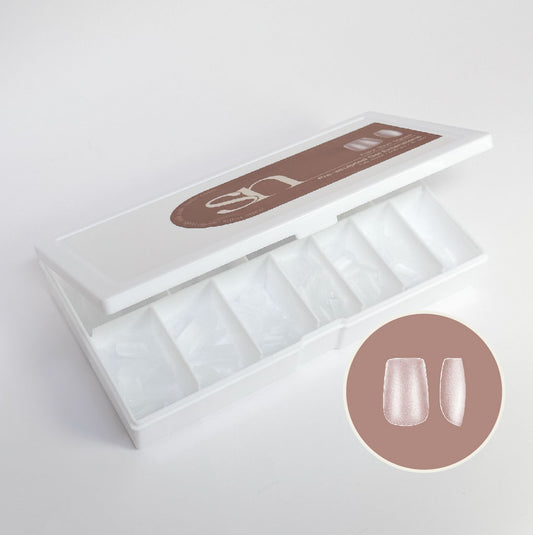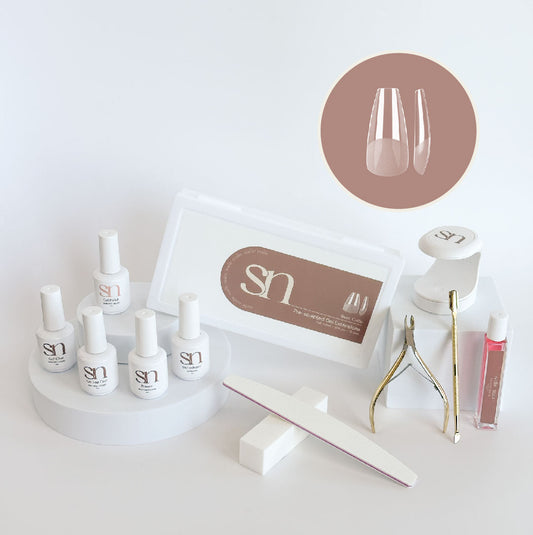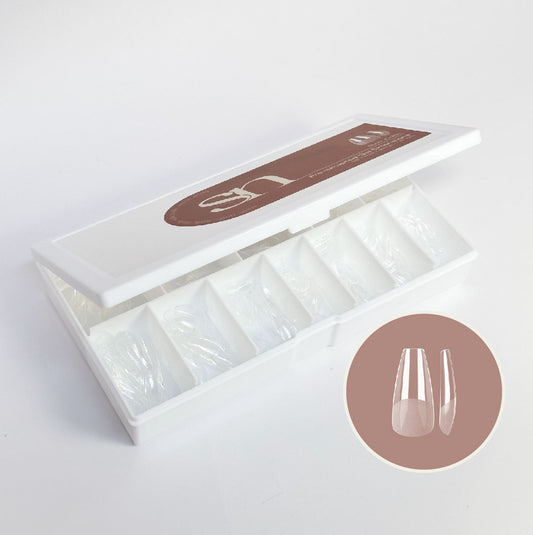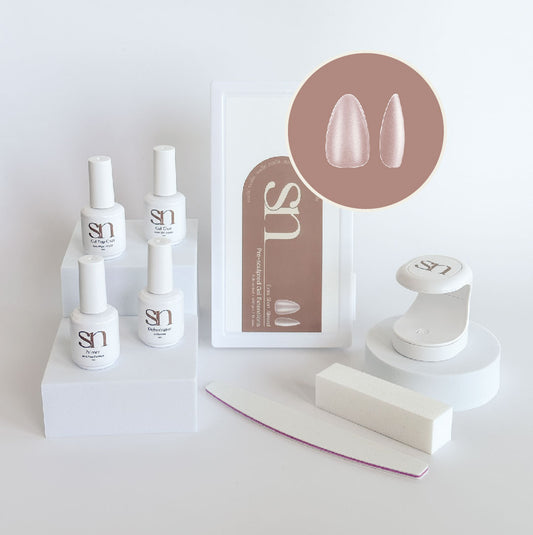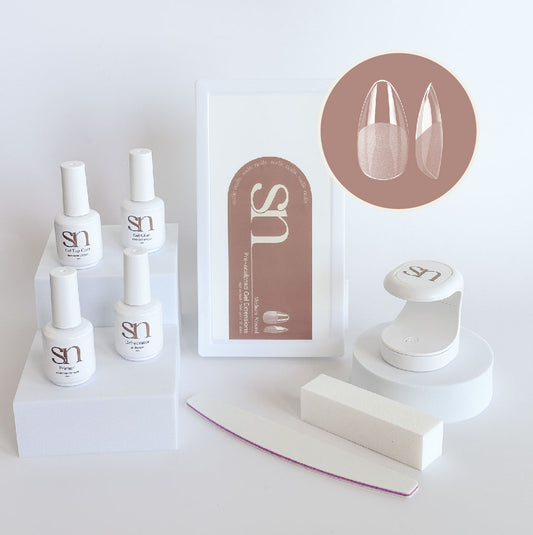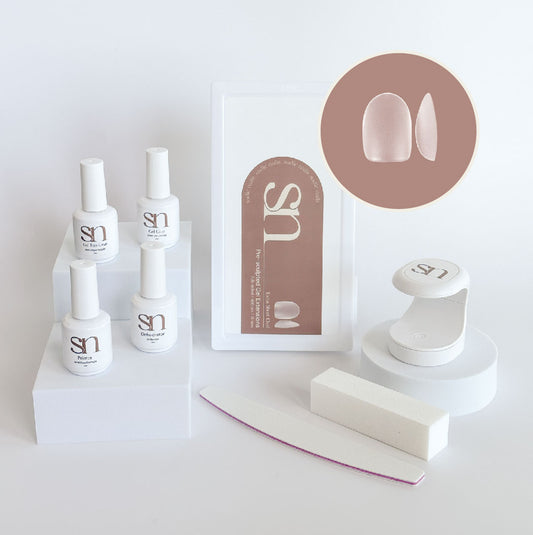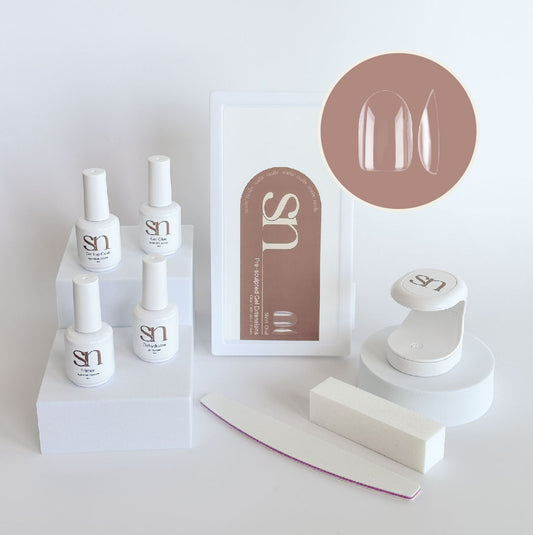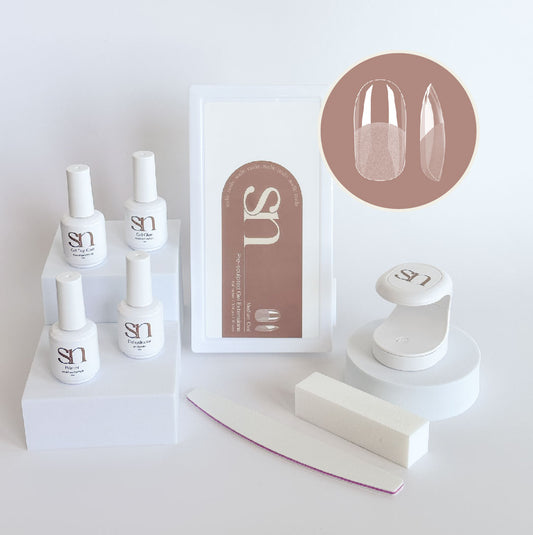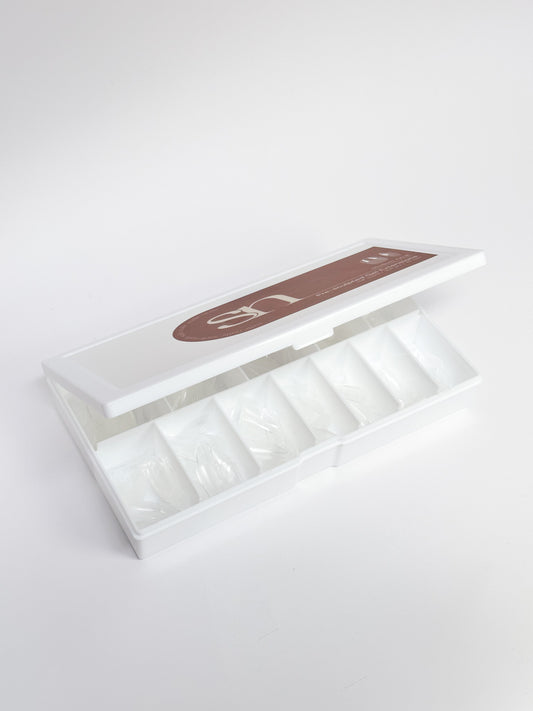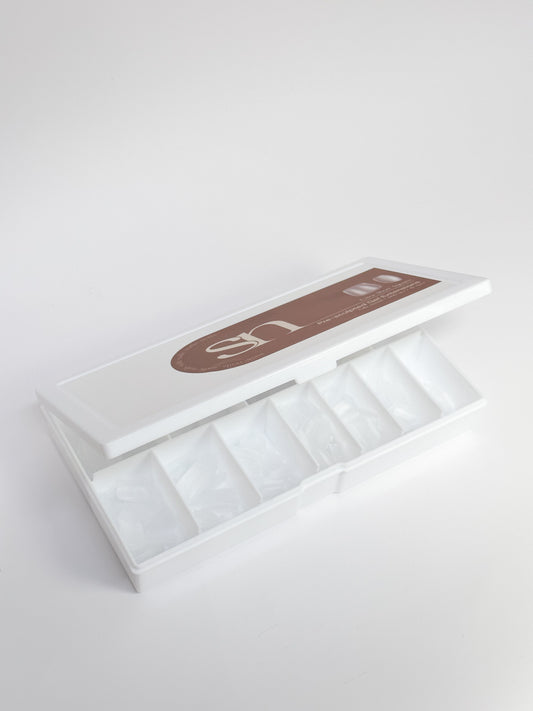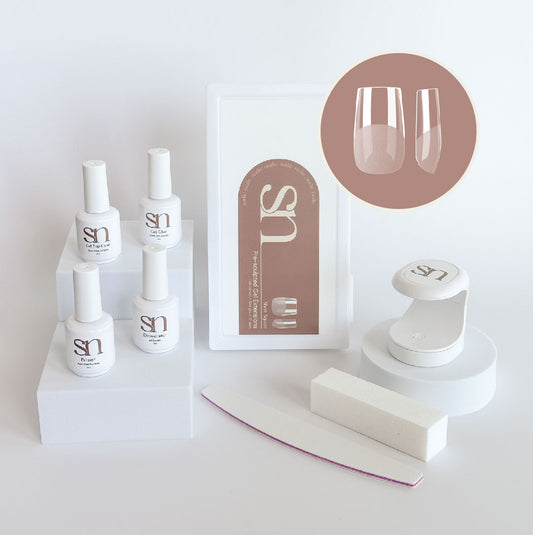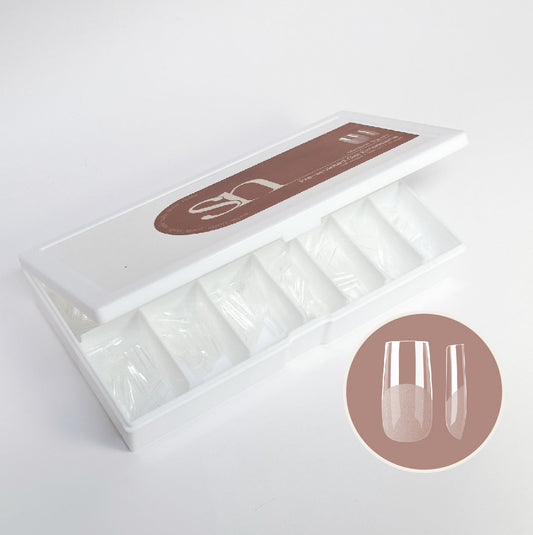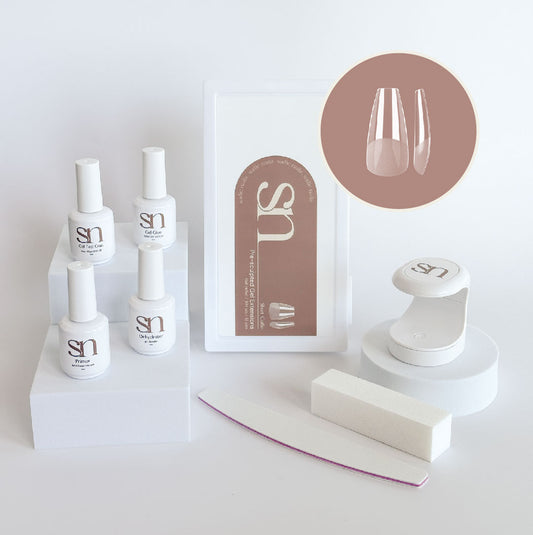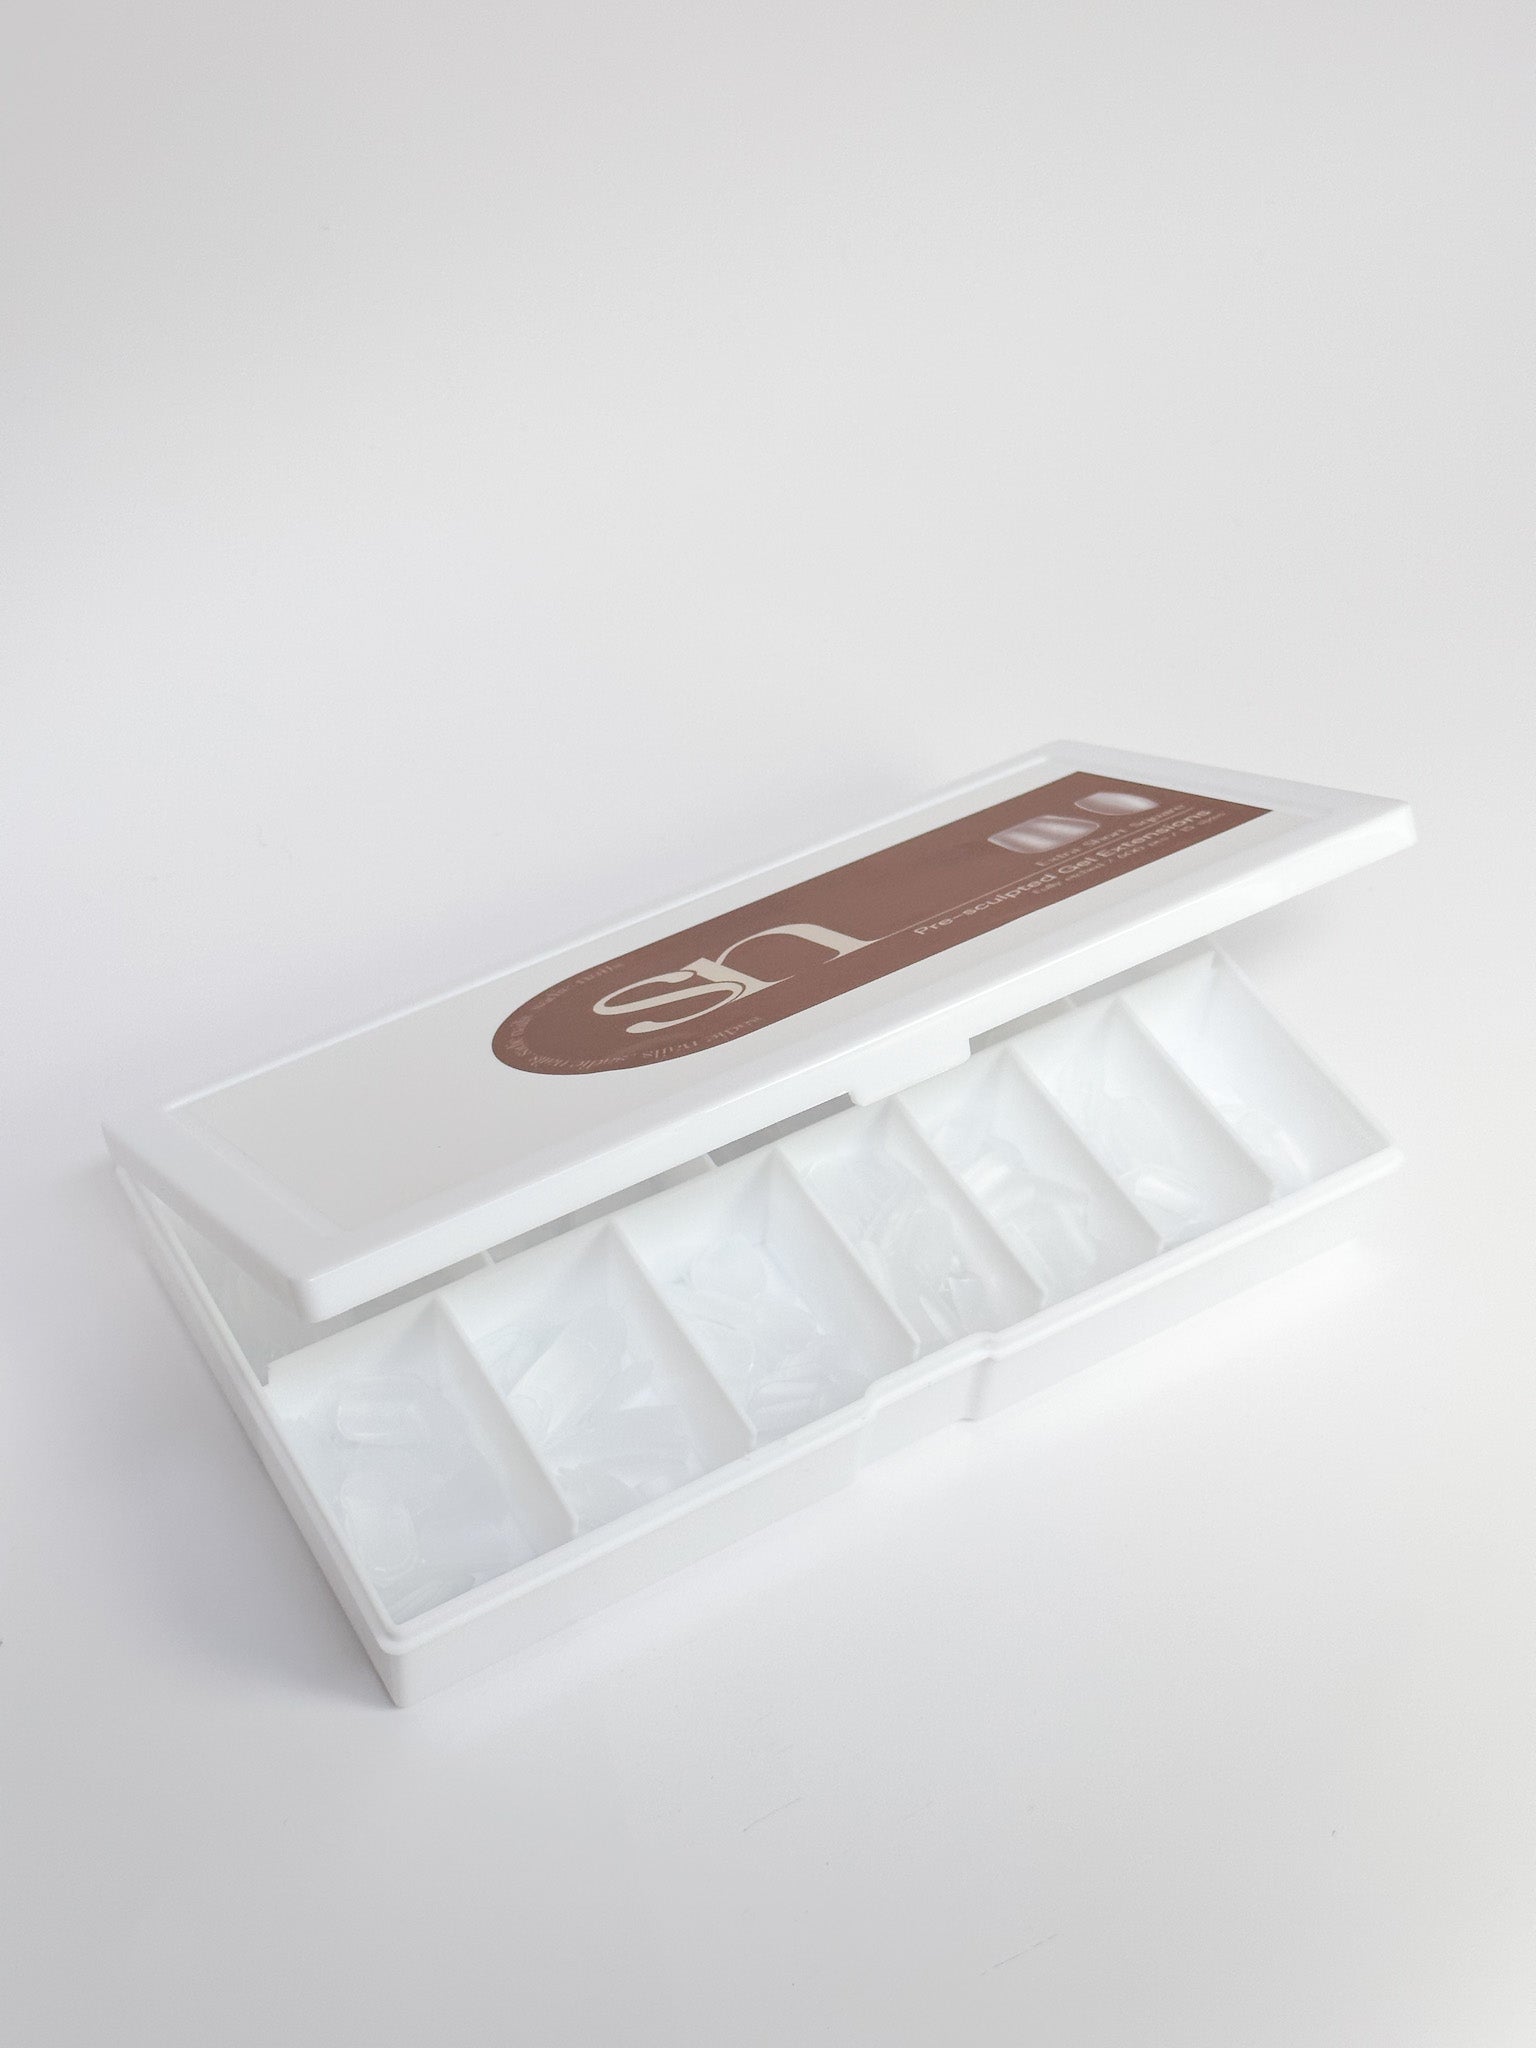


Gel-Xtend Starter Kit (Extra-Short Square)
Gel-Xtend Starter Kit (Extra-Short Square)
Couldn't load pickup availability
Ready to become your own nail tech? This kit is curated for beginners who are just starting out on their DIY gel extension journey and comes complete with the essentials you need to get salon-quality gel extensions.
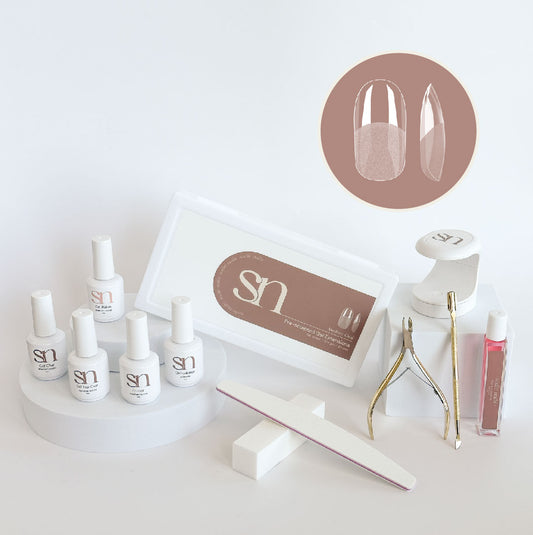
Why you'll love this kit:
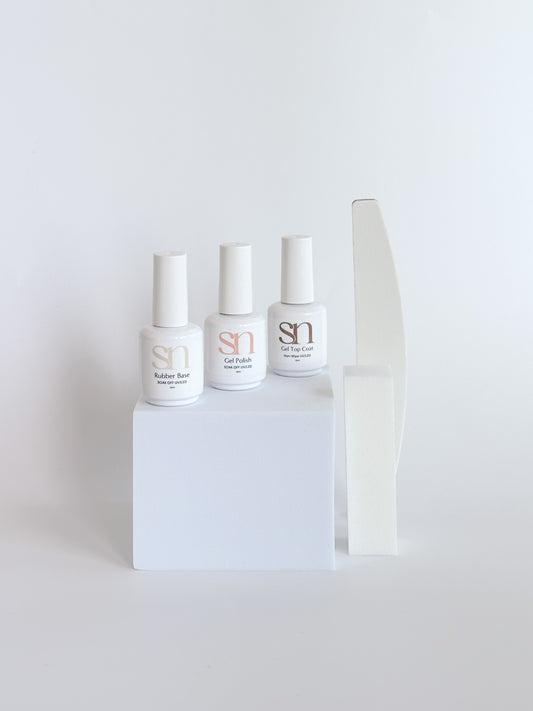
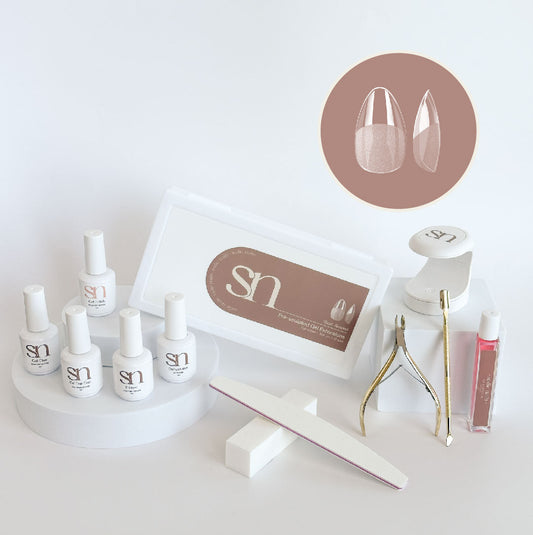
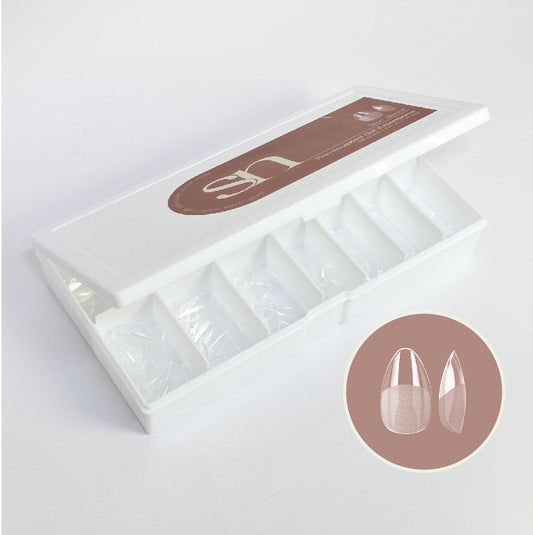
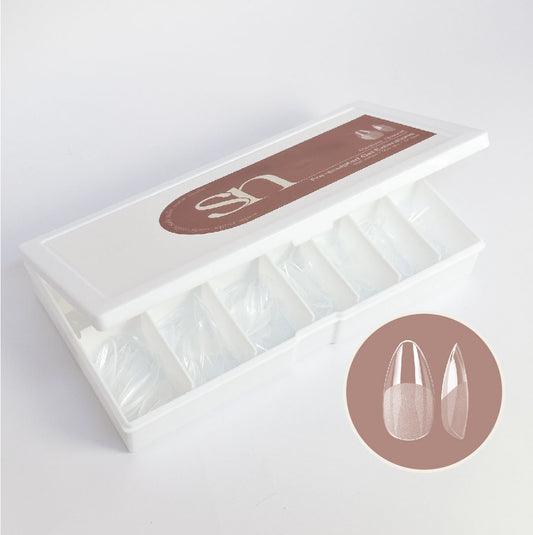
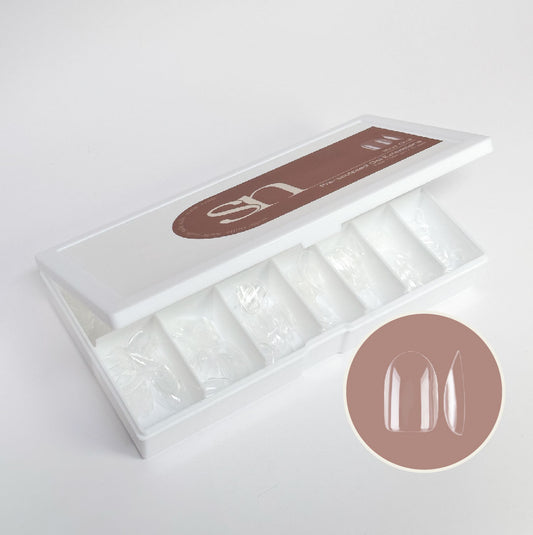
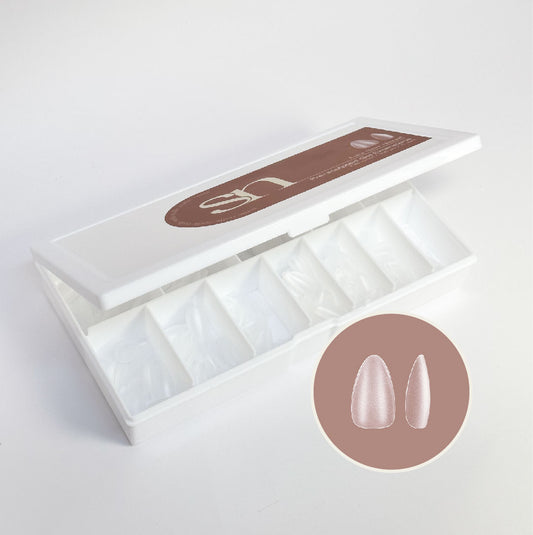
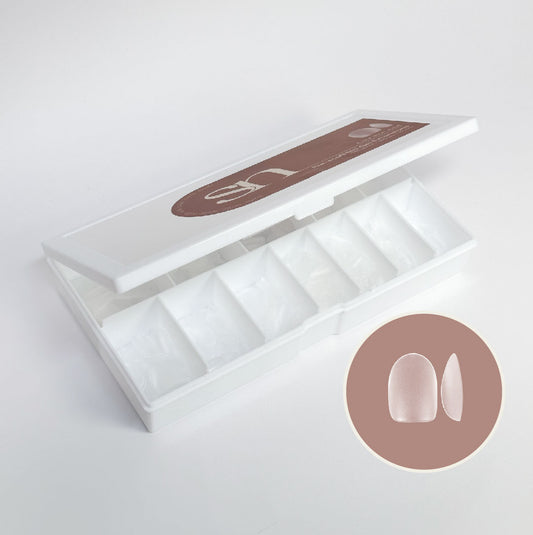
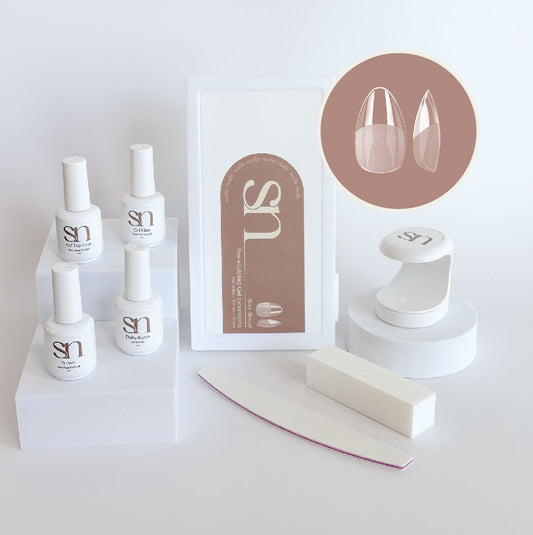
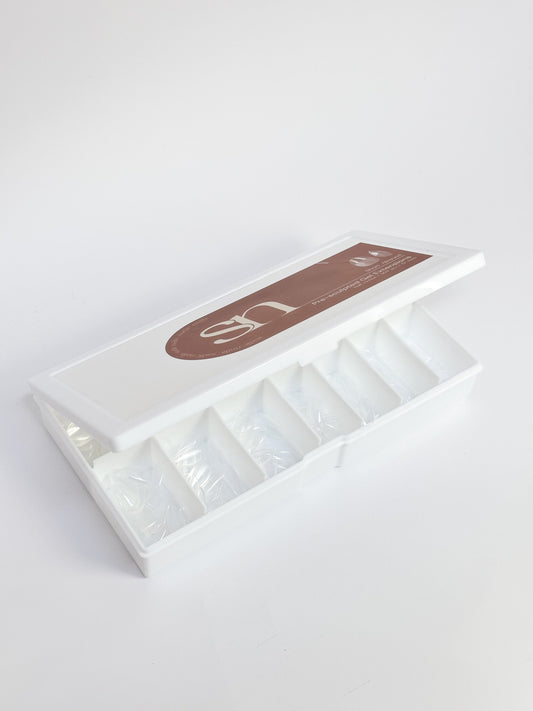
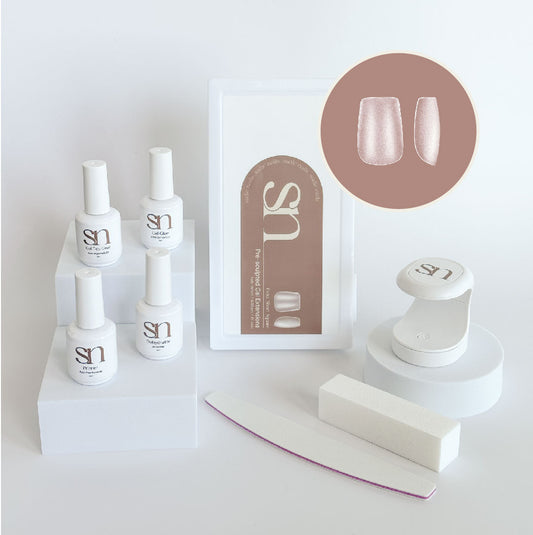
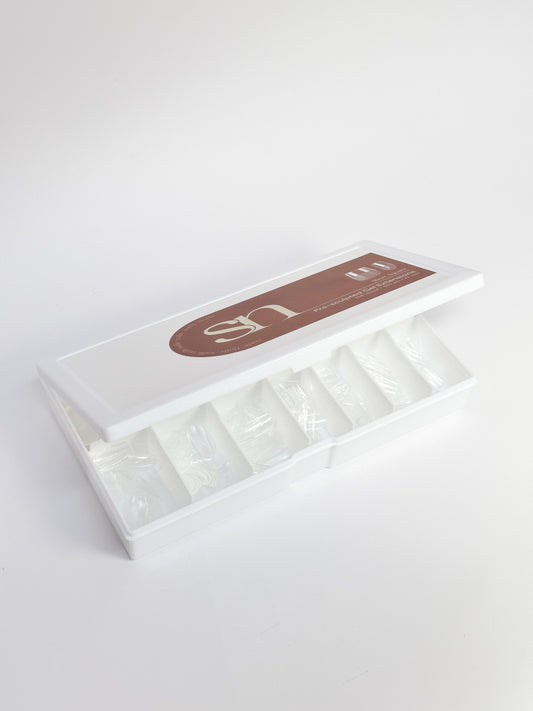
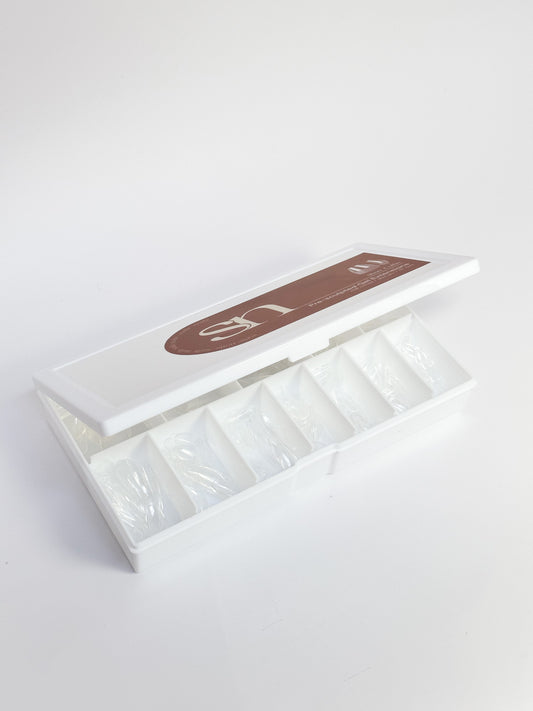
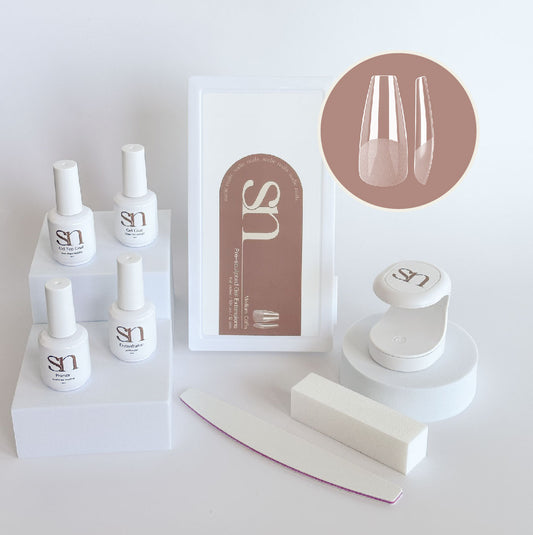
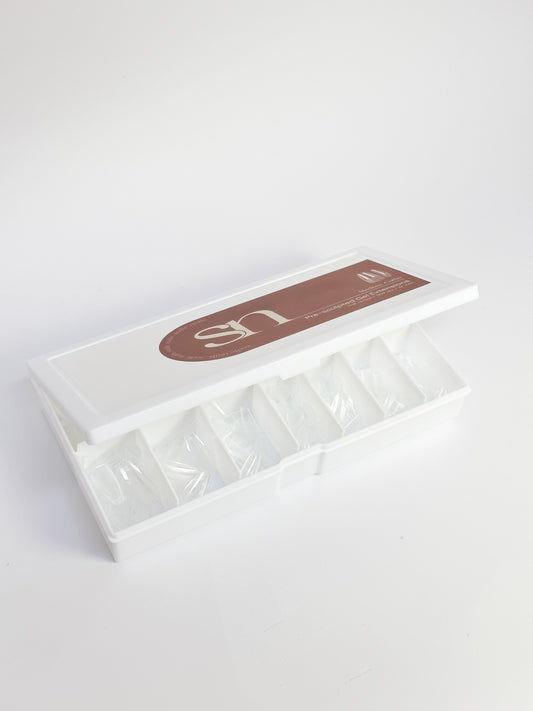
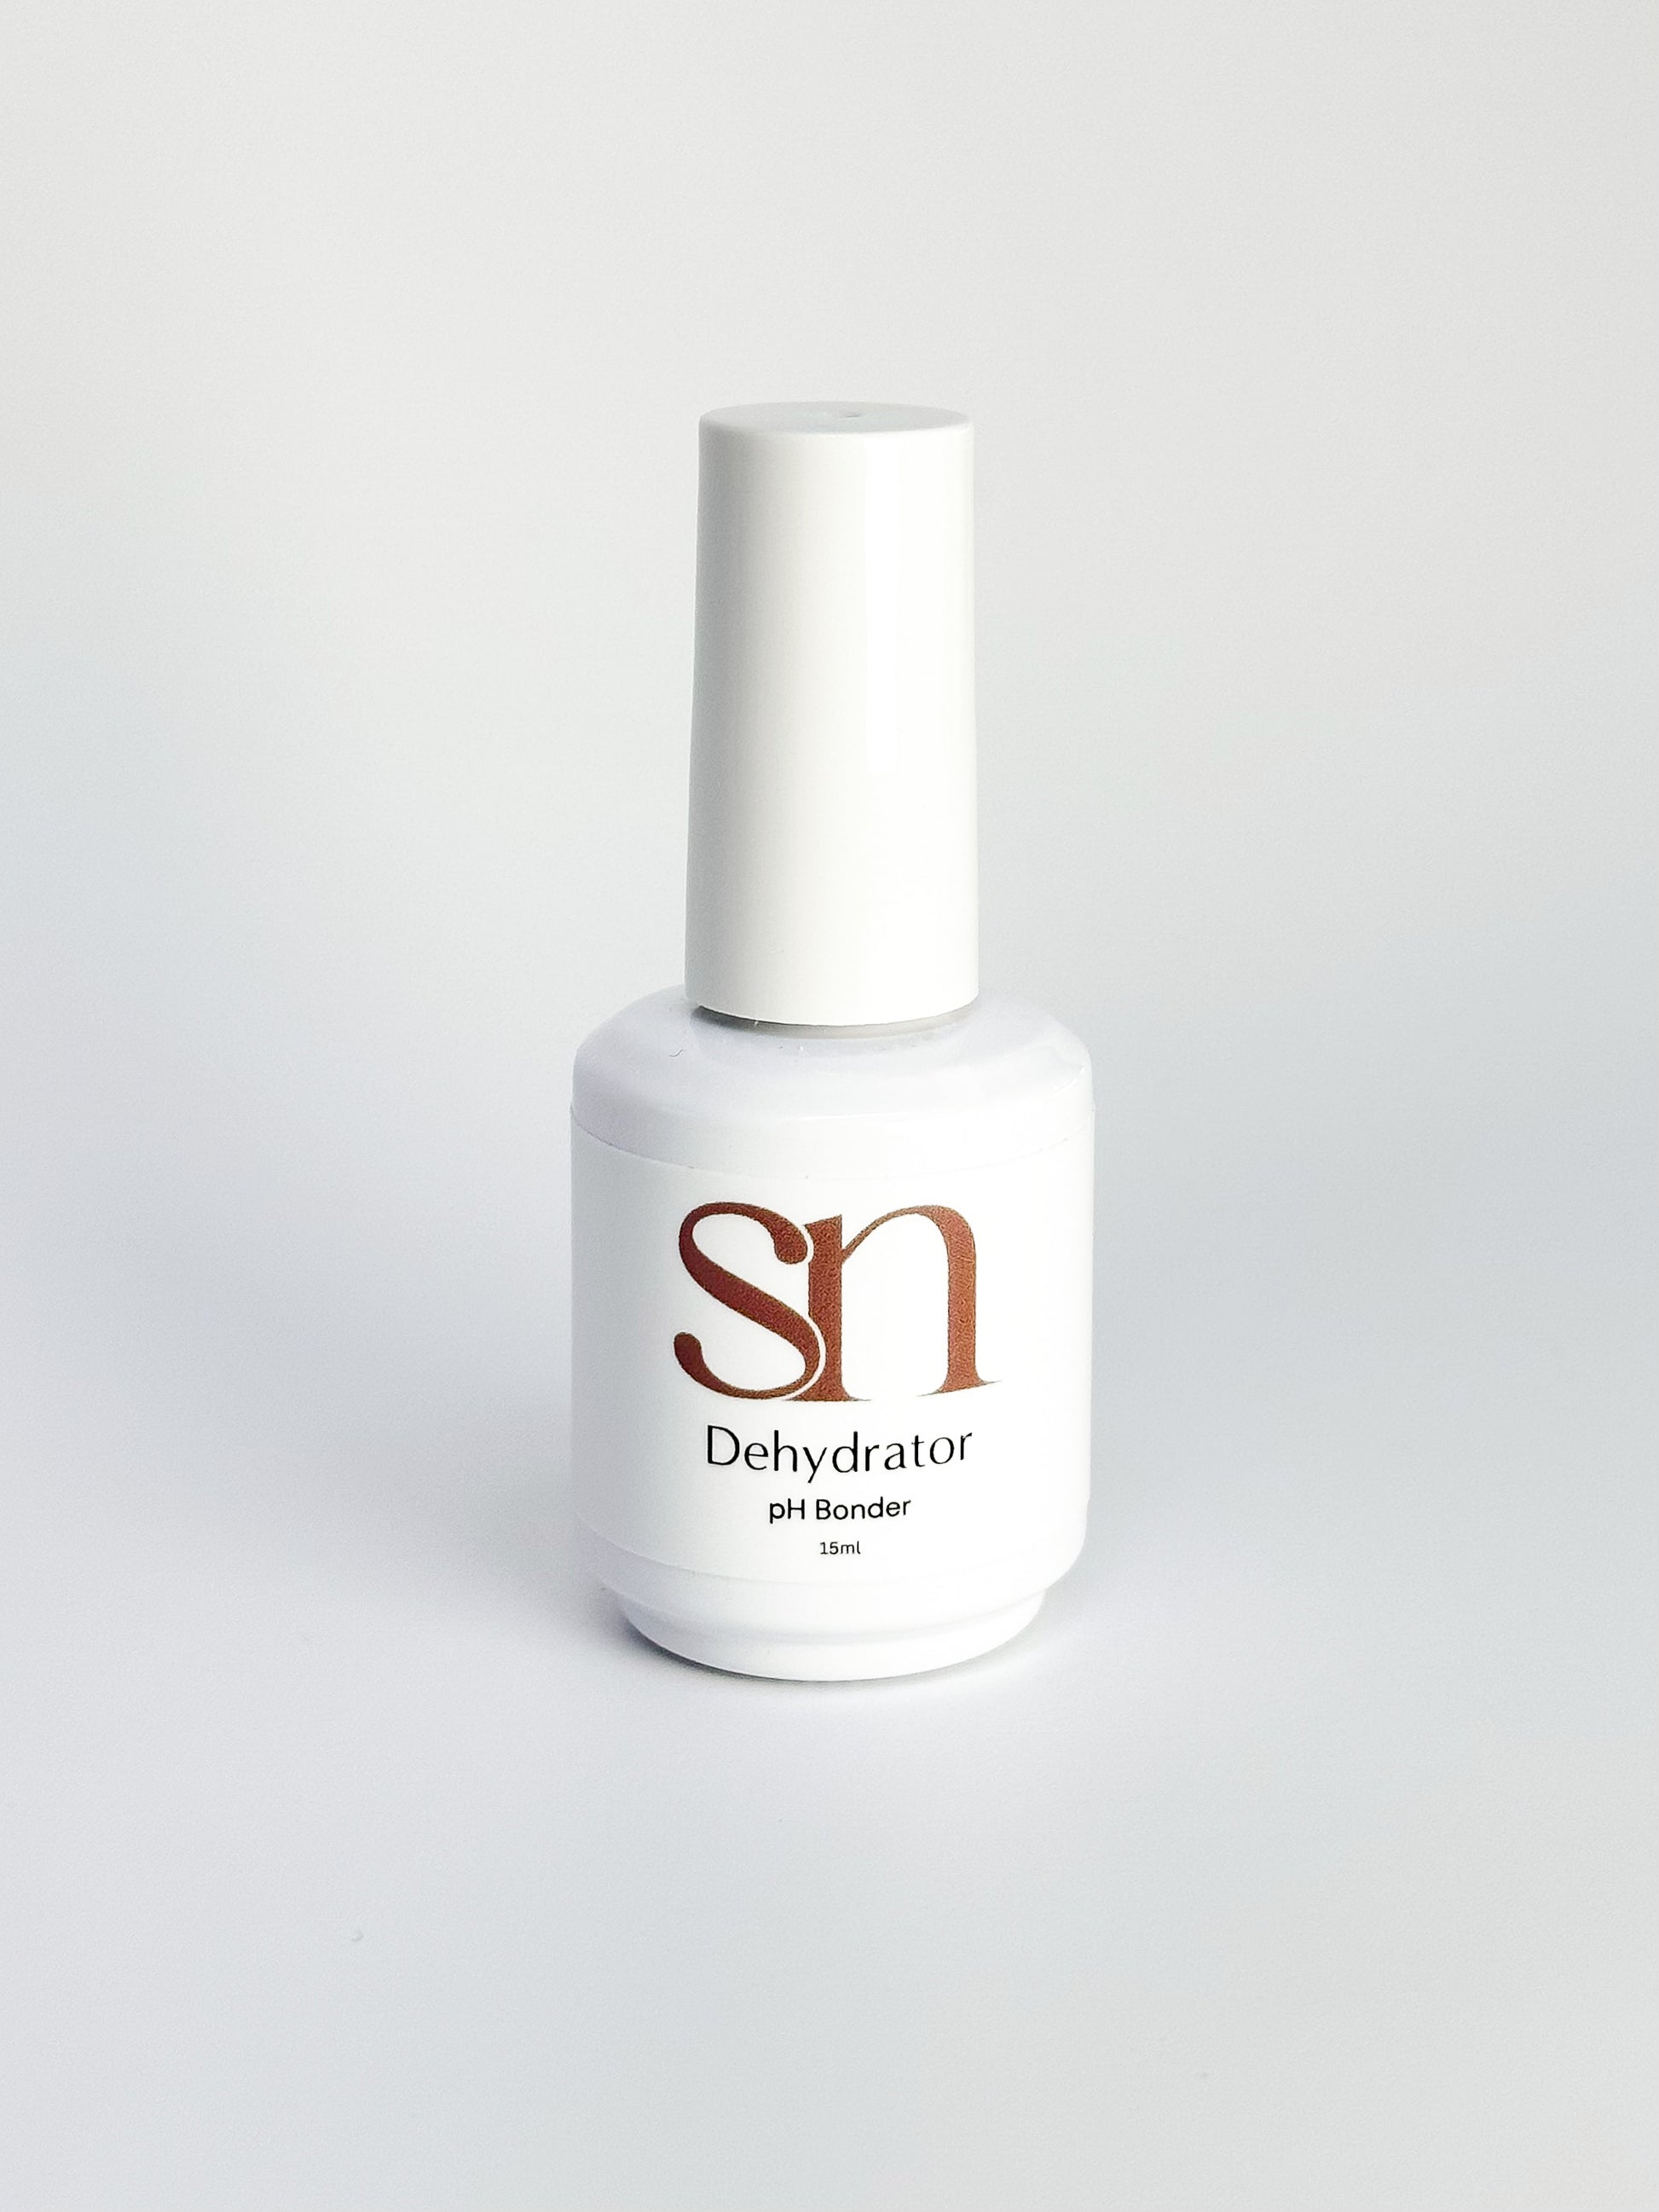
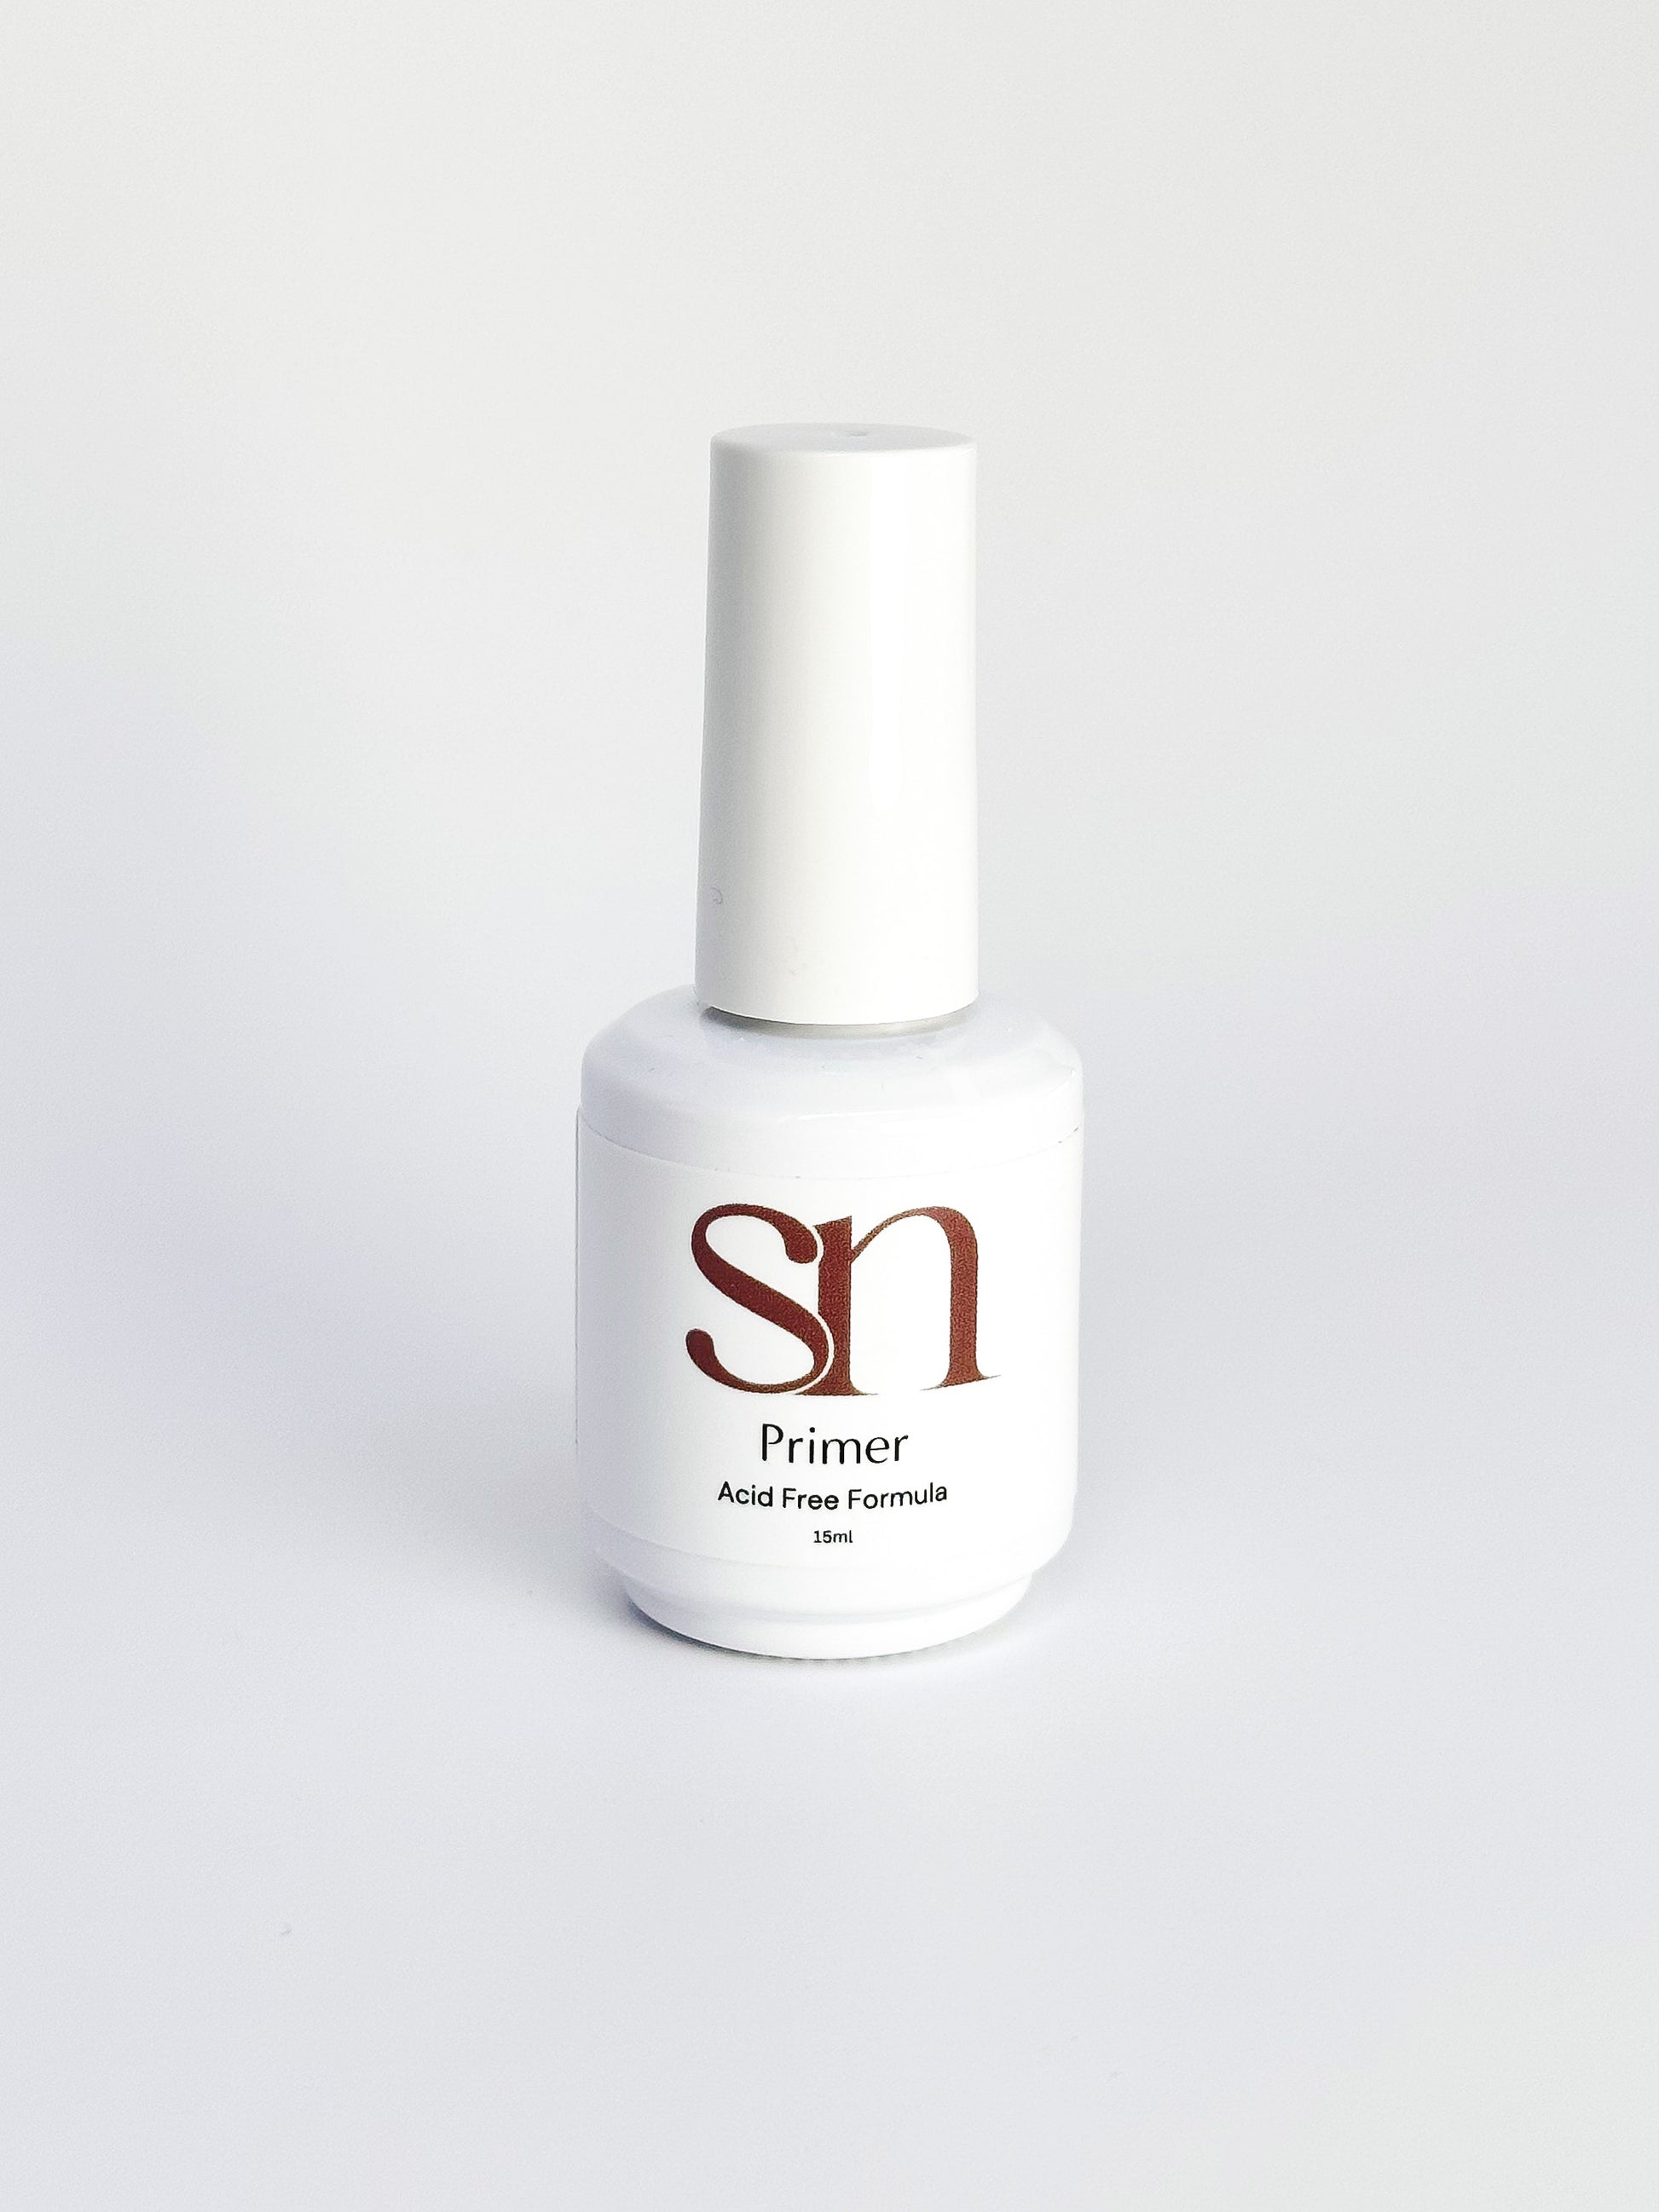
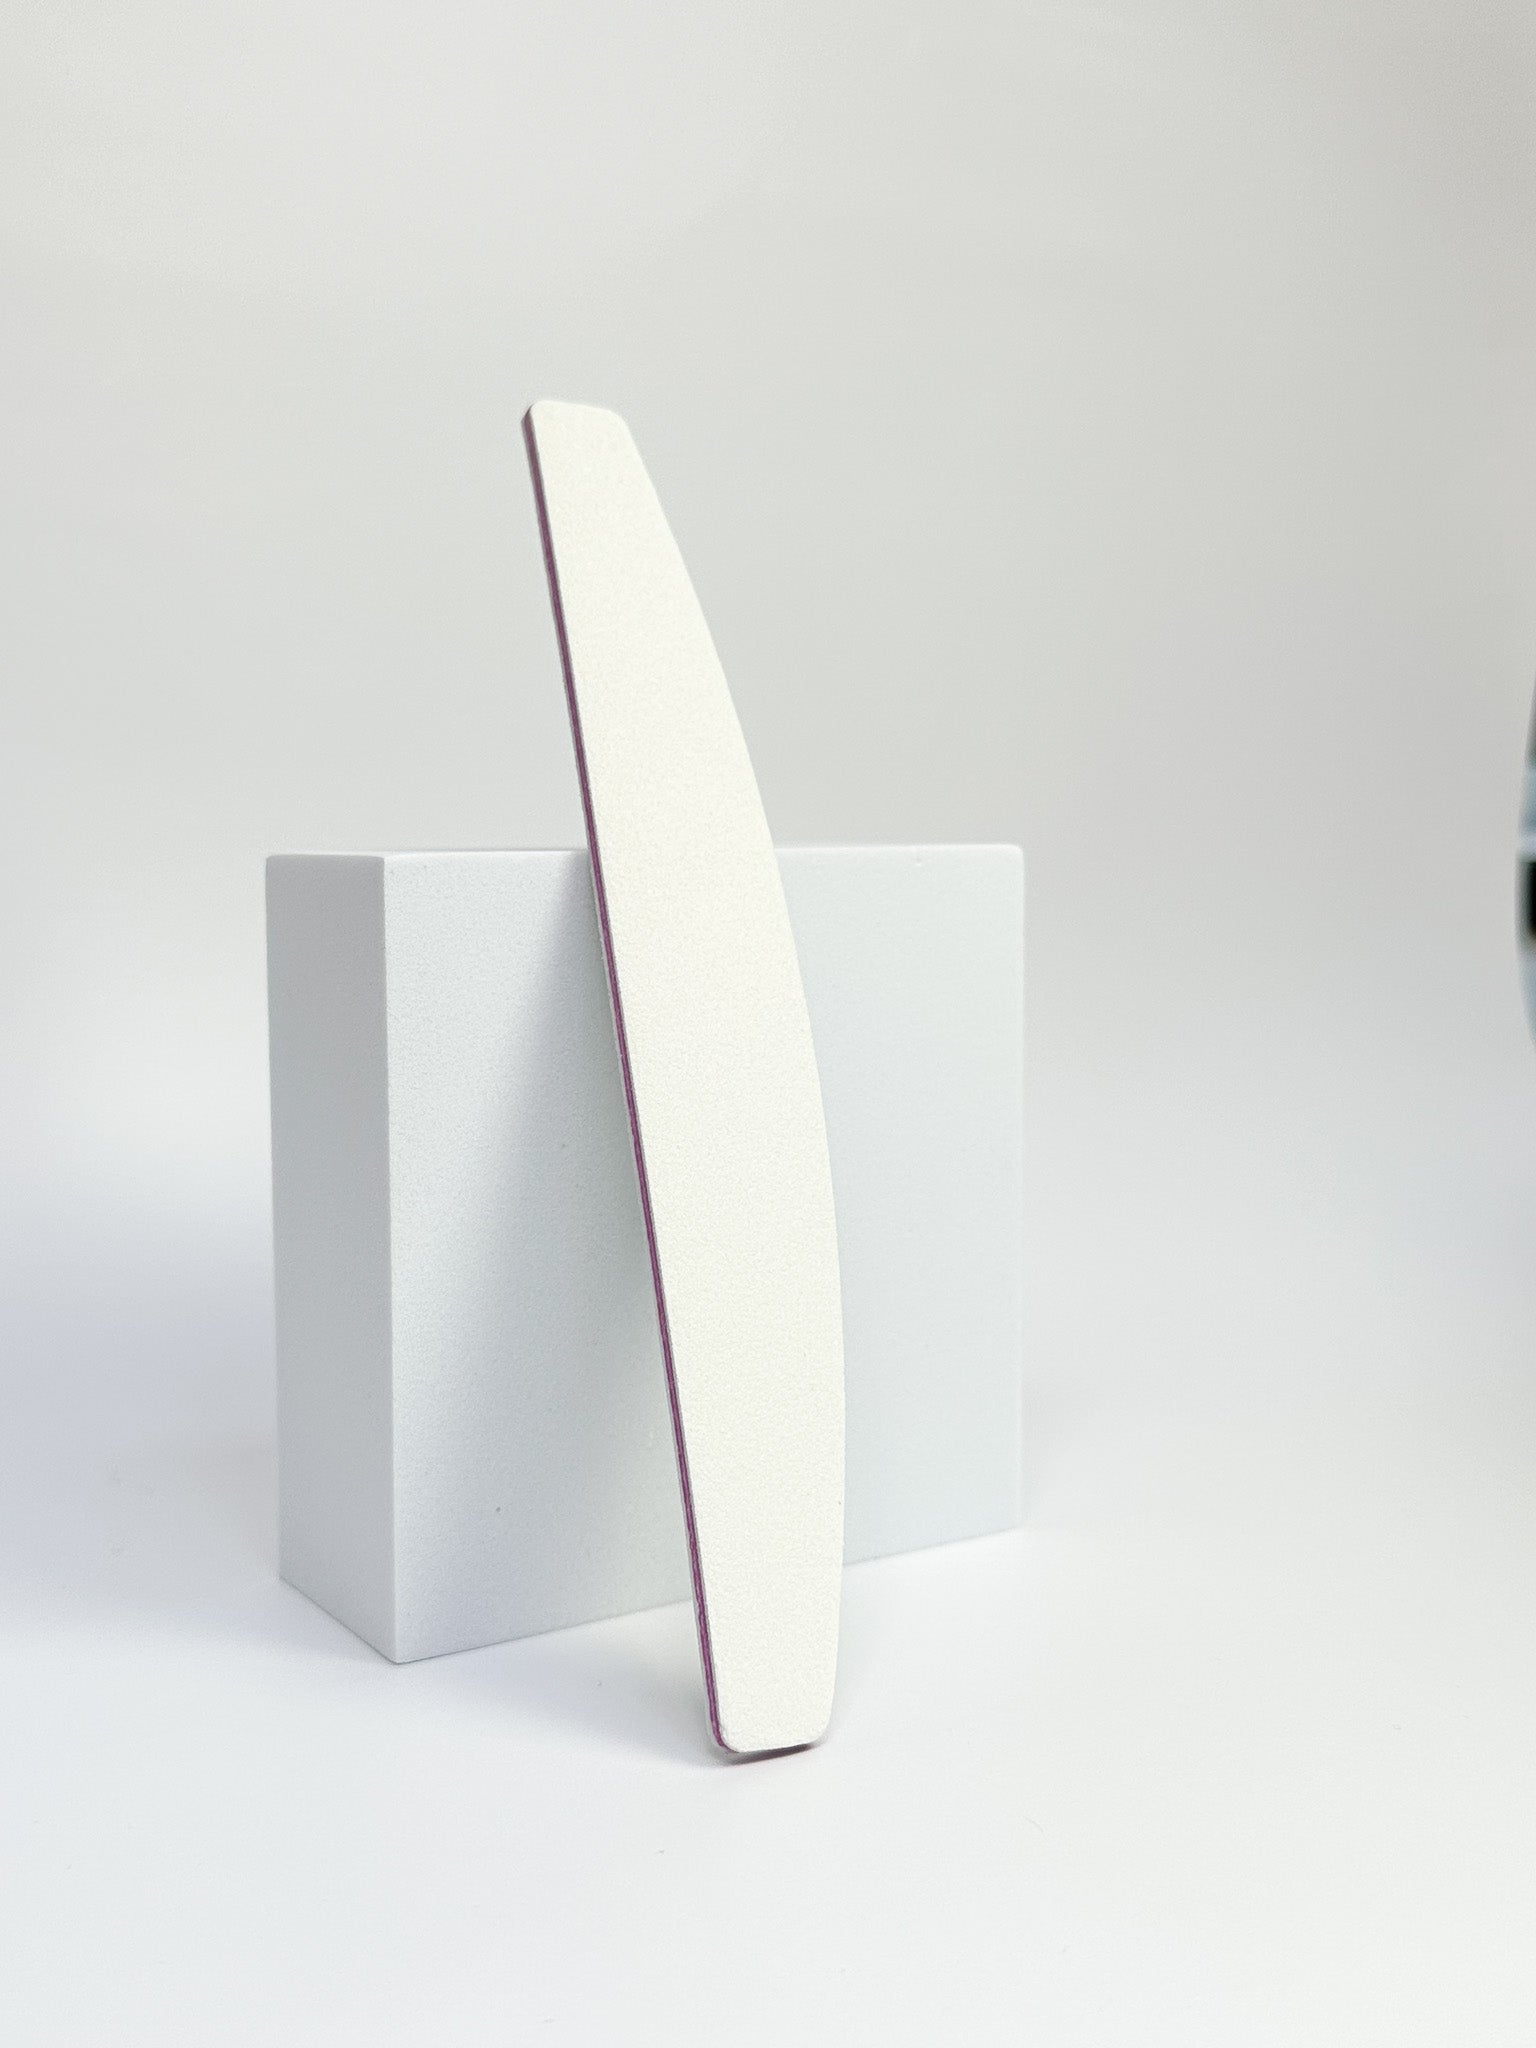
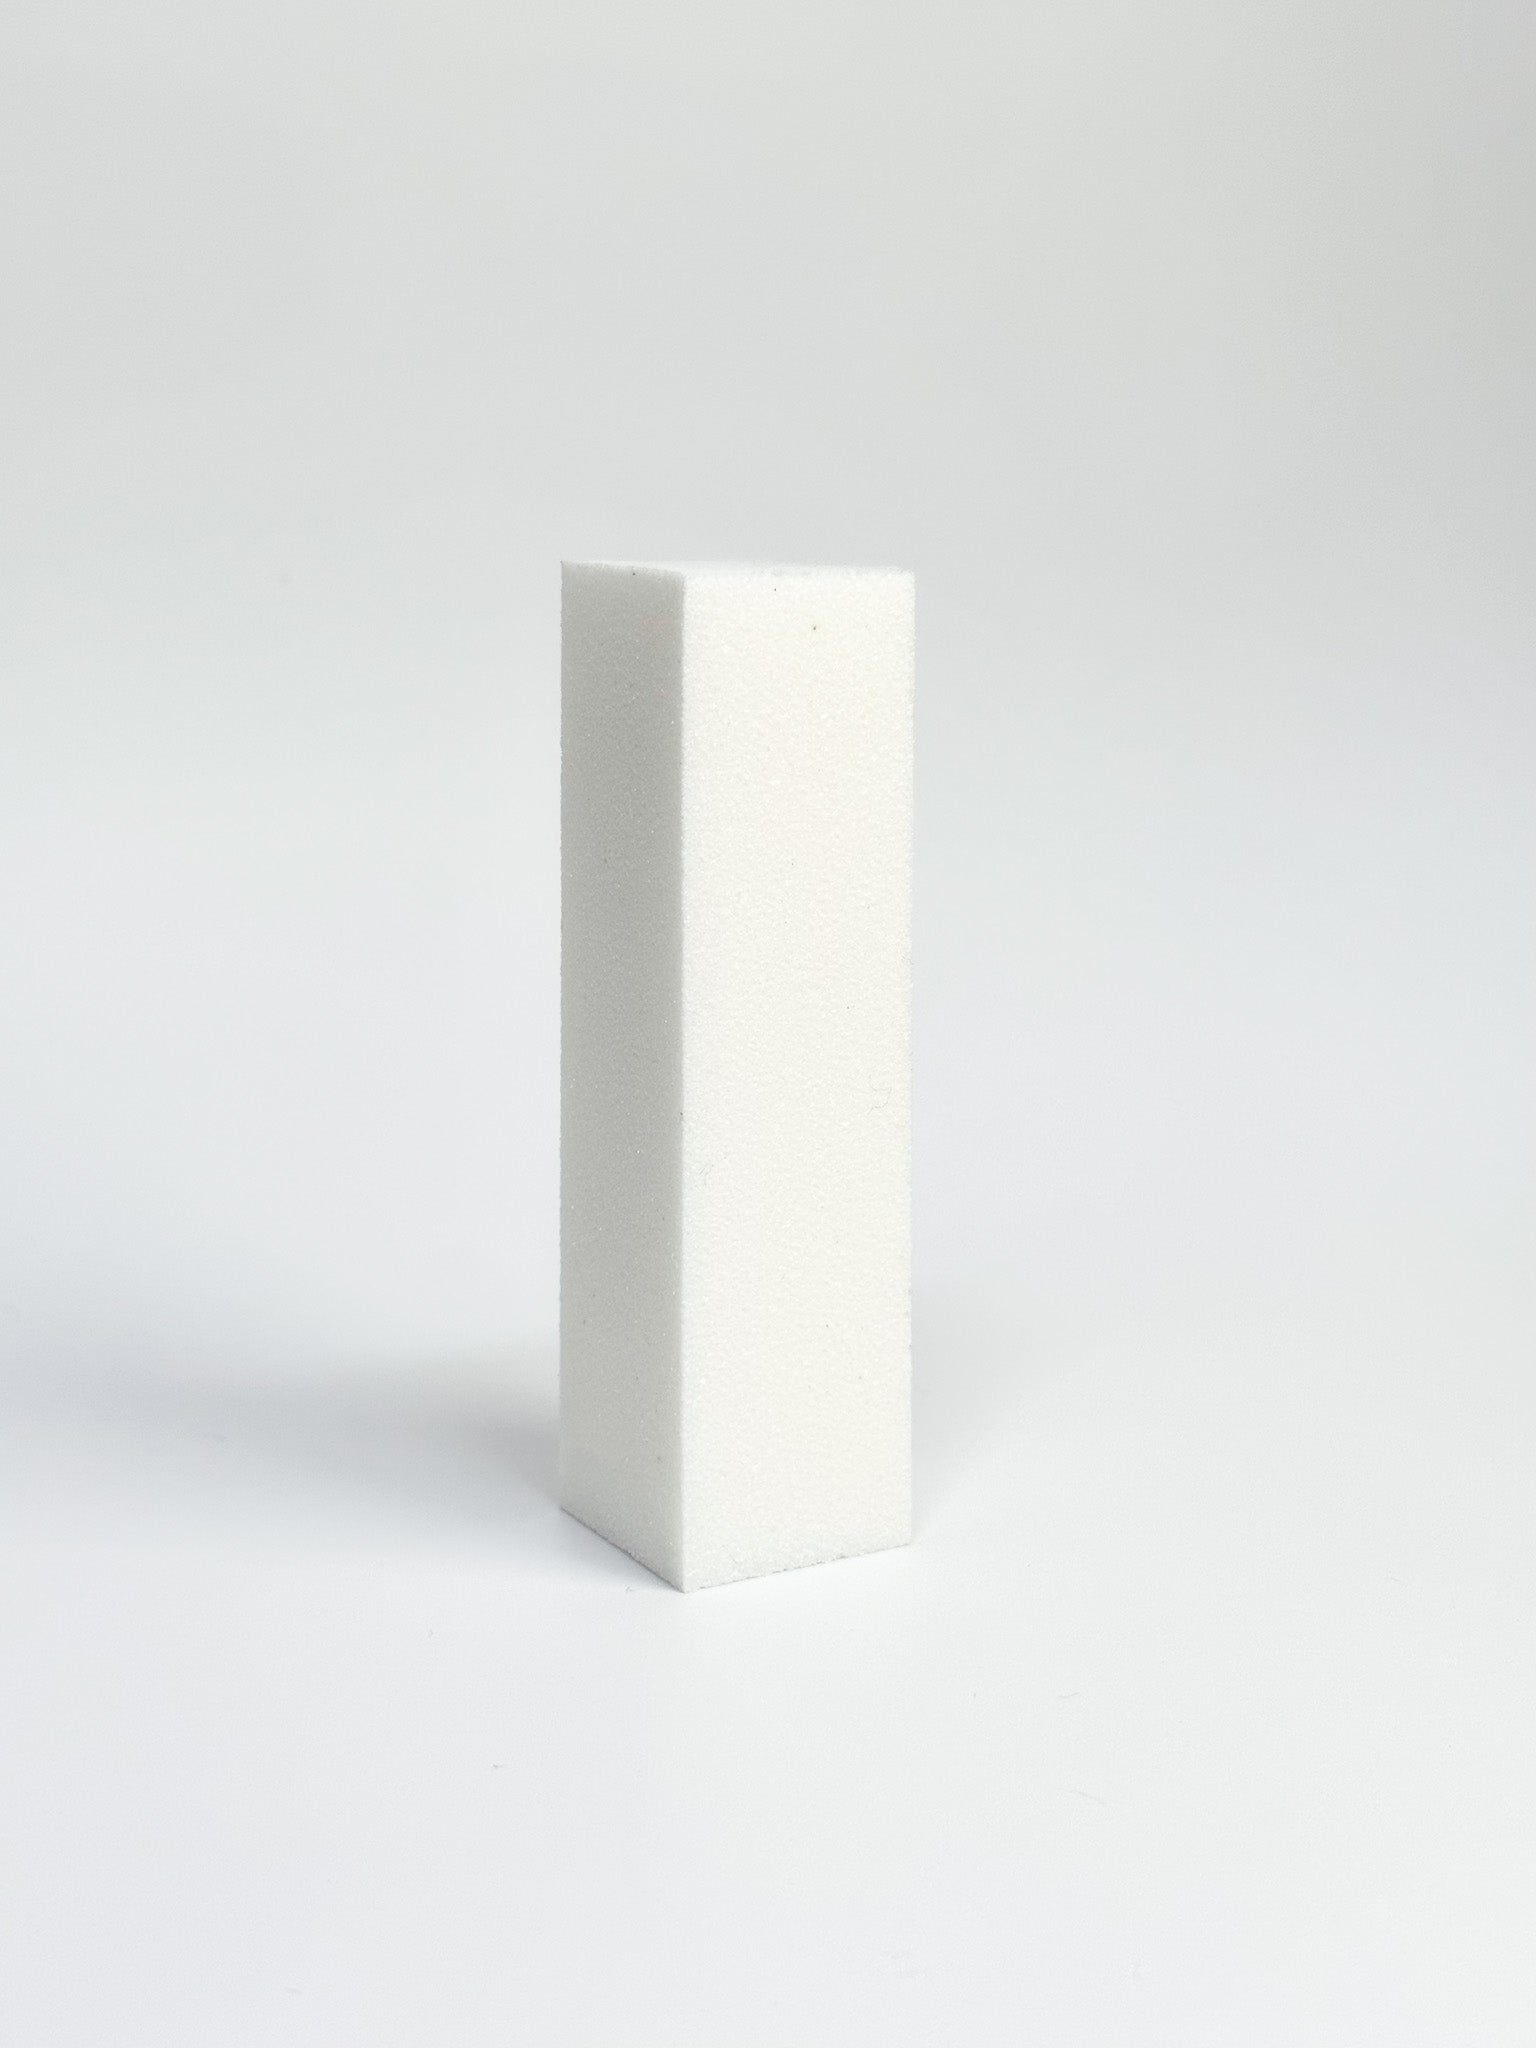
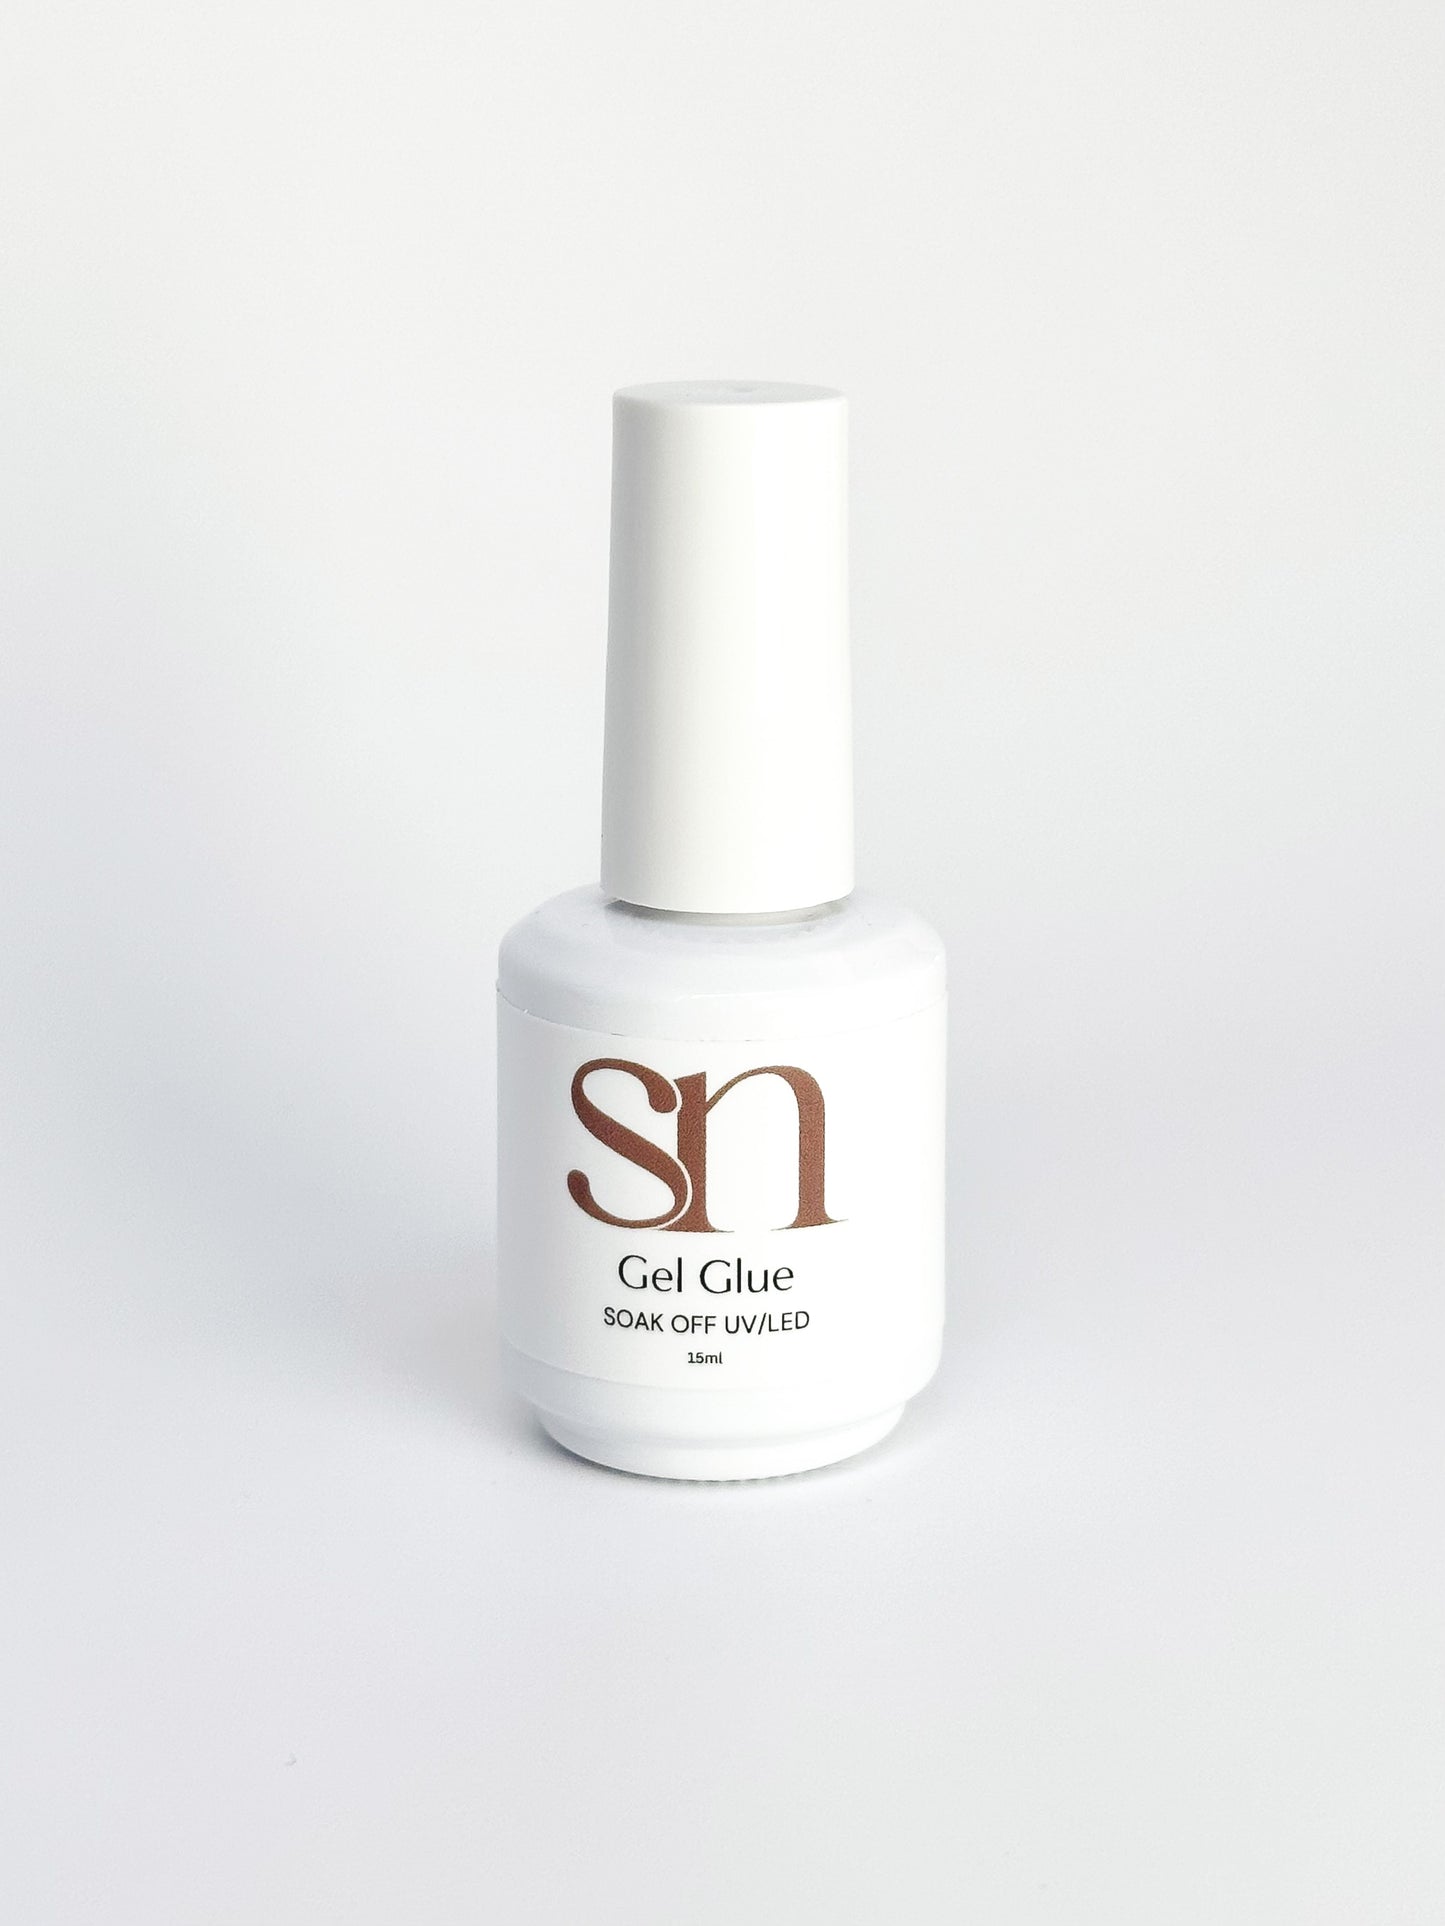
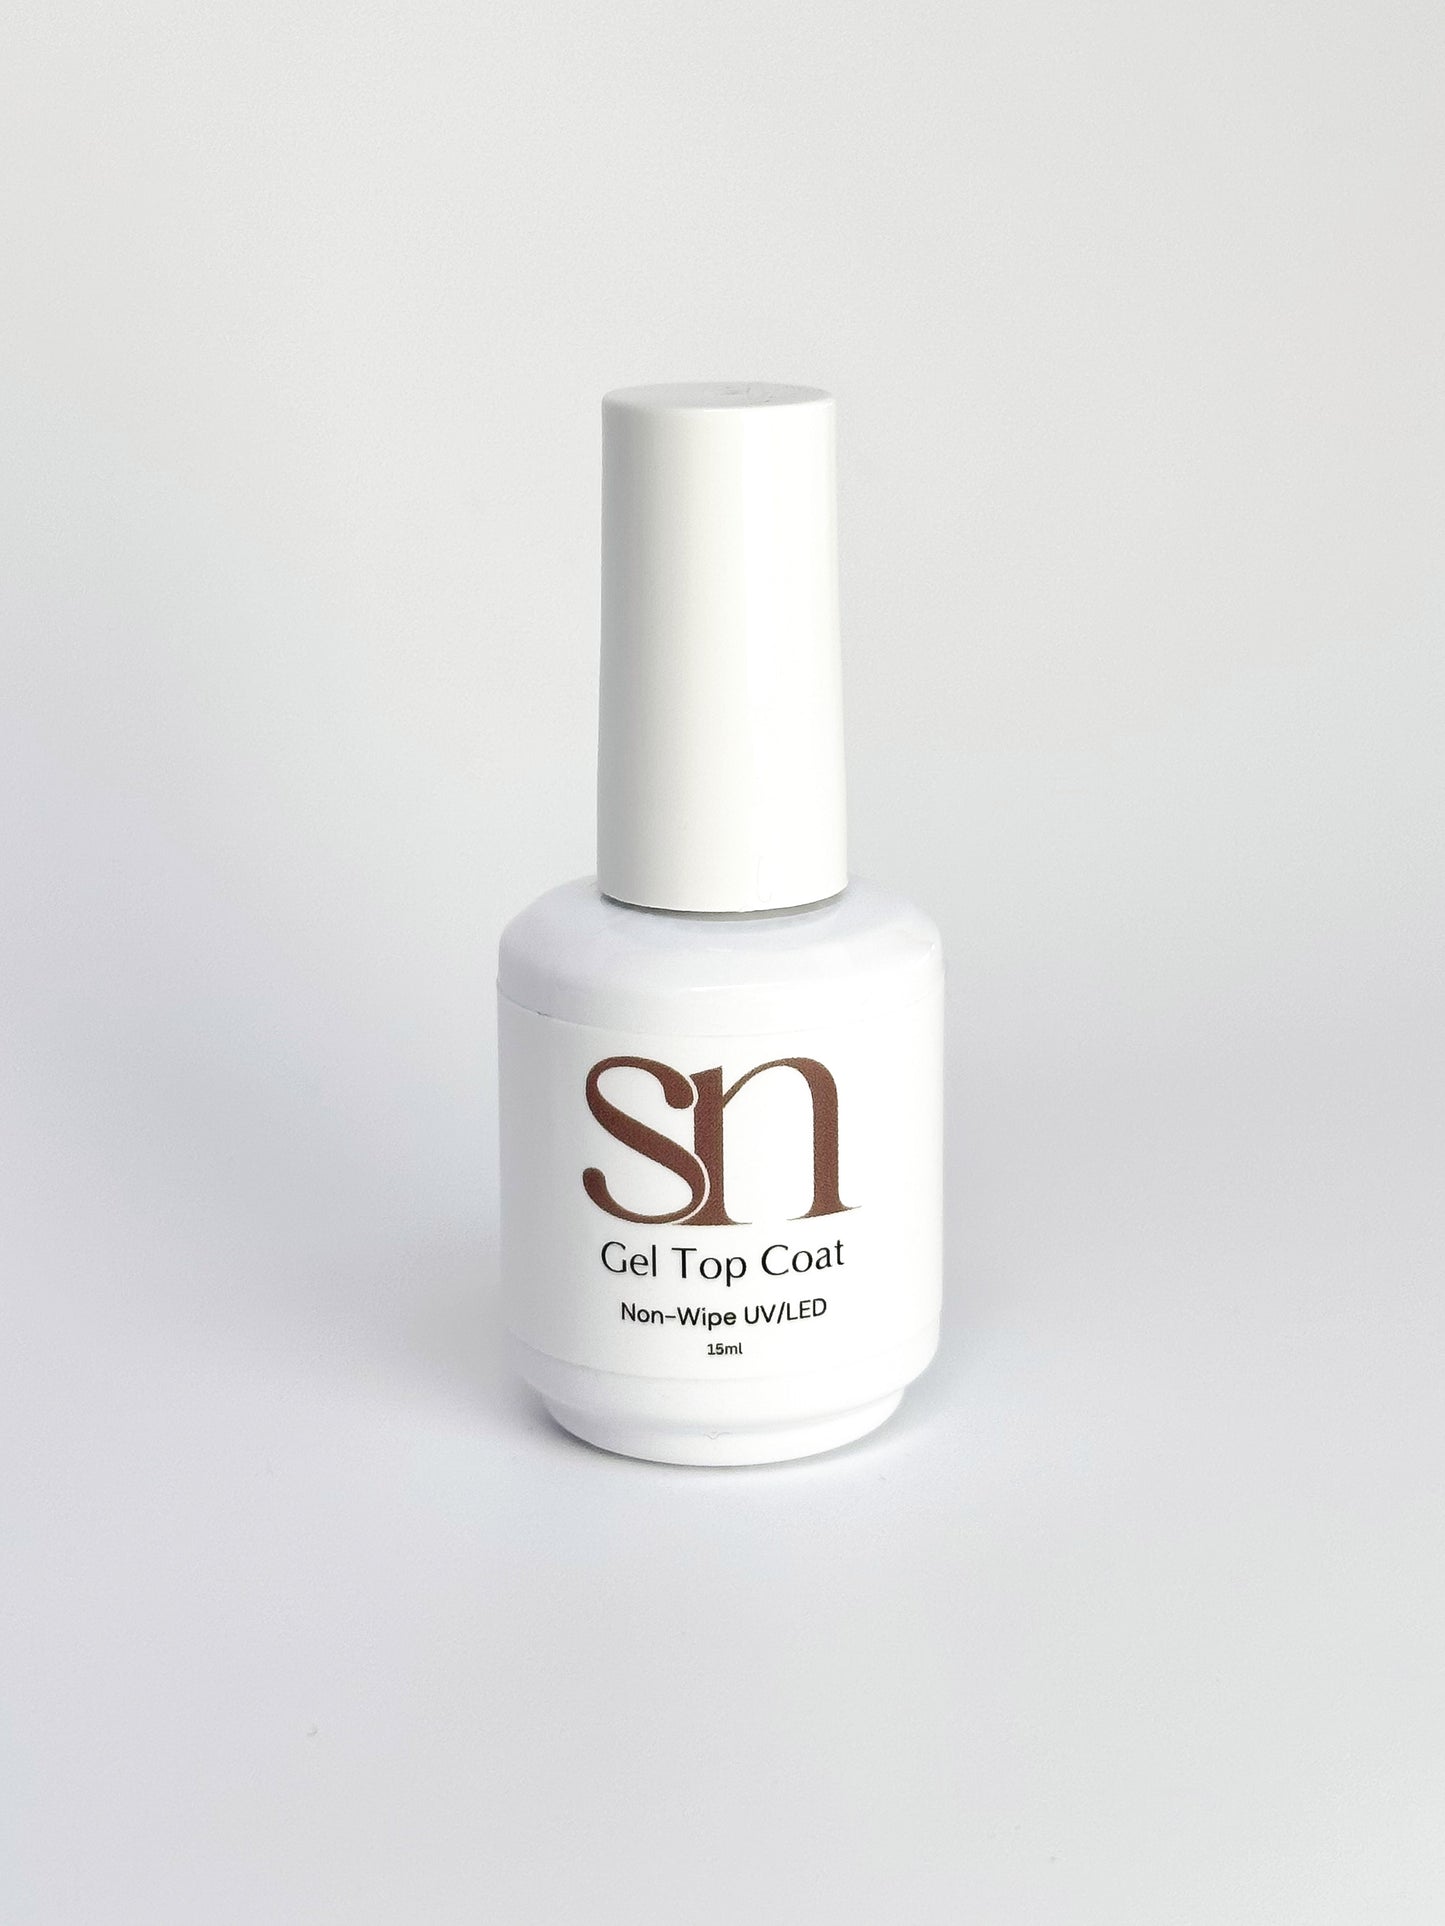
✅ Includes all the essentials for the Gel-X system
✅ Salon-quality products formulated for long-lasting (3-4 weeks) wear.
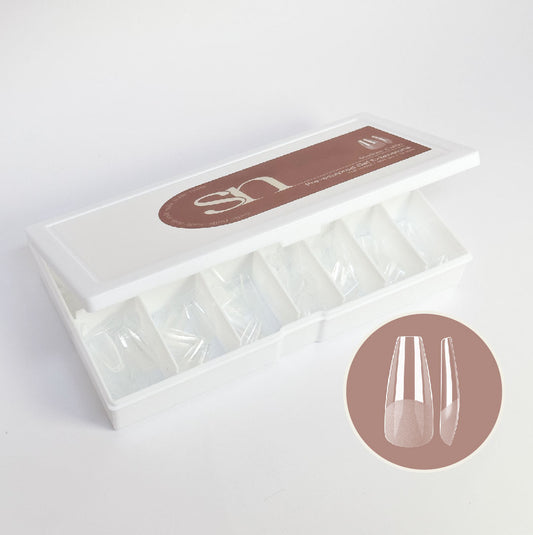
✅ Beginner friendly with easy application without extensive filing or shaping
✅ Soft-gel extensions are lightweight and comfortable (no bulk!)
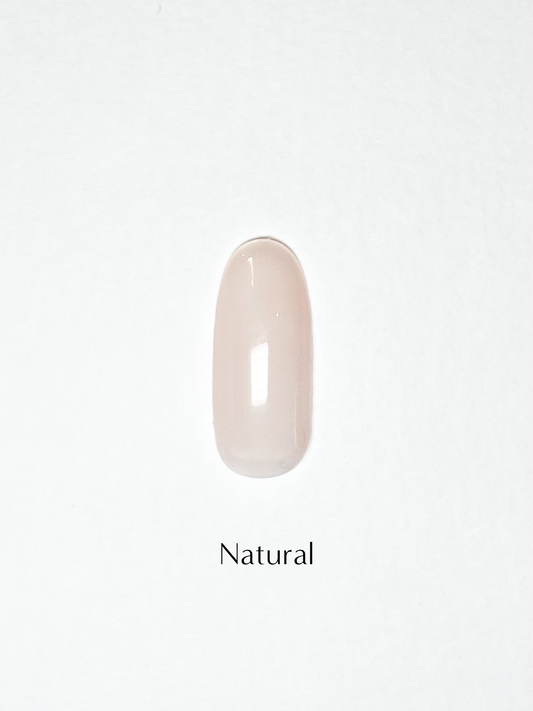
✅ Personalised - get your choice of gel polish colours
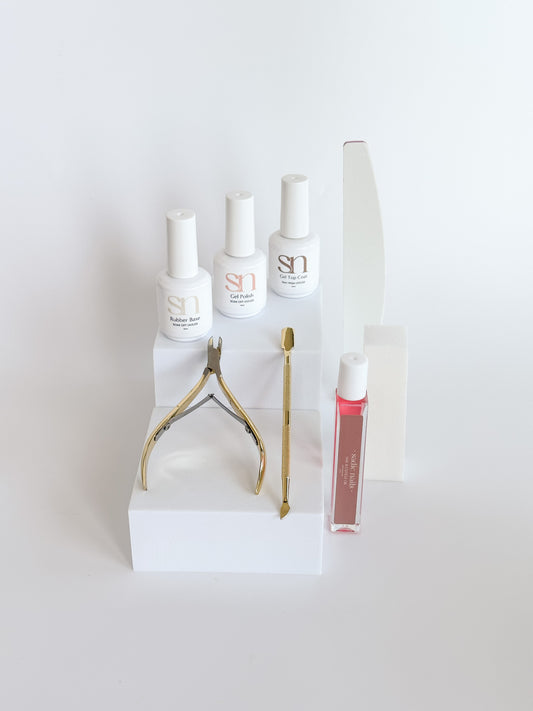
If you're looking a more extensive kit with more nail prep tools and cuticle care, our Gel-Xtend Ultimate Kits might be more suited for you.
Want to learn more about our Gel-Xtend System? Click HERE.
Not sure about sizing? See our size guide HERE.
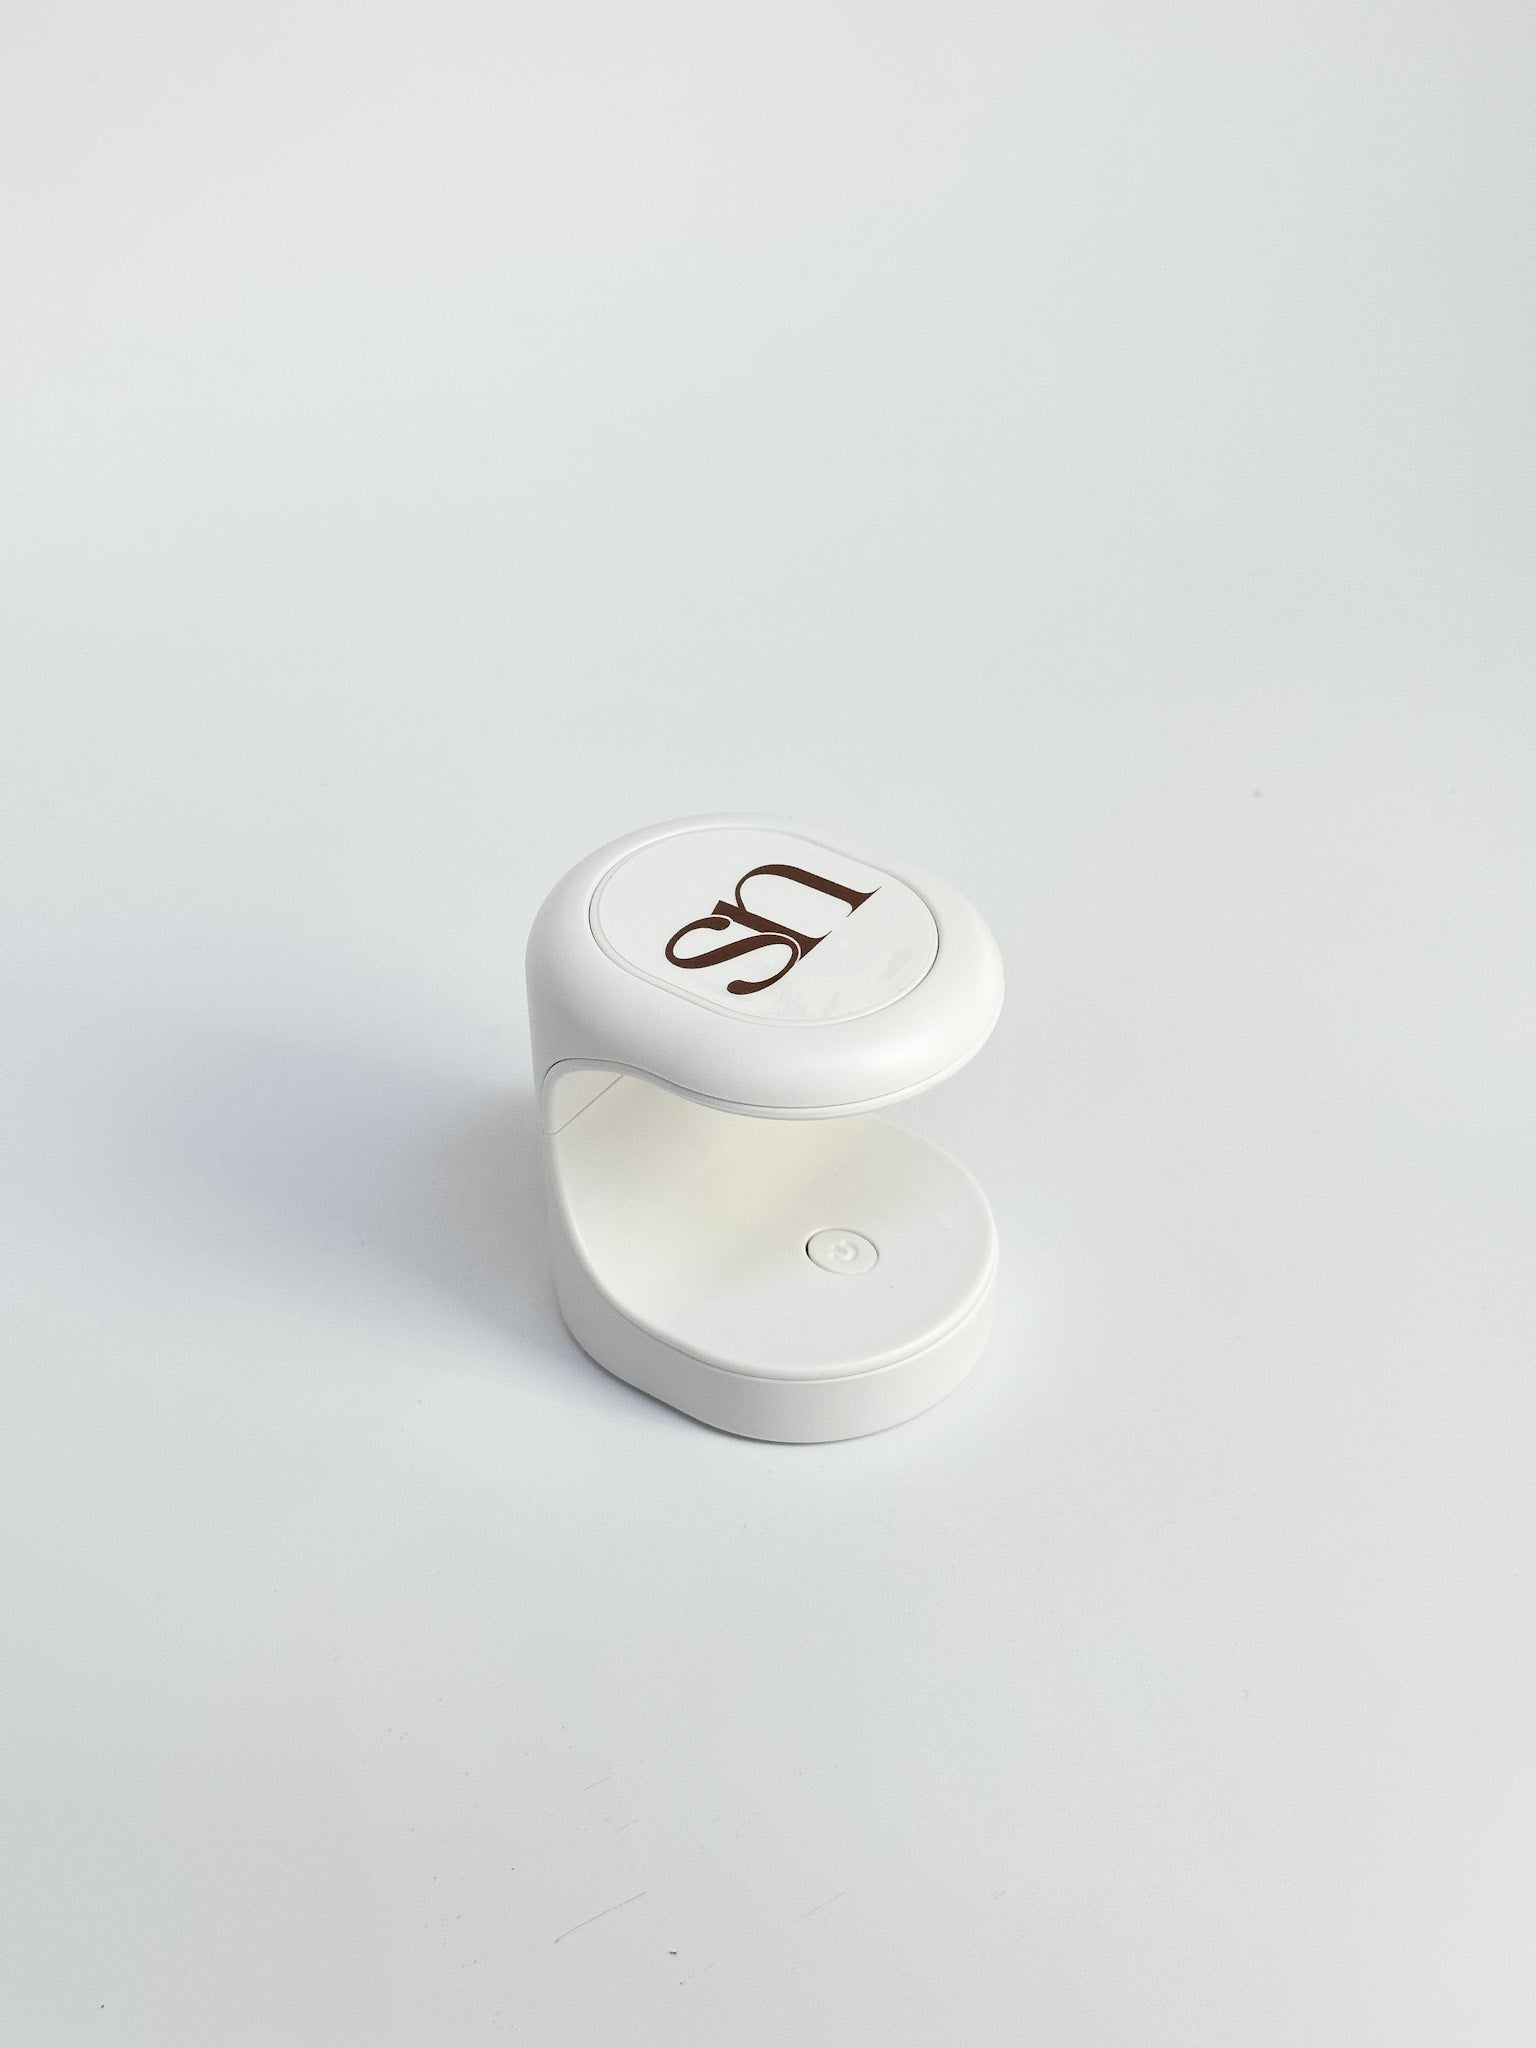
Please note this system also requires a full size 48W UV/LED lamp to fully cure the gel glue and gel polish. Check out our Sadie Lamp 💗
INCLUSIONS
INCLUSIONS
HOW TO USE
HOW TO USE
INGREDIENTS
INGREDIENTS
REMOVAL GUIDE
REMOVAL GUIDE


-
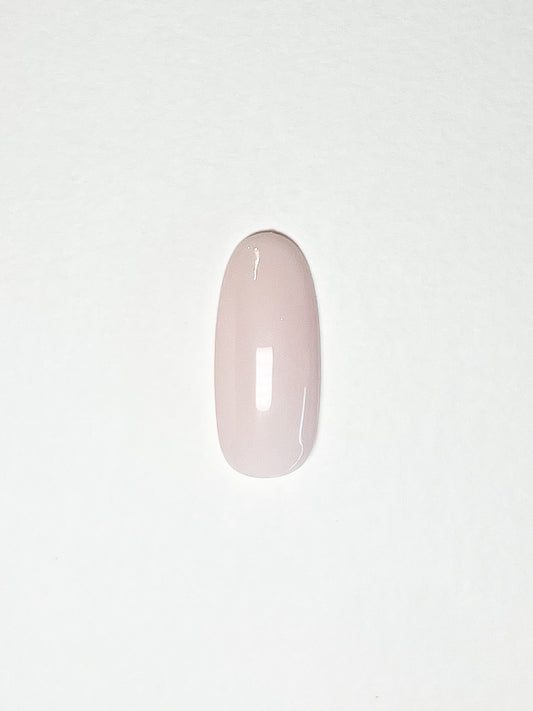
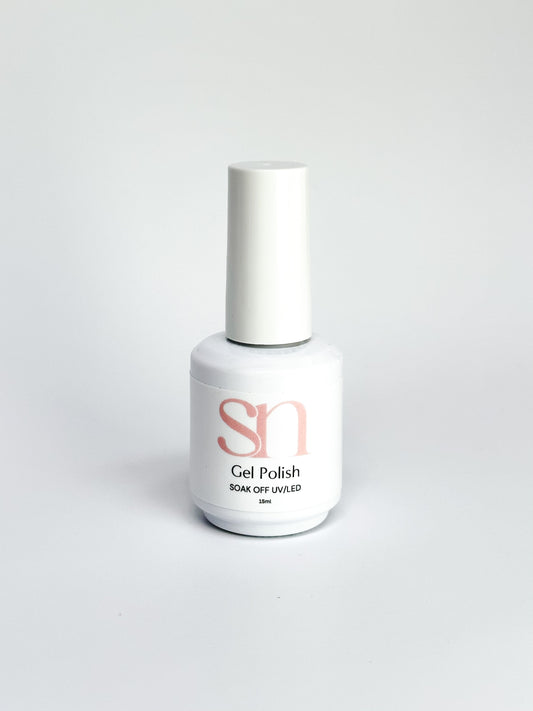
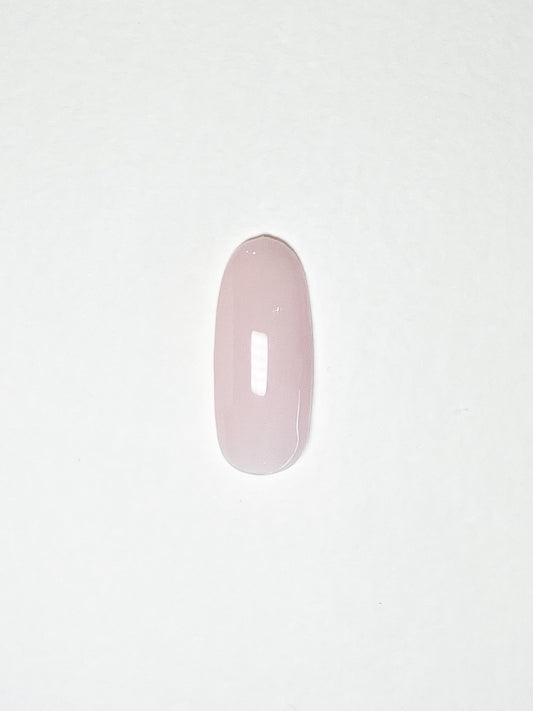
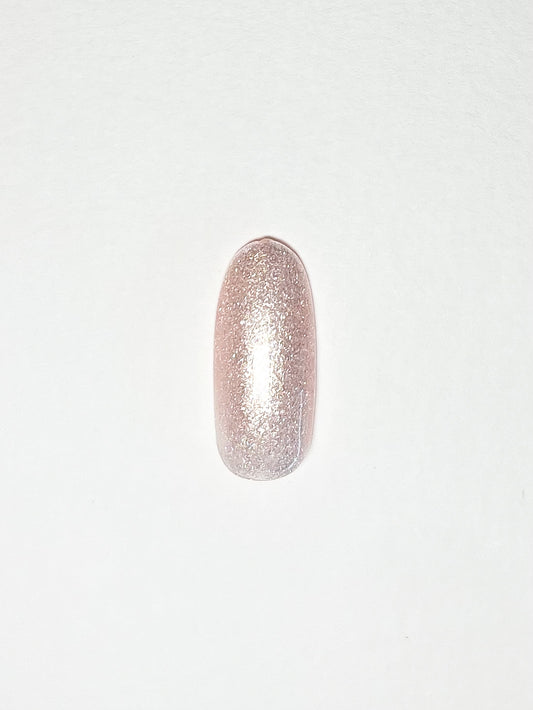
Fairy Floss
Regular price $25.00 AUDRegular priceUnit price per -
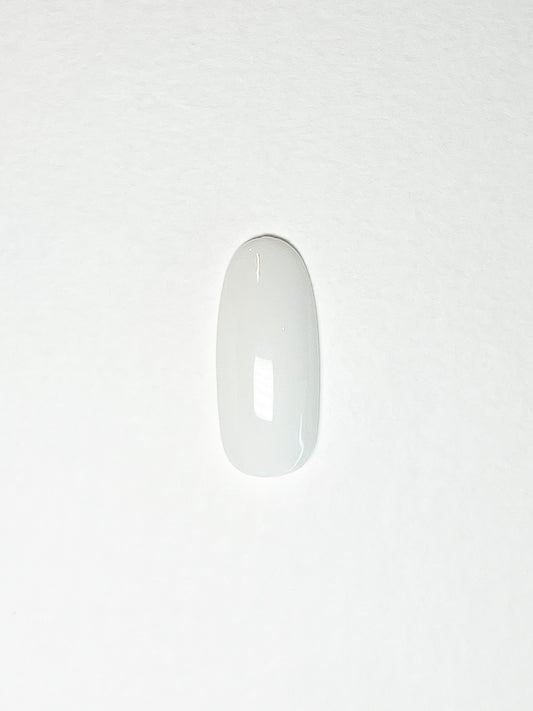
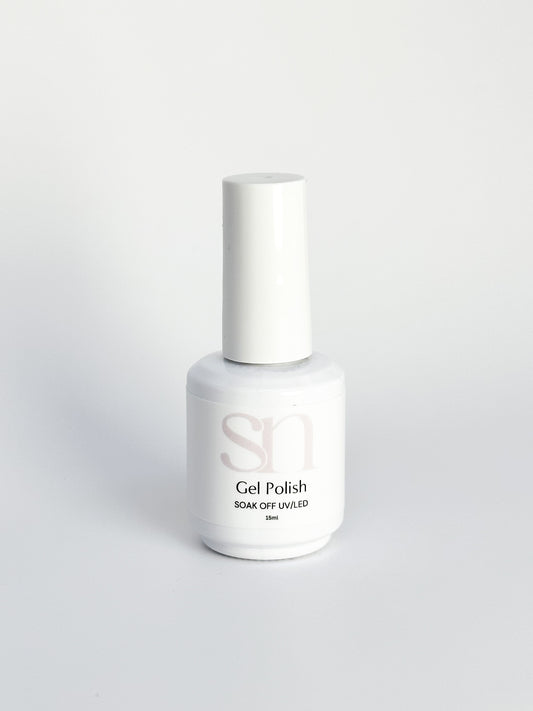
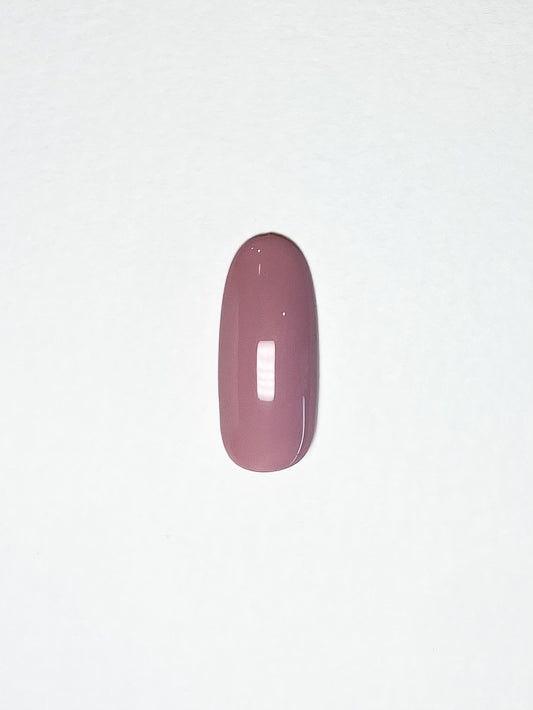
Baby Blush
Regular price $25.00 AUDRegular priceUnit price per -
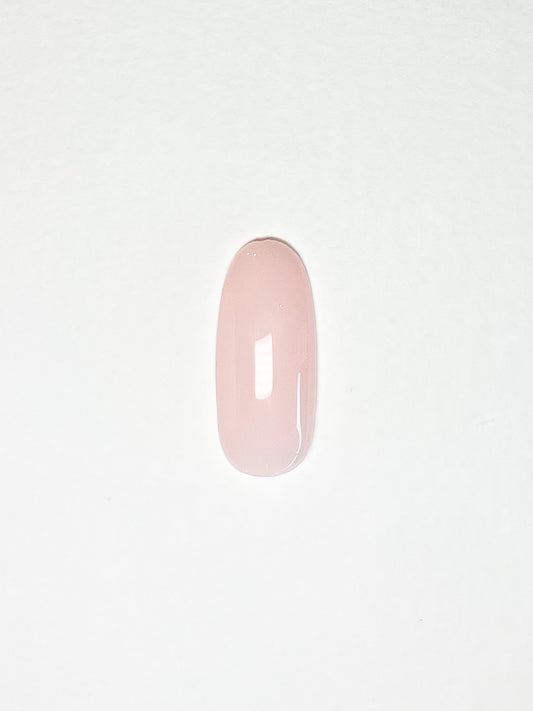
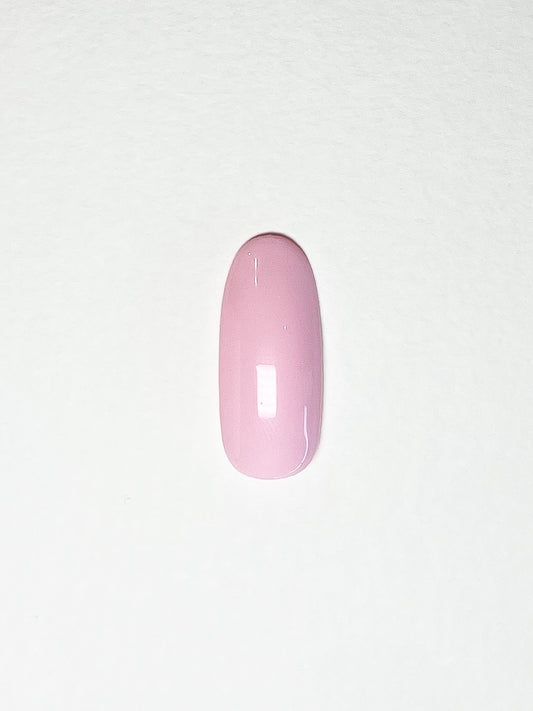
Pinky Promise
Regular price $25.00 AUDRegular priceUnit price per -
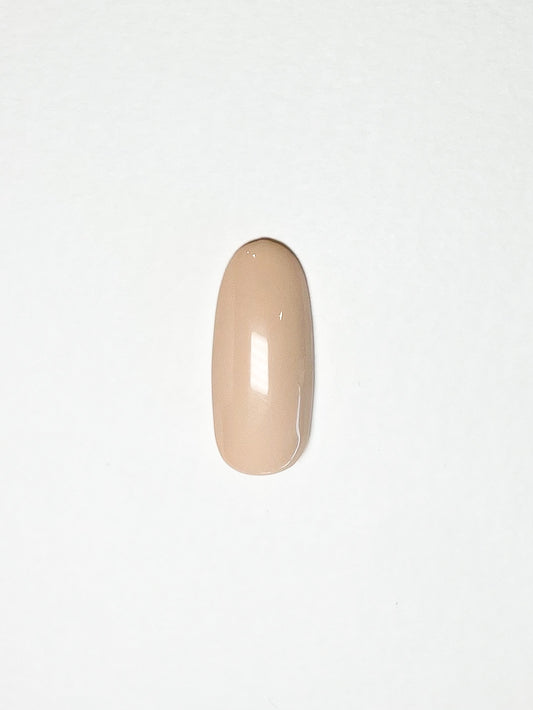
Pillow Talk
Regular price $25.00 AUDRegular priceUnit price per
-
Gel Polish Starter Kit
Regular price $70.00 AUDRegular priceUnit price per -
Gel Polish Ultimate Kit
Regular price $110.00 AUDRegular priceUnit price per -
Gel-Xtend Ultimate Kit (Short Almond)
Regular price $195.00 AUDRegular priceUnit price per -
Gel-Xtend Ultimate Kit (Medium Almond)
Regular price $195.00 AUDRegular priceUnit price per -
Gel-Xtend Ultimate Kit (Short Oval)
Regular price $195.00 AUDRegular priceUnit price per -
Gel-Xtend Ultimate Kit (Extra Short Almond)
Regular price $195.00 AUDRegular priceUnit price per -
Gel-Xtend Ultimate Kit (Extra Short Oval)
Regular price $195.00 AUDRegular priceUnit price per -
Gel-Xtend Starter Kit (Short Almond)
Regular price $150.00 AUDRegular priceUnit price per -
Gel-Xtend Ultimate Kit (Medium Oval)
Regular price $195.00 AUDRegular priceUnit price per -
Gel-Xtend Ultimate Kit (Medium Square)
Regular price $195.00 AUDRegular priceUnit price per -
Gel-Xtend Ultimate Kit (Short Square)
Regular price $195.00 AUDRegular priceUnit price per -
Gel-Xtend Ultimate Kit (Extra Short Square)
Regular price $195.00 AUDRegular priceUnit price per -
Gel-Xtend Ultimate Kit (Short Coffin)
Regular price $195.00 AUDRegular priceUnit price per -
Gel-Xtend Starter Kit (Extra-Short Almond)
Regular price $150.00 AUDRegular priceUnit price per -
Gel-Xtend Starter Kit (Medium Almond)
Regular price $150.00 AUDRegular priceUnit price per -
Gel-Xtend Starter Kit (Extra-Short Oval)
Regular price $150.00 AUDRegular priceUnit price per -
Gel-Xtend Starter Kit (Short Oval)
Regular price $150.00 AUDRegular priceUnit price per -
Gel-Xtend Starter Kit (Medium Oval)
Regular price $150.00 AUDRegular priceUnit price per -
Gel-Xtend Starter Kit (Extra-Short Square)
Regular price $150.00 AUDRegular priceUnit price per -
Gel-Xtend Starter Kit (Short Square)
Regular price $150.00 AUDRegular priceUnit price per -
Gel-Xtend Starter Kit (Medium Square)
Regular price $150.00 AUDRegular priceUnit price per -
Gel-Xtend Starter Kit (Short Coffin)
Regular price $150.00 AUDRegular priceUnit price per -
Gel-Xtend Starter Kit (Medium Coffin)
Regular price $150.00 AUDRegular priceUnit price per -
Gel-Xtend Ultimate Kit (Medium Coffin)
Regular price $195.00 AUDRegular priceUnit price per