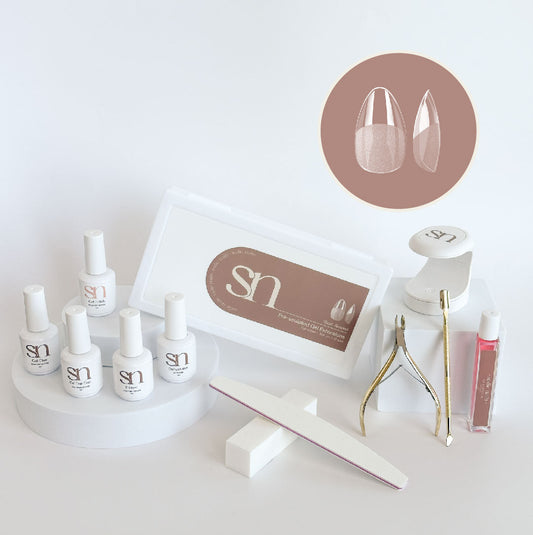
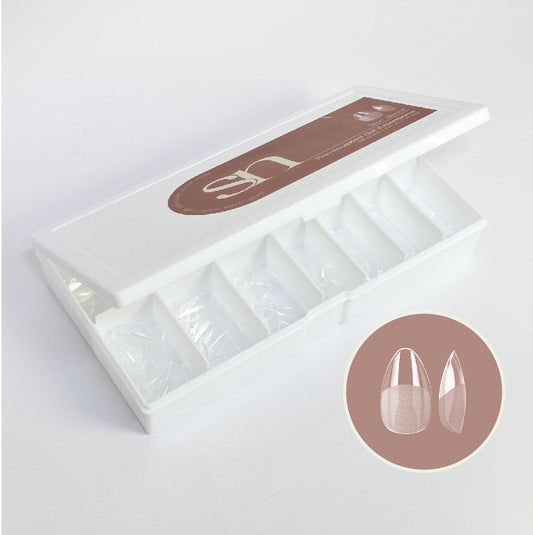
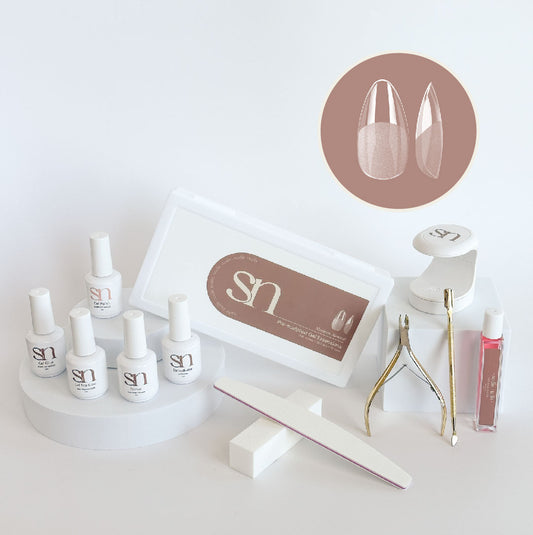
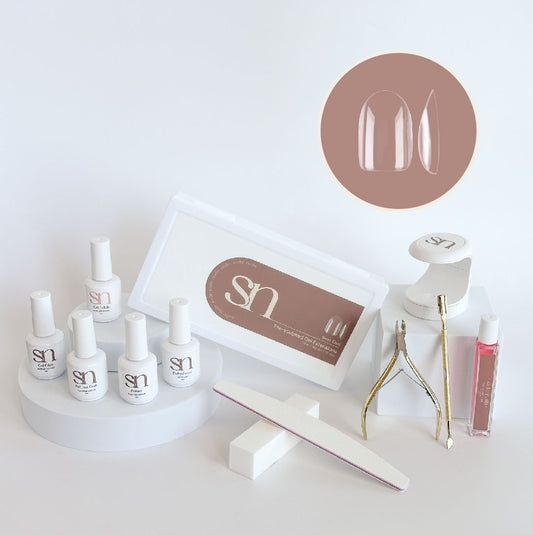
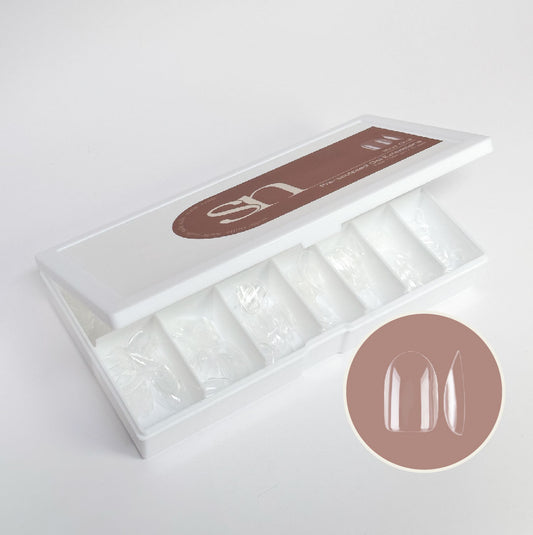
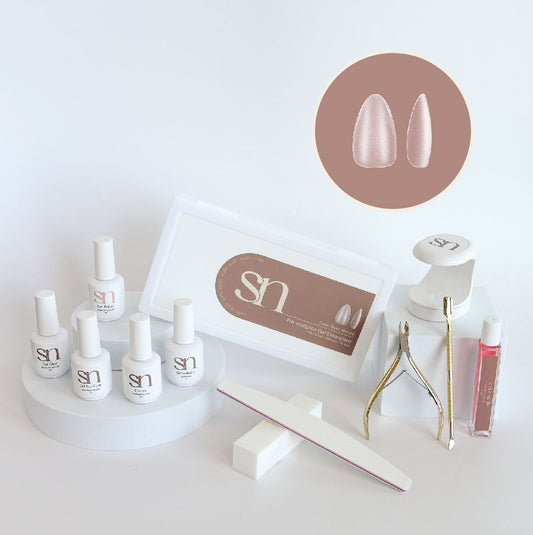
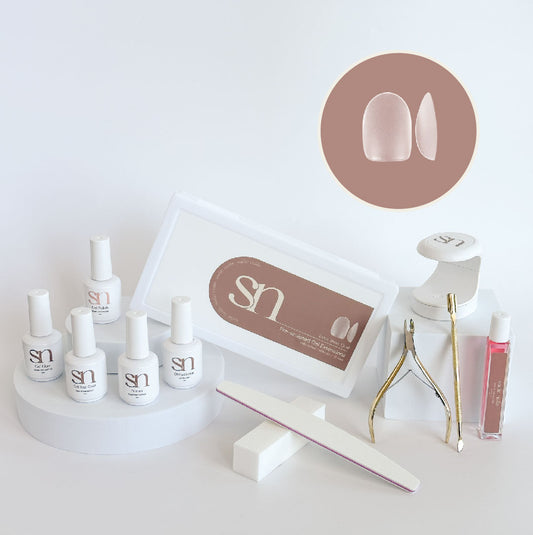
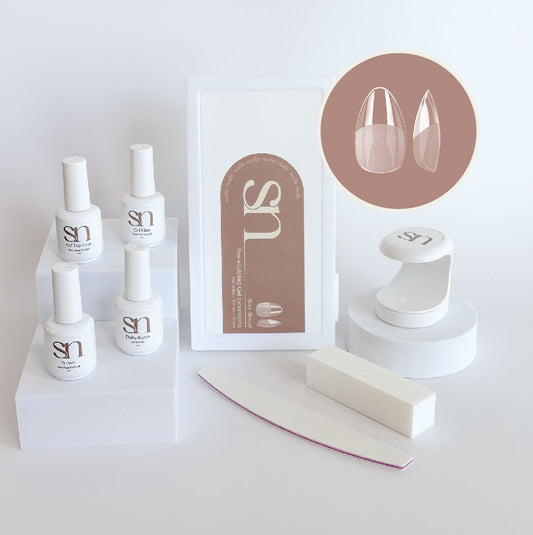
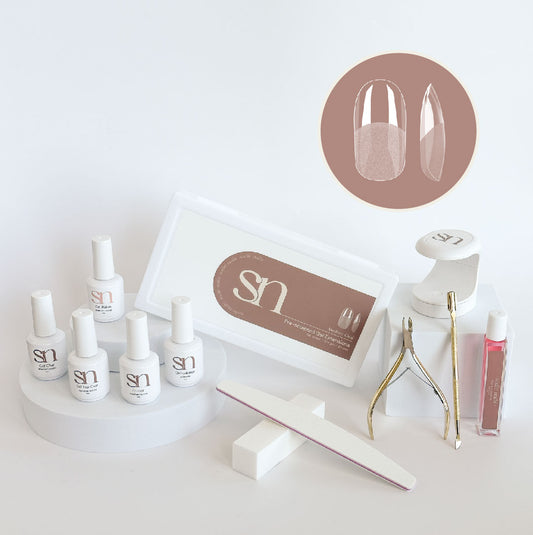
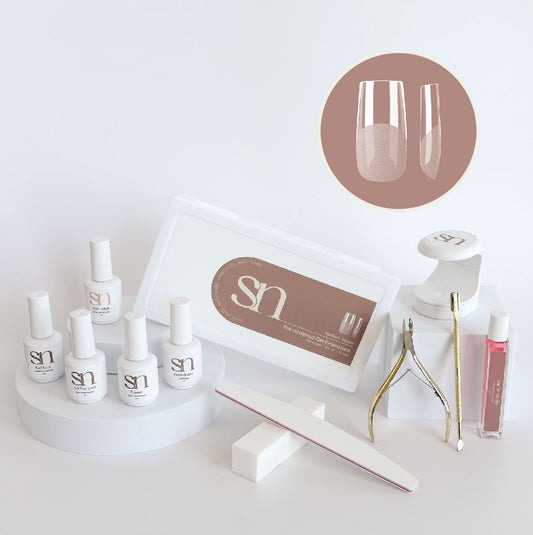
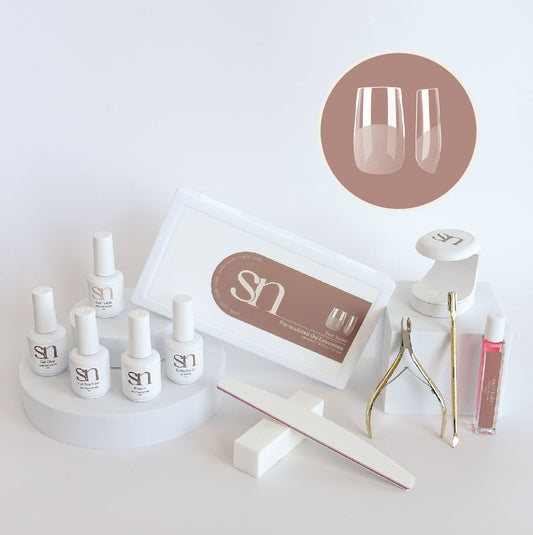
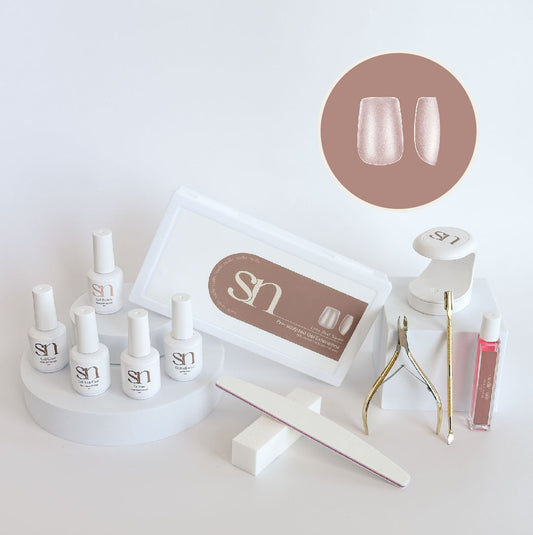
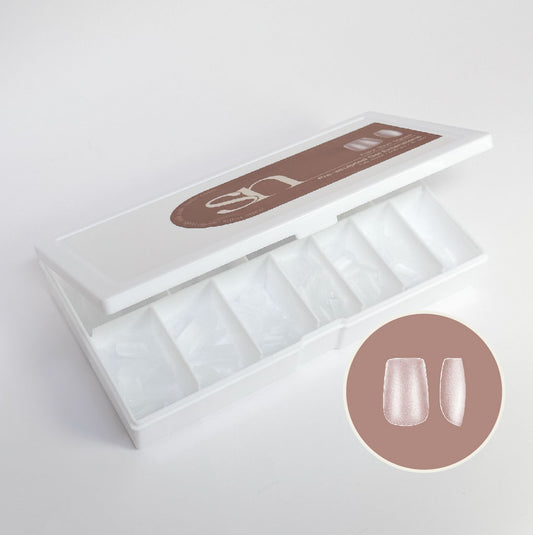
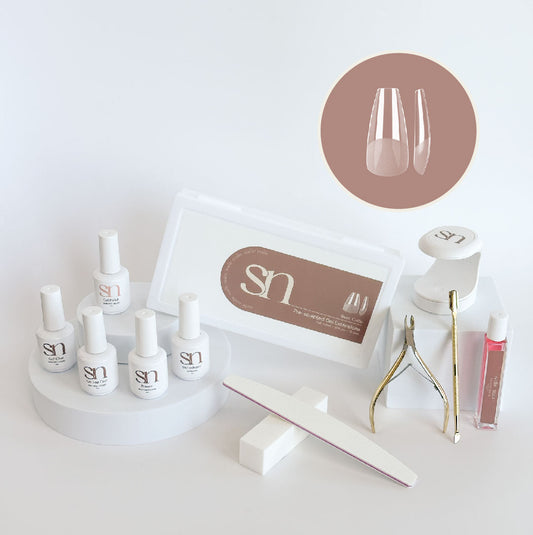
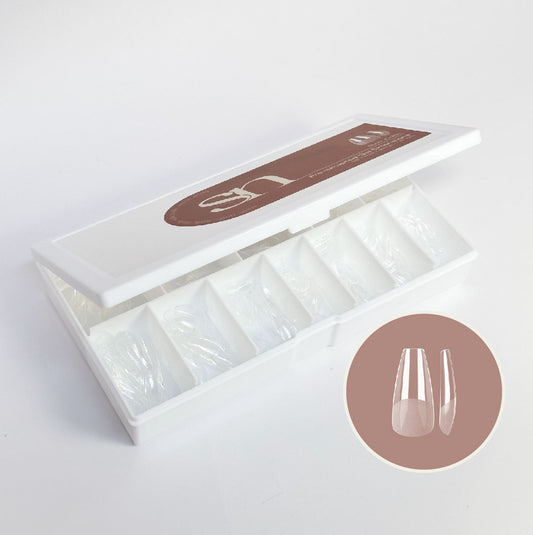
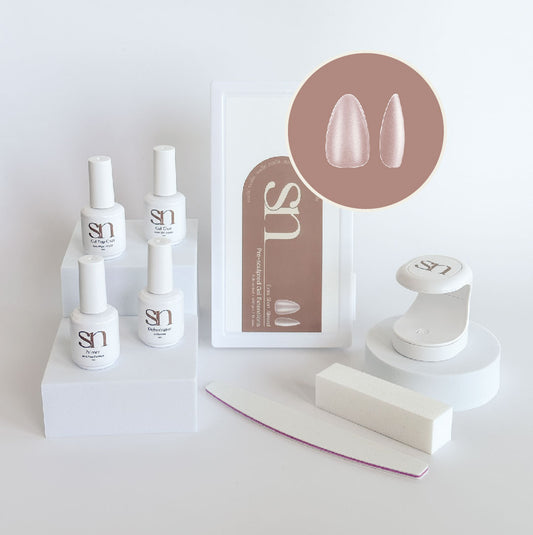
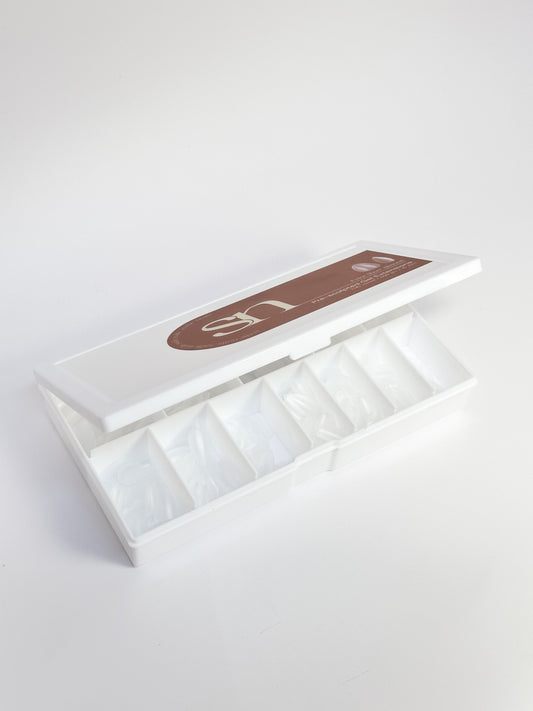
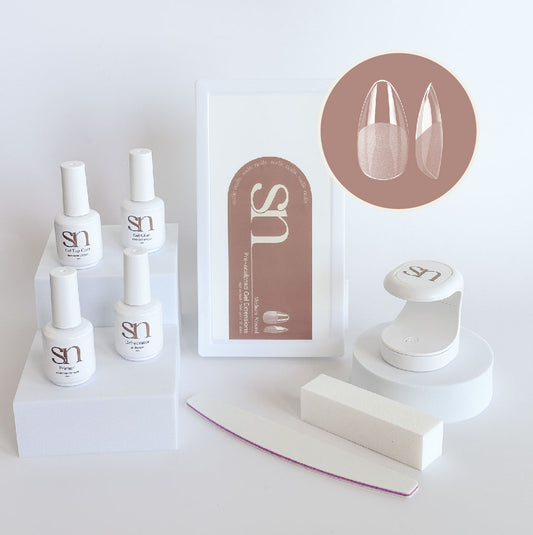
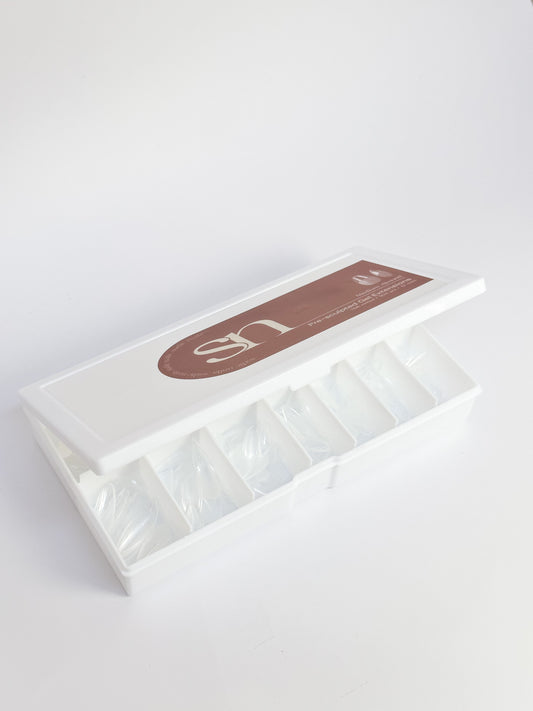
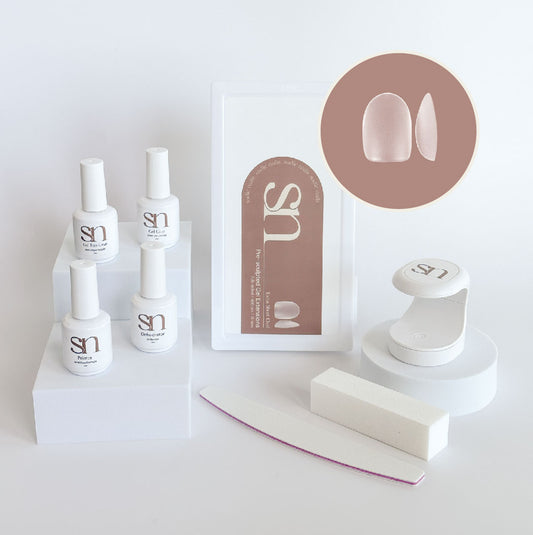
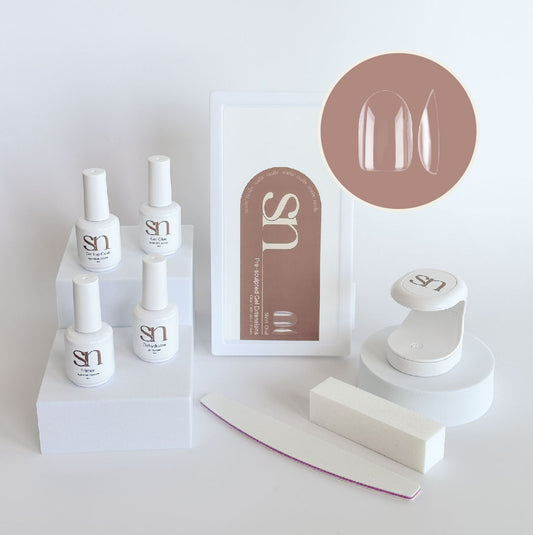
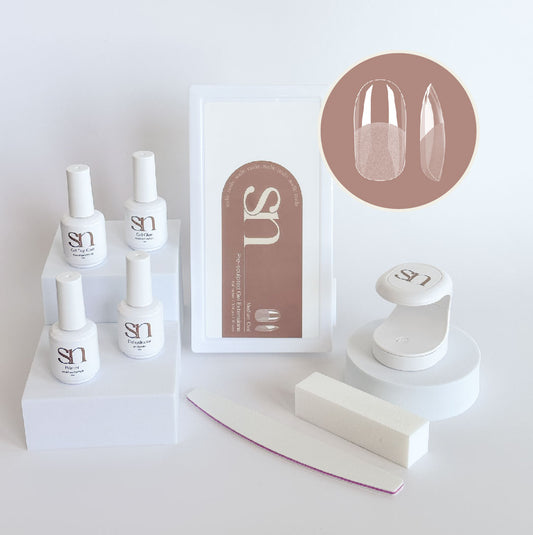
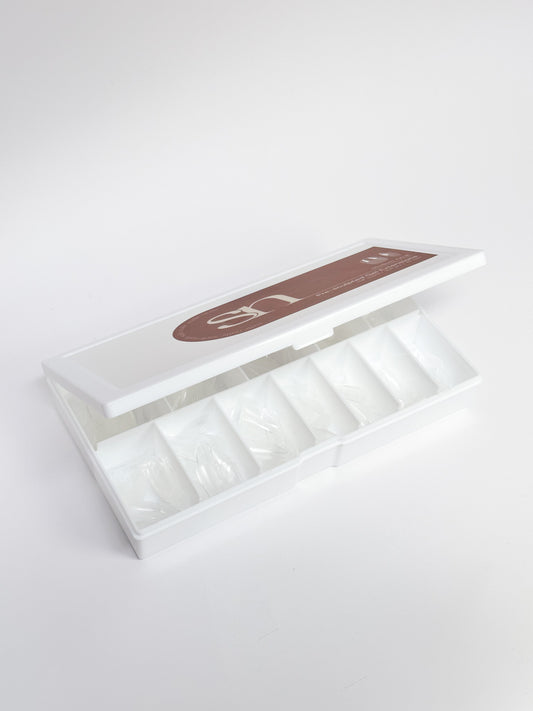
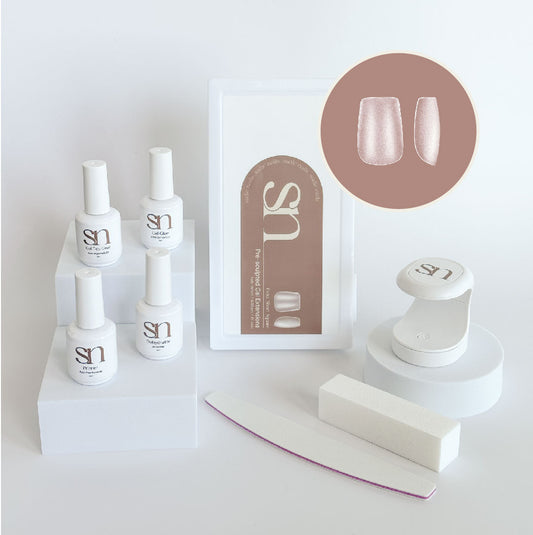
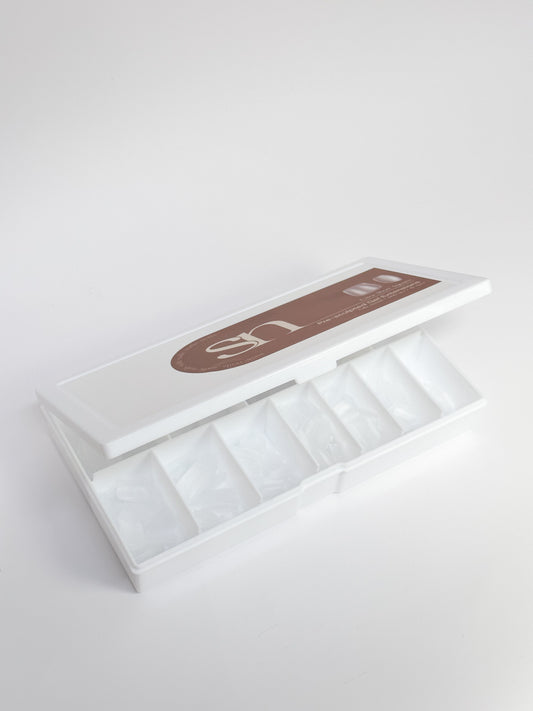
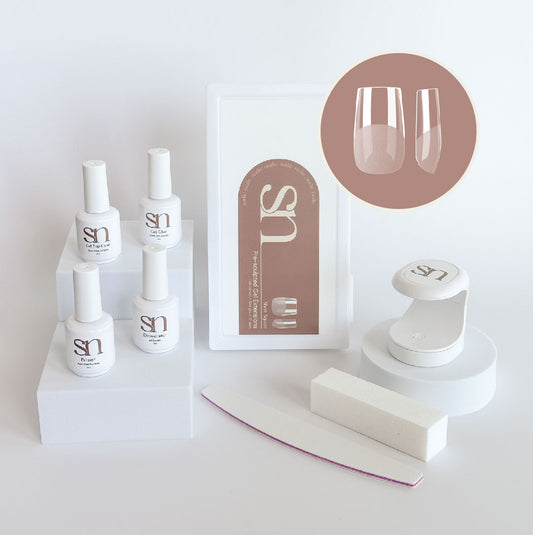
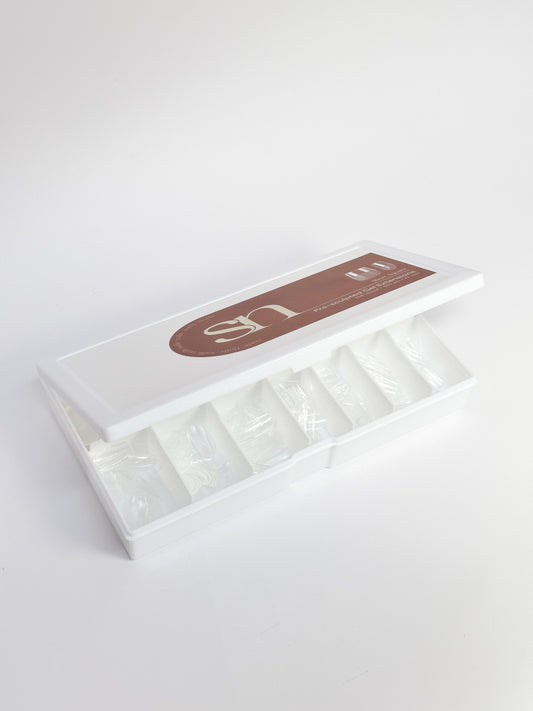
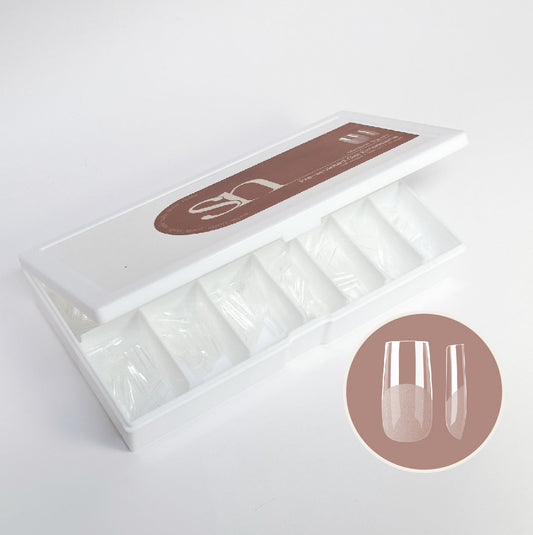
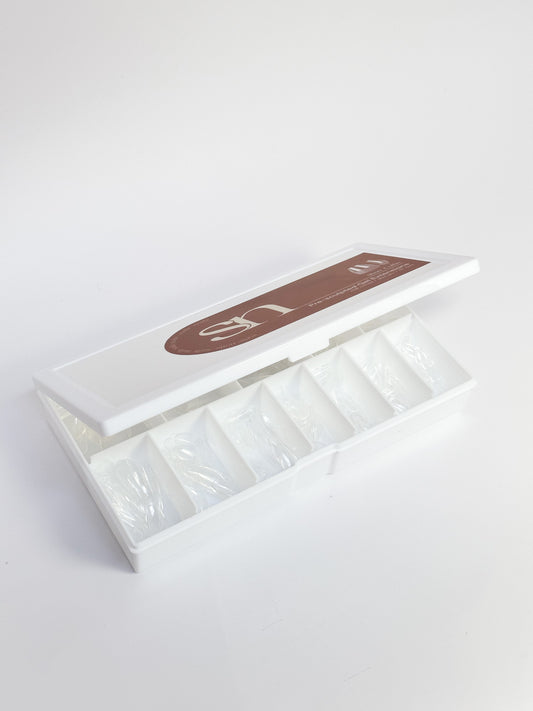
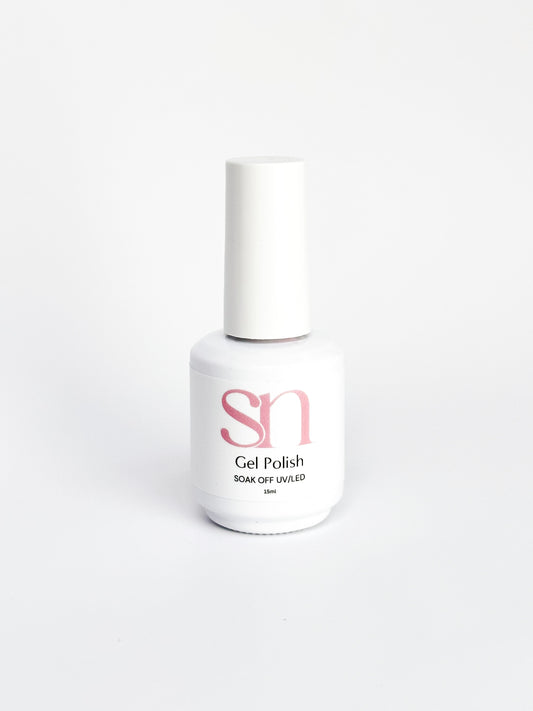
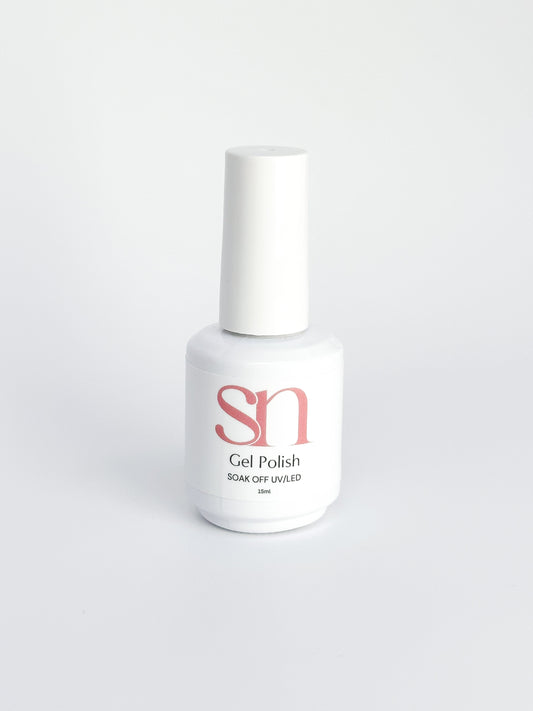
Gel-Xtend Ultimate Kit (Medium Almond)
Gel-Xtend Ultimate Kit (Medium Almond)
Couldn't load pickup availability
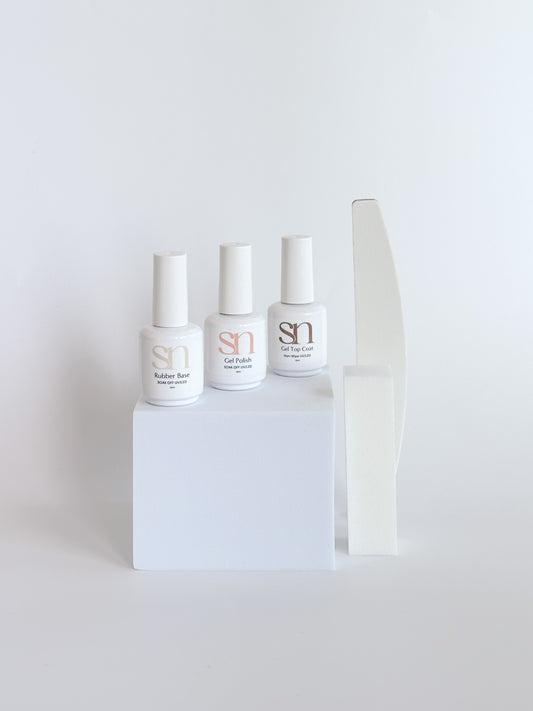
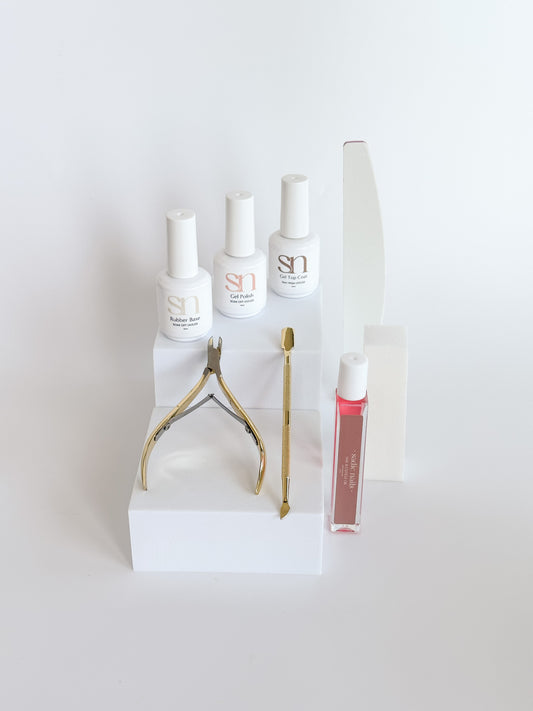
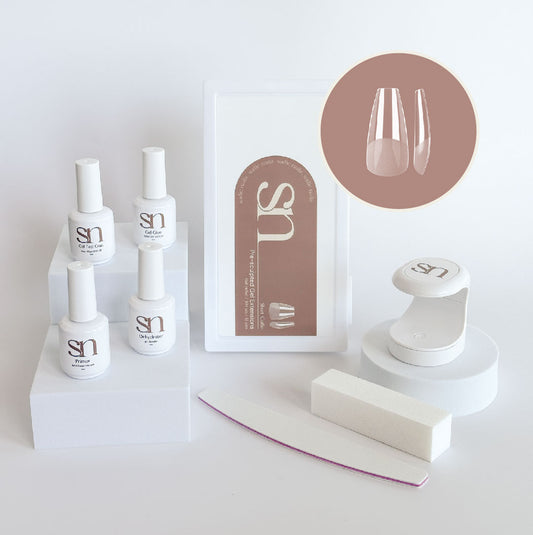
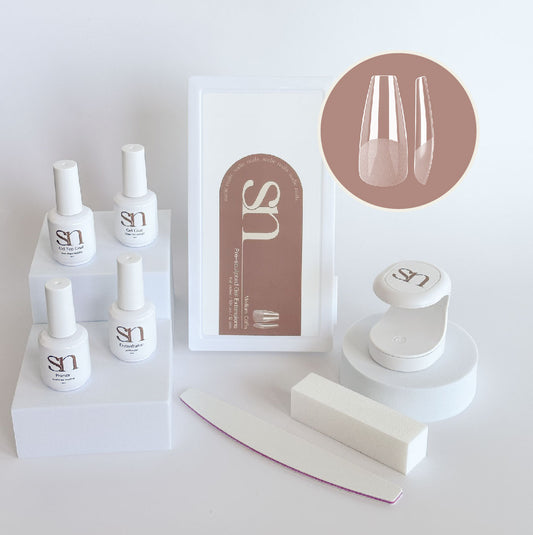
Ready to become your own nail tech with our Gel-Xtend Ultimate Kit? This kit comes with all the tools you need to create salon-quality nail extensions from the comfort of your own home.
Why you'll love this kit:
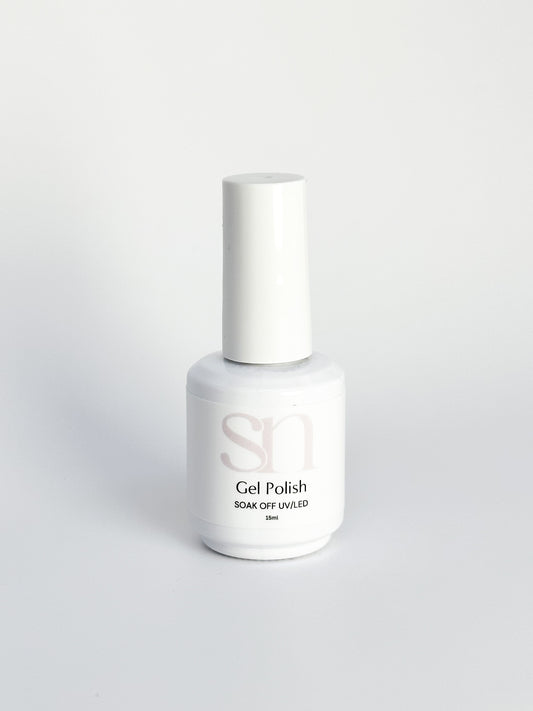
✅ Salon-quality products for long-lasting (3-4 weeks) wear.
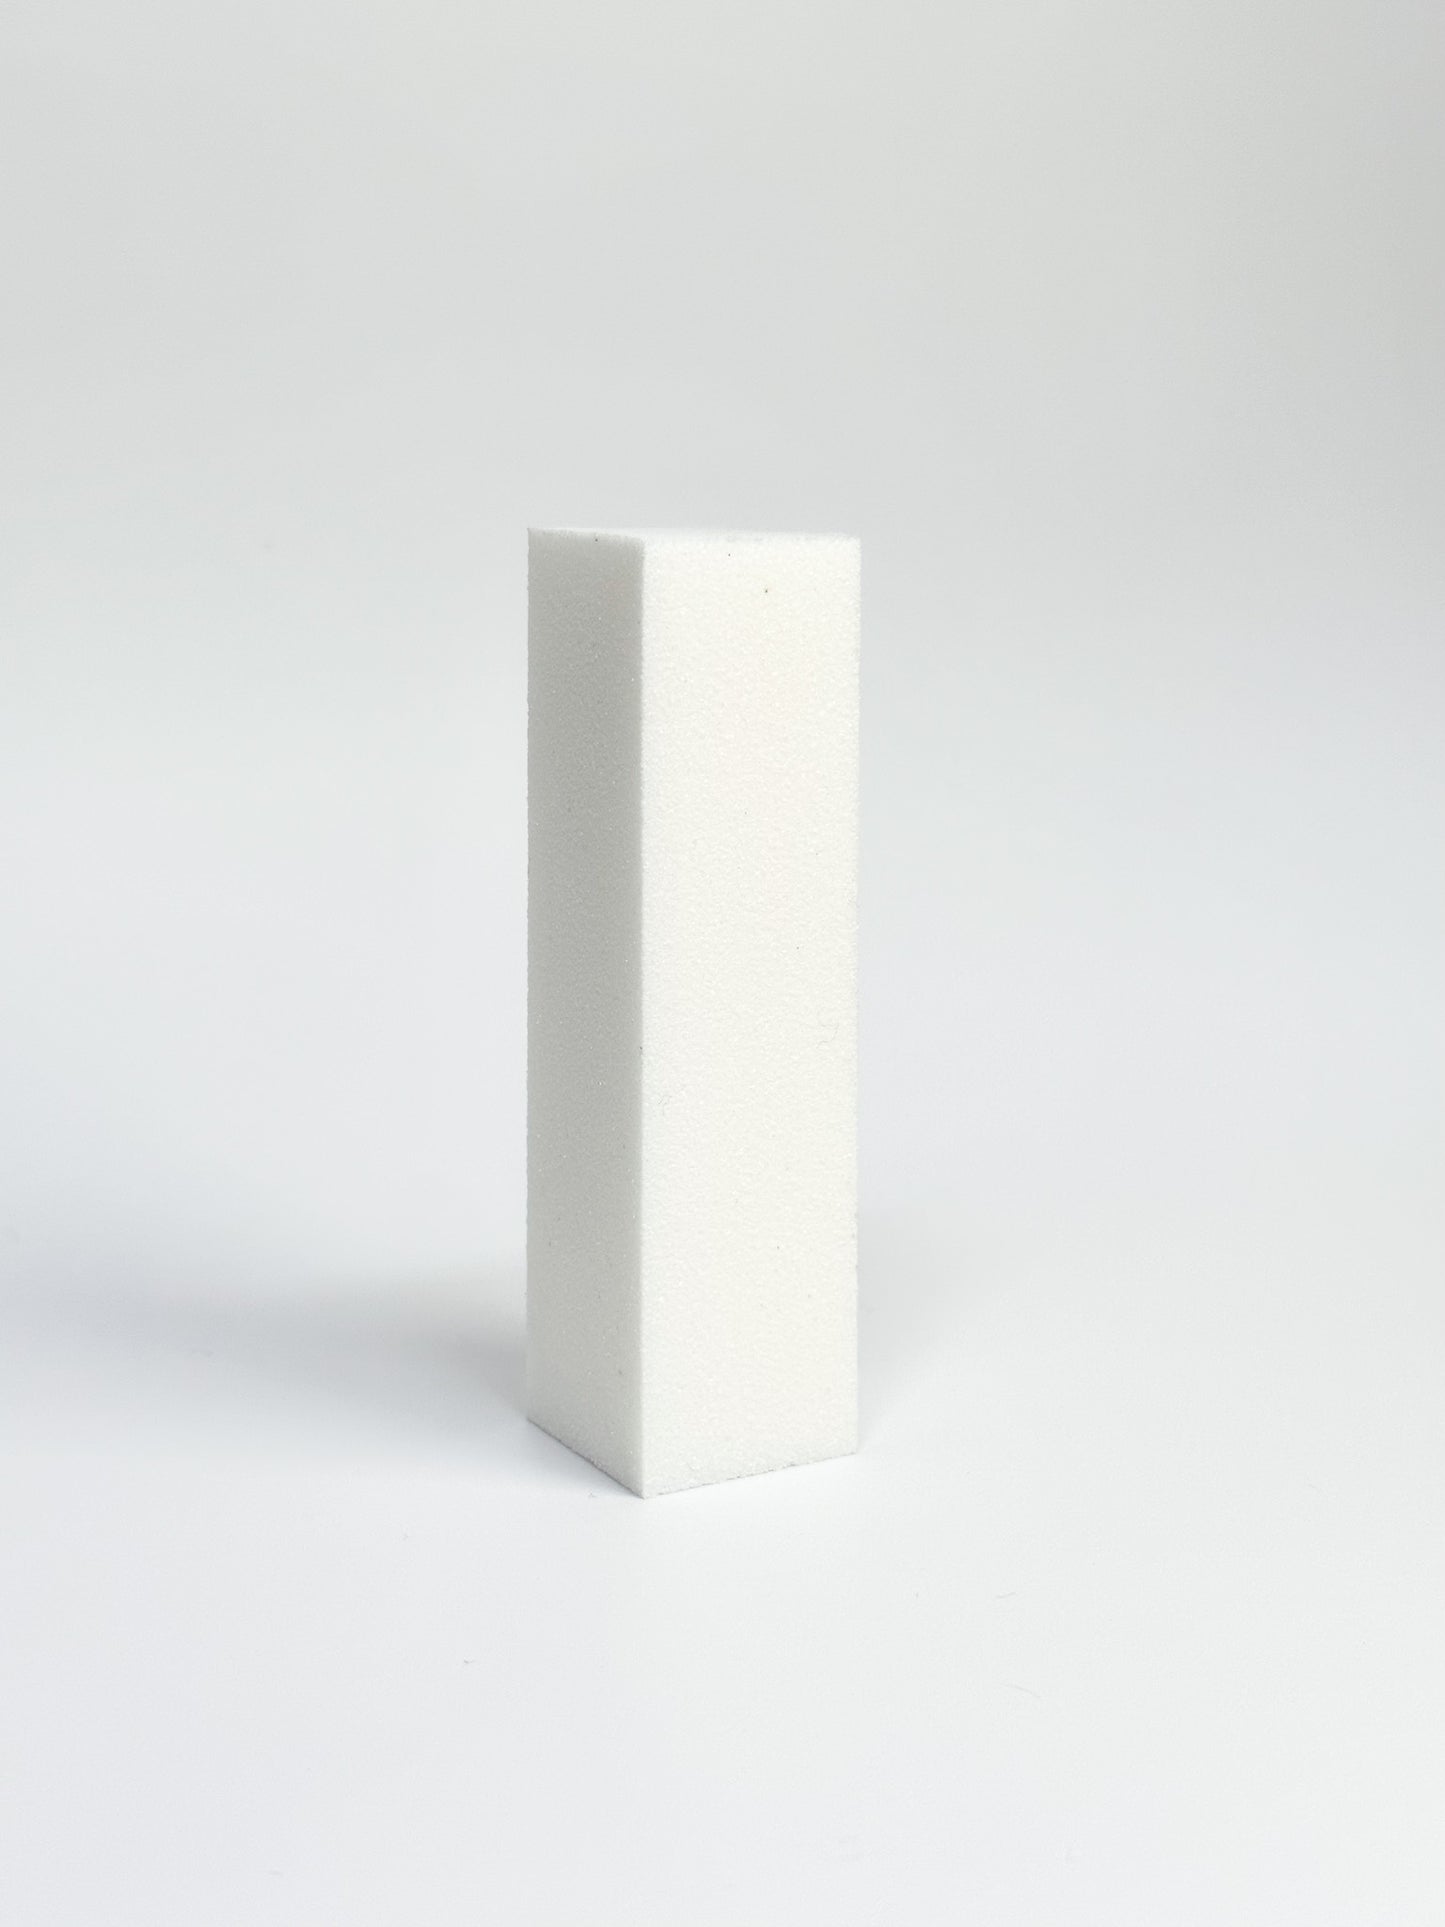
✅ Includes all the essentials you need for nail prep and application
✅ Easy application without extensive filing or shaping
✅ Soft-gel extensions are lightweight and comfortable (no bulk!)
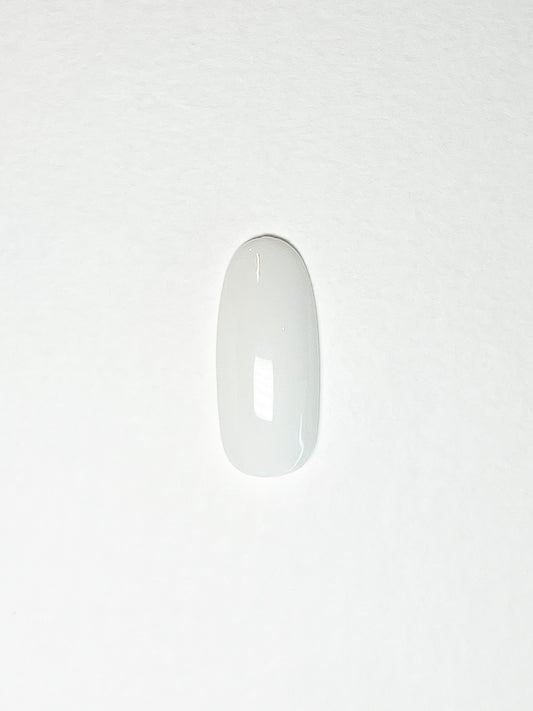
✅ Personalised - get your choice of gel polish colours
Want to learn more about our Gel-Xtend System? Click HERE.
Not sure about sizing? See our size guide HERE.
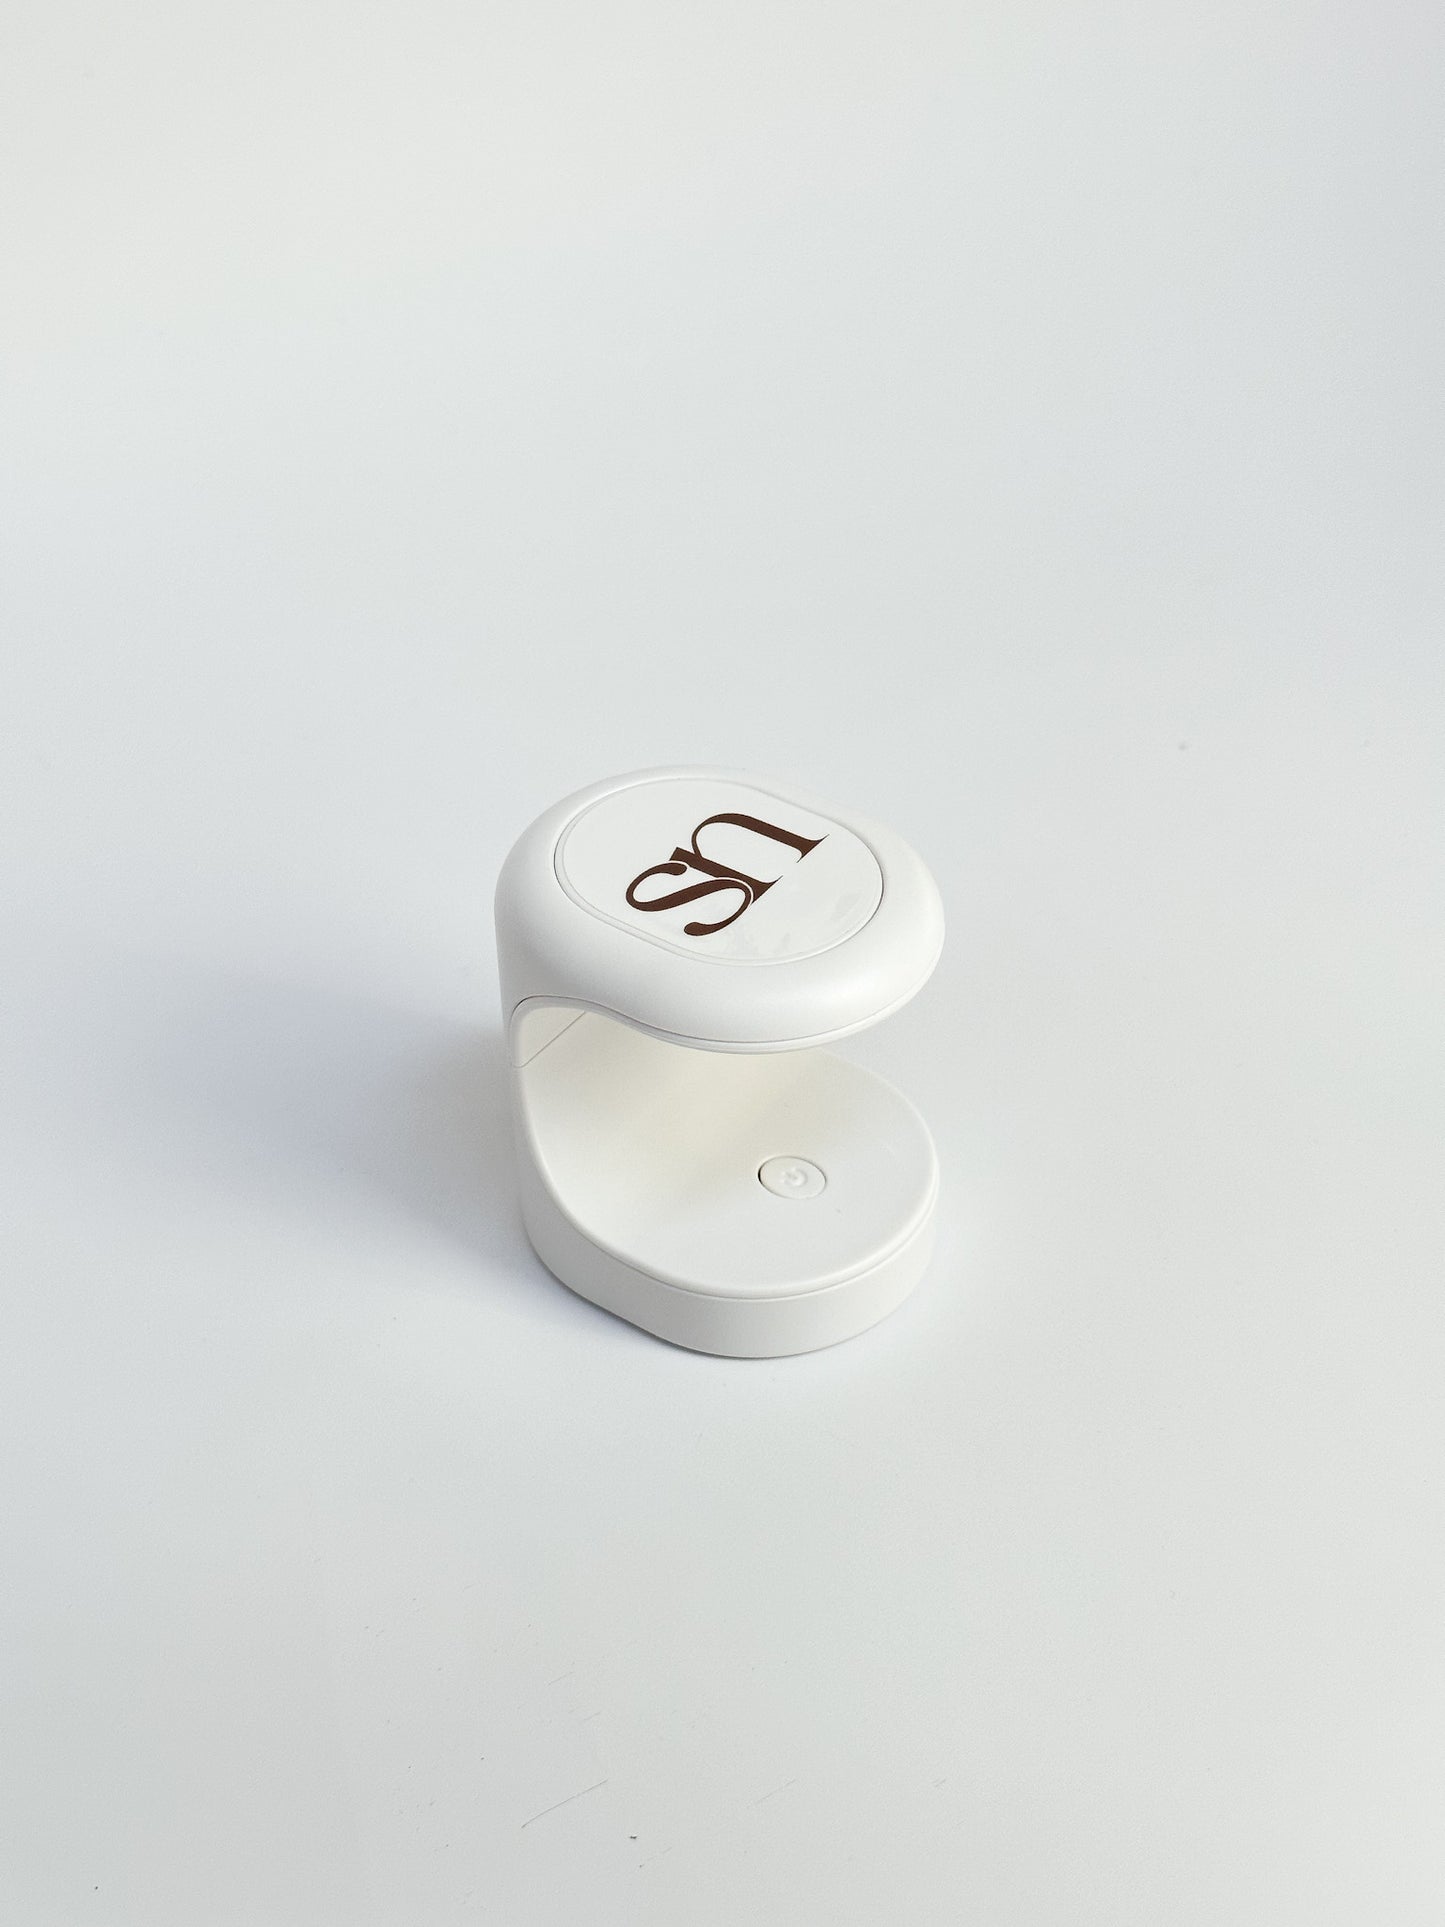
Please note this system also requires a full size 48W UV/LED lamp to fully cure the gel glue and gel polish. Check out our Sadie Lamp 💗
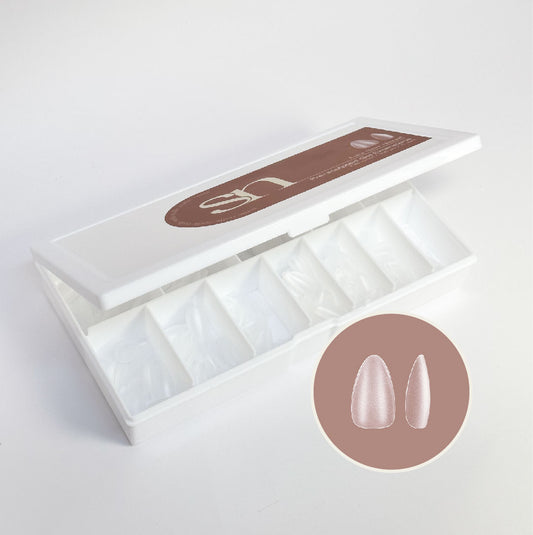
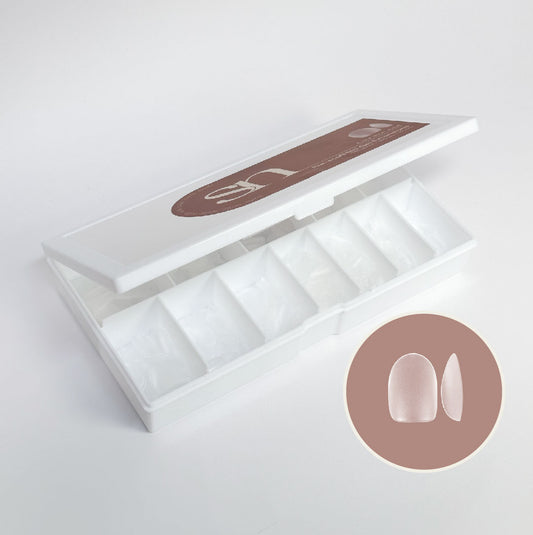
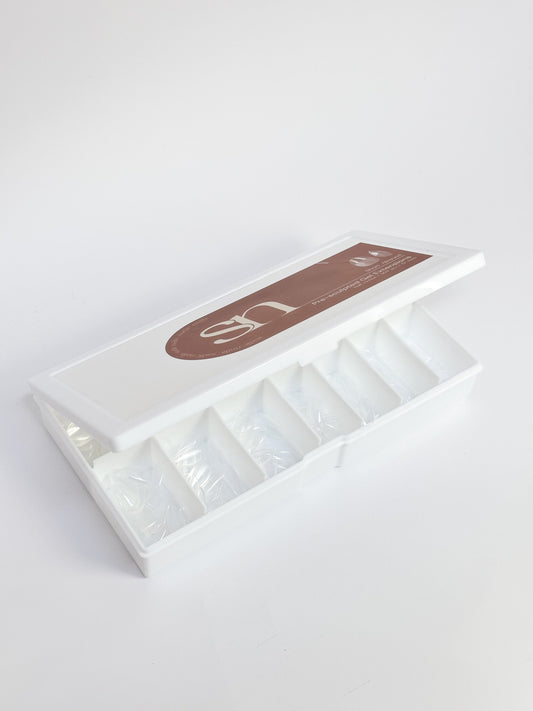
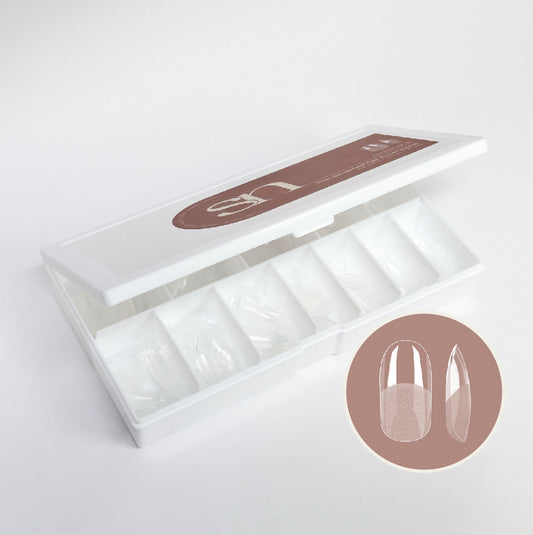
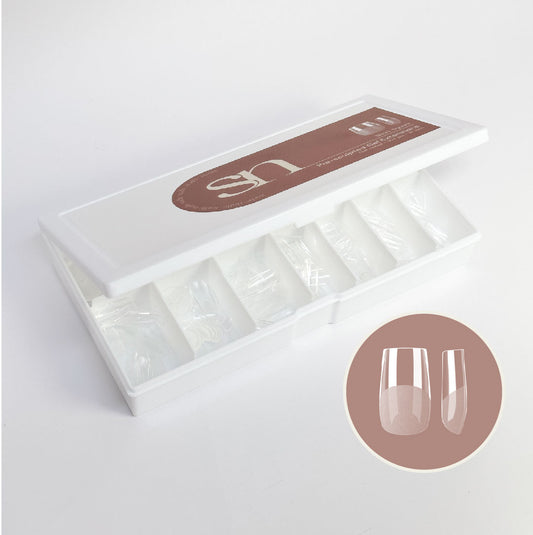
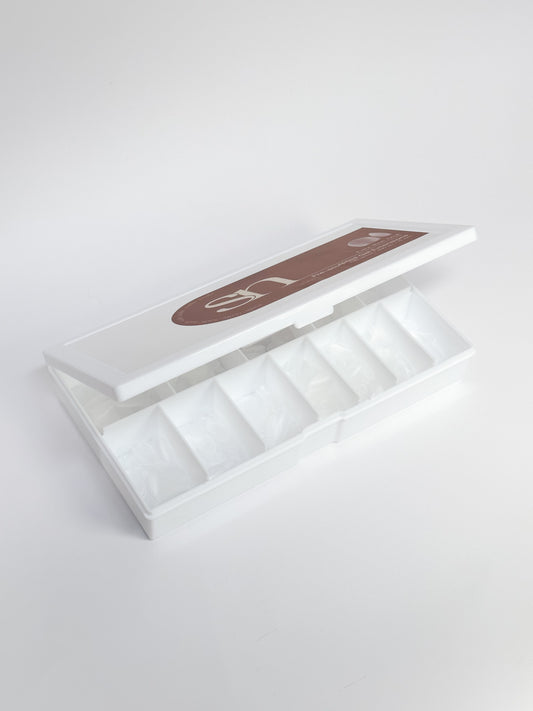
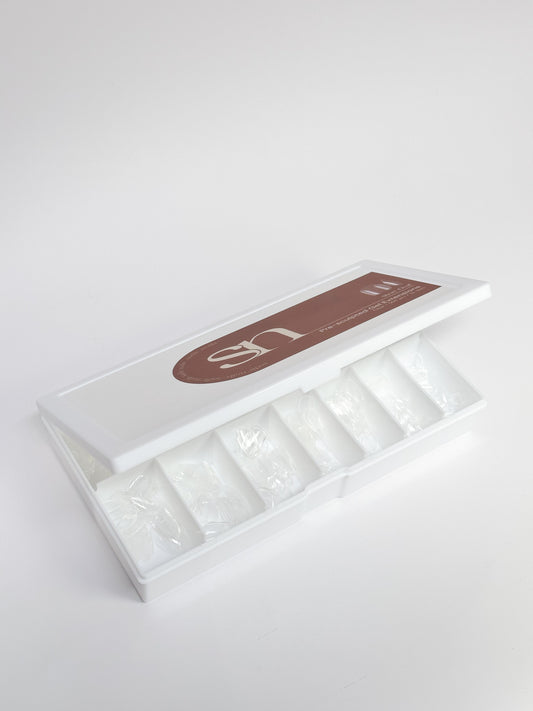
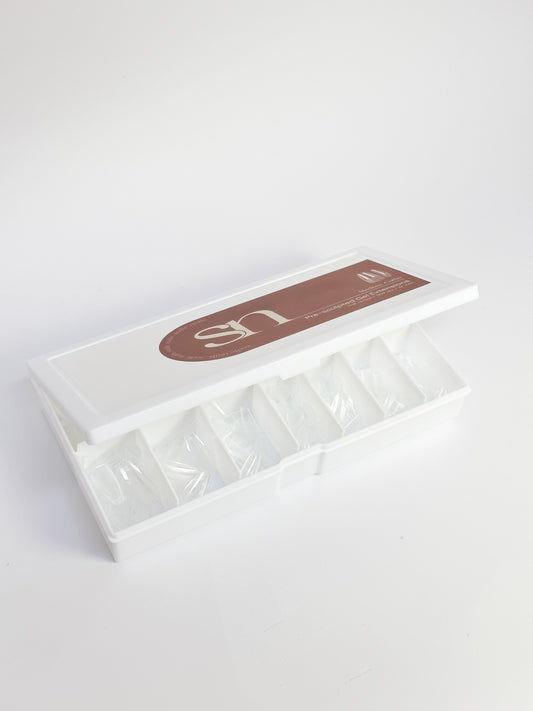
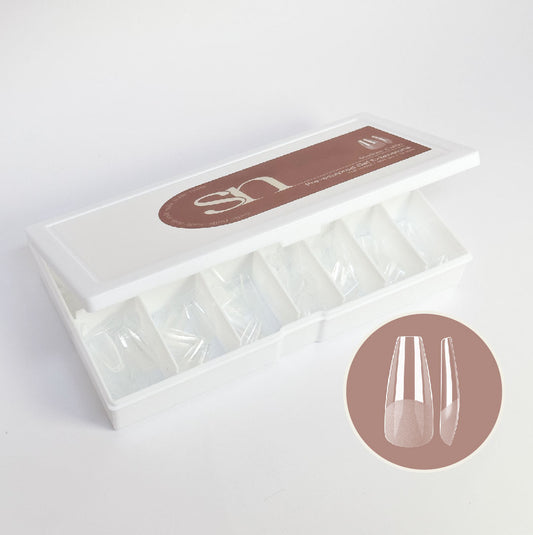
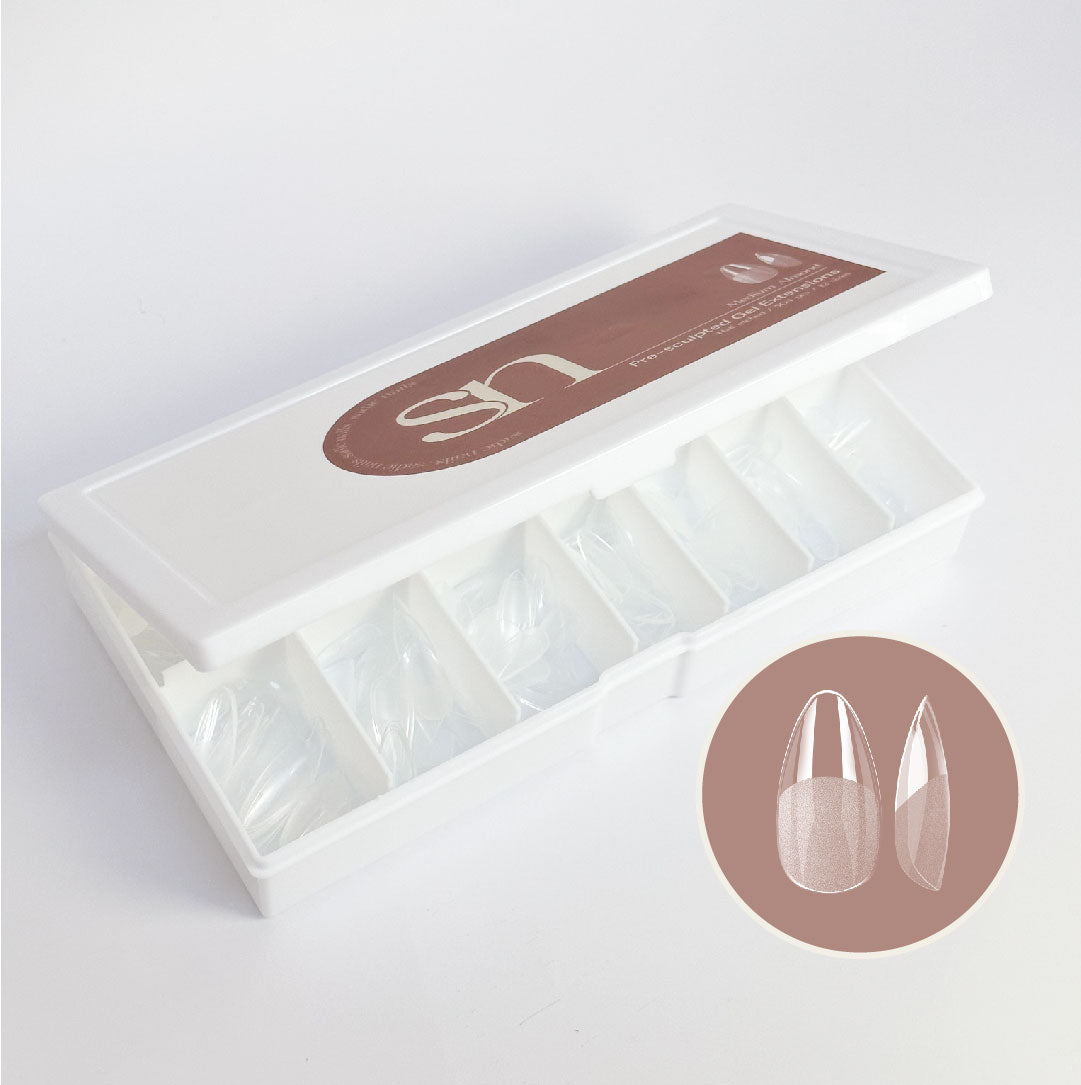
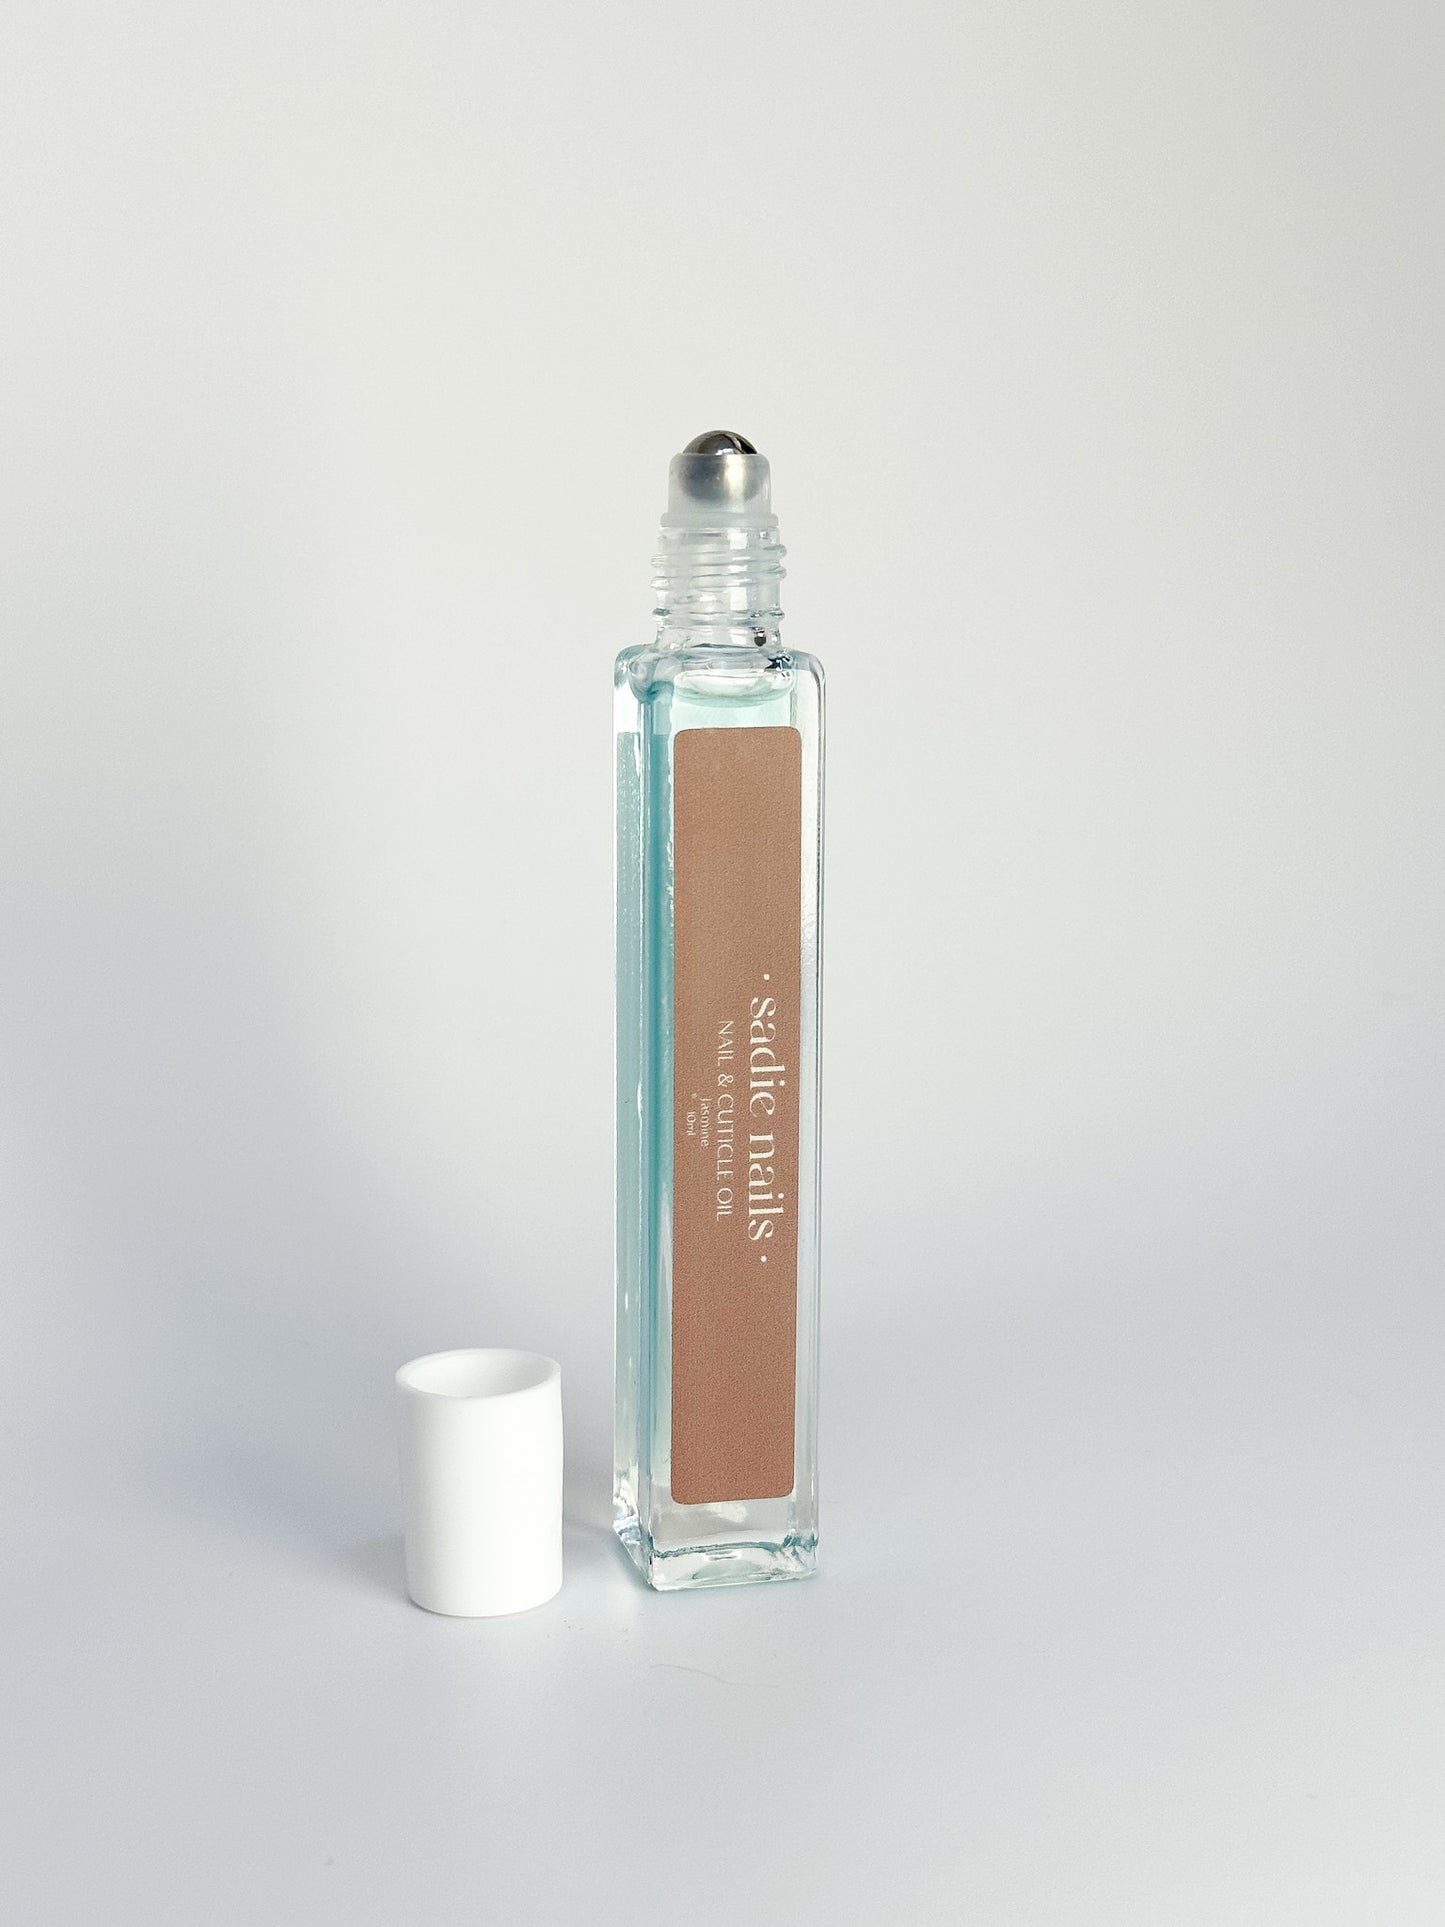
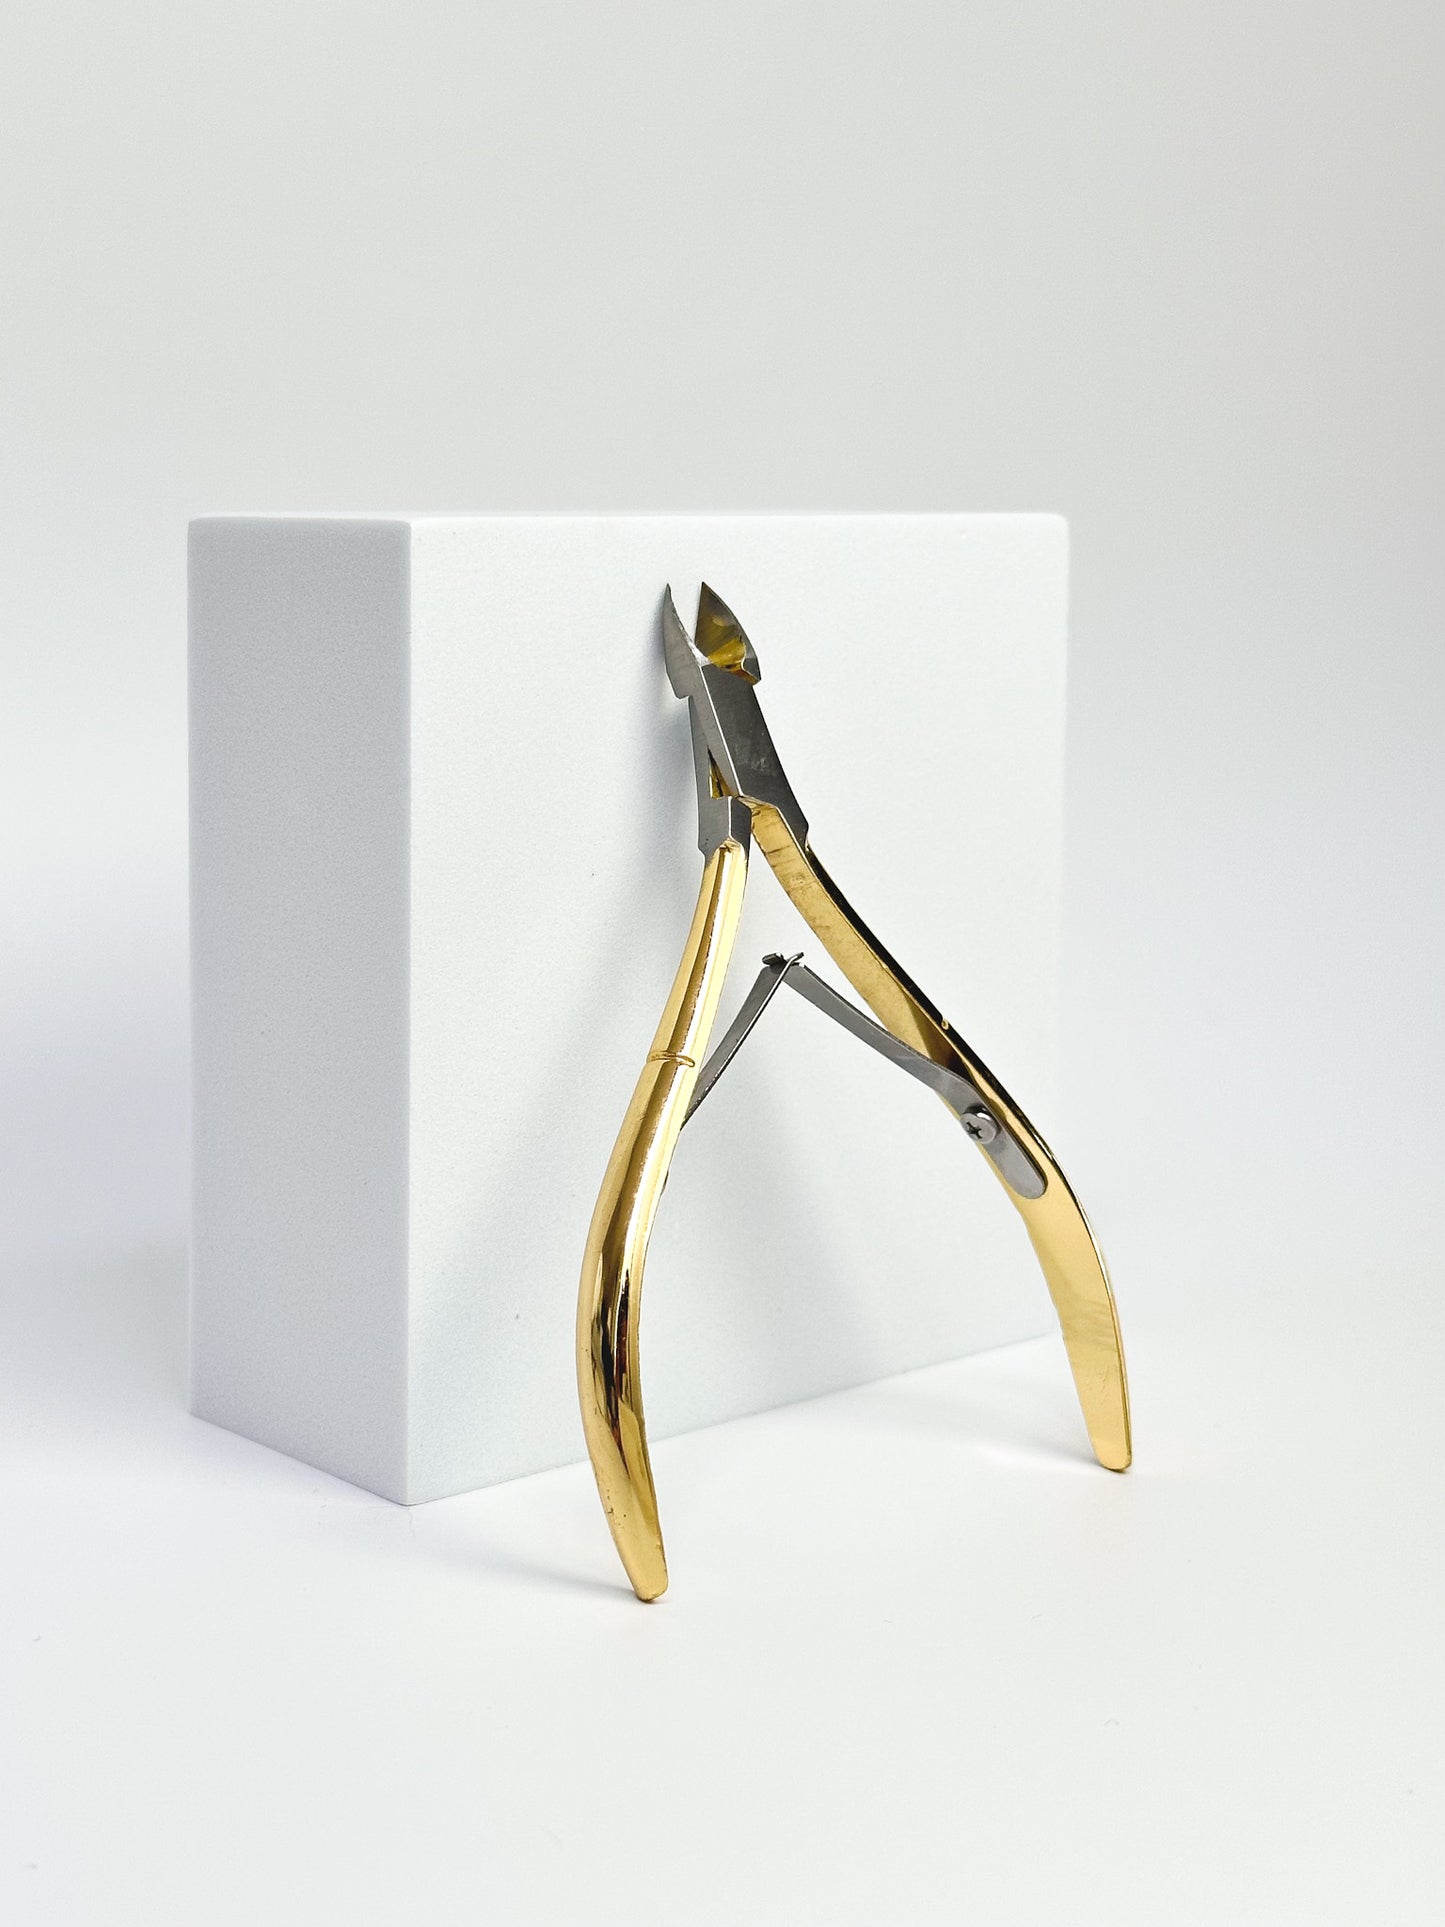
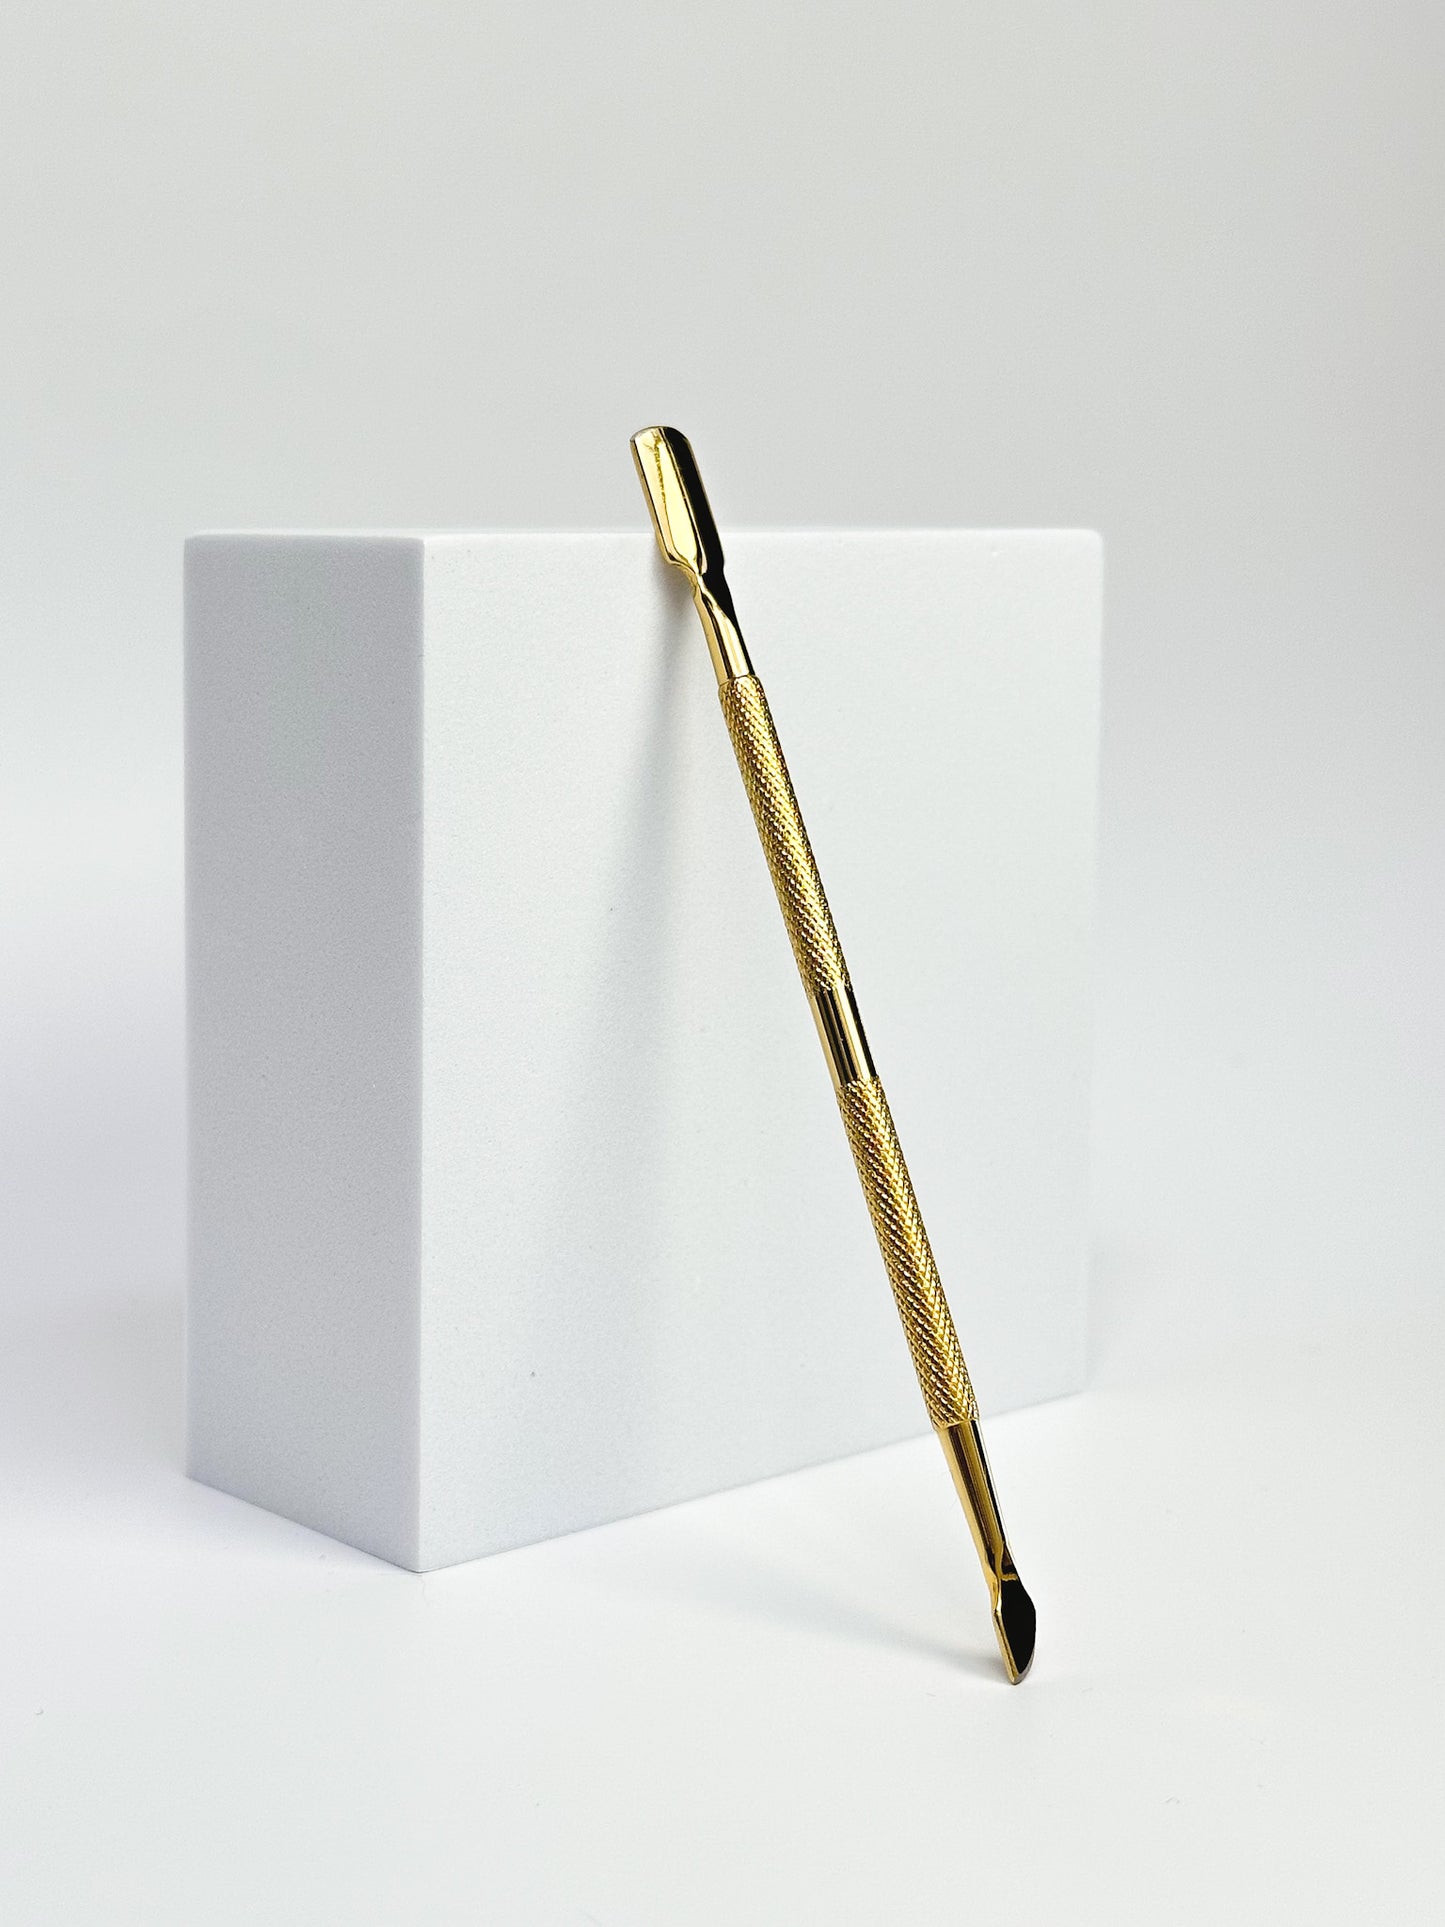
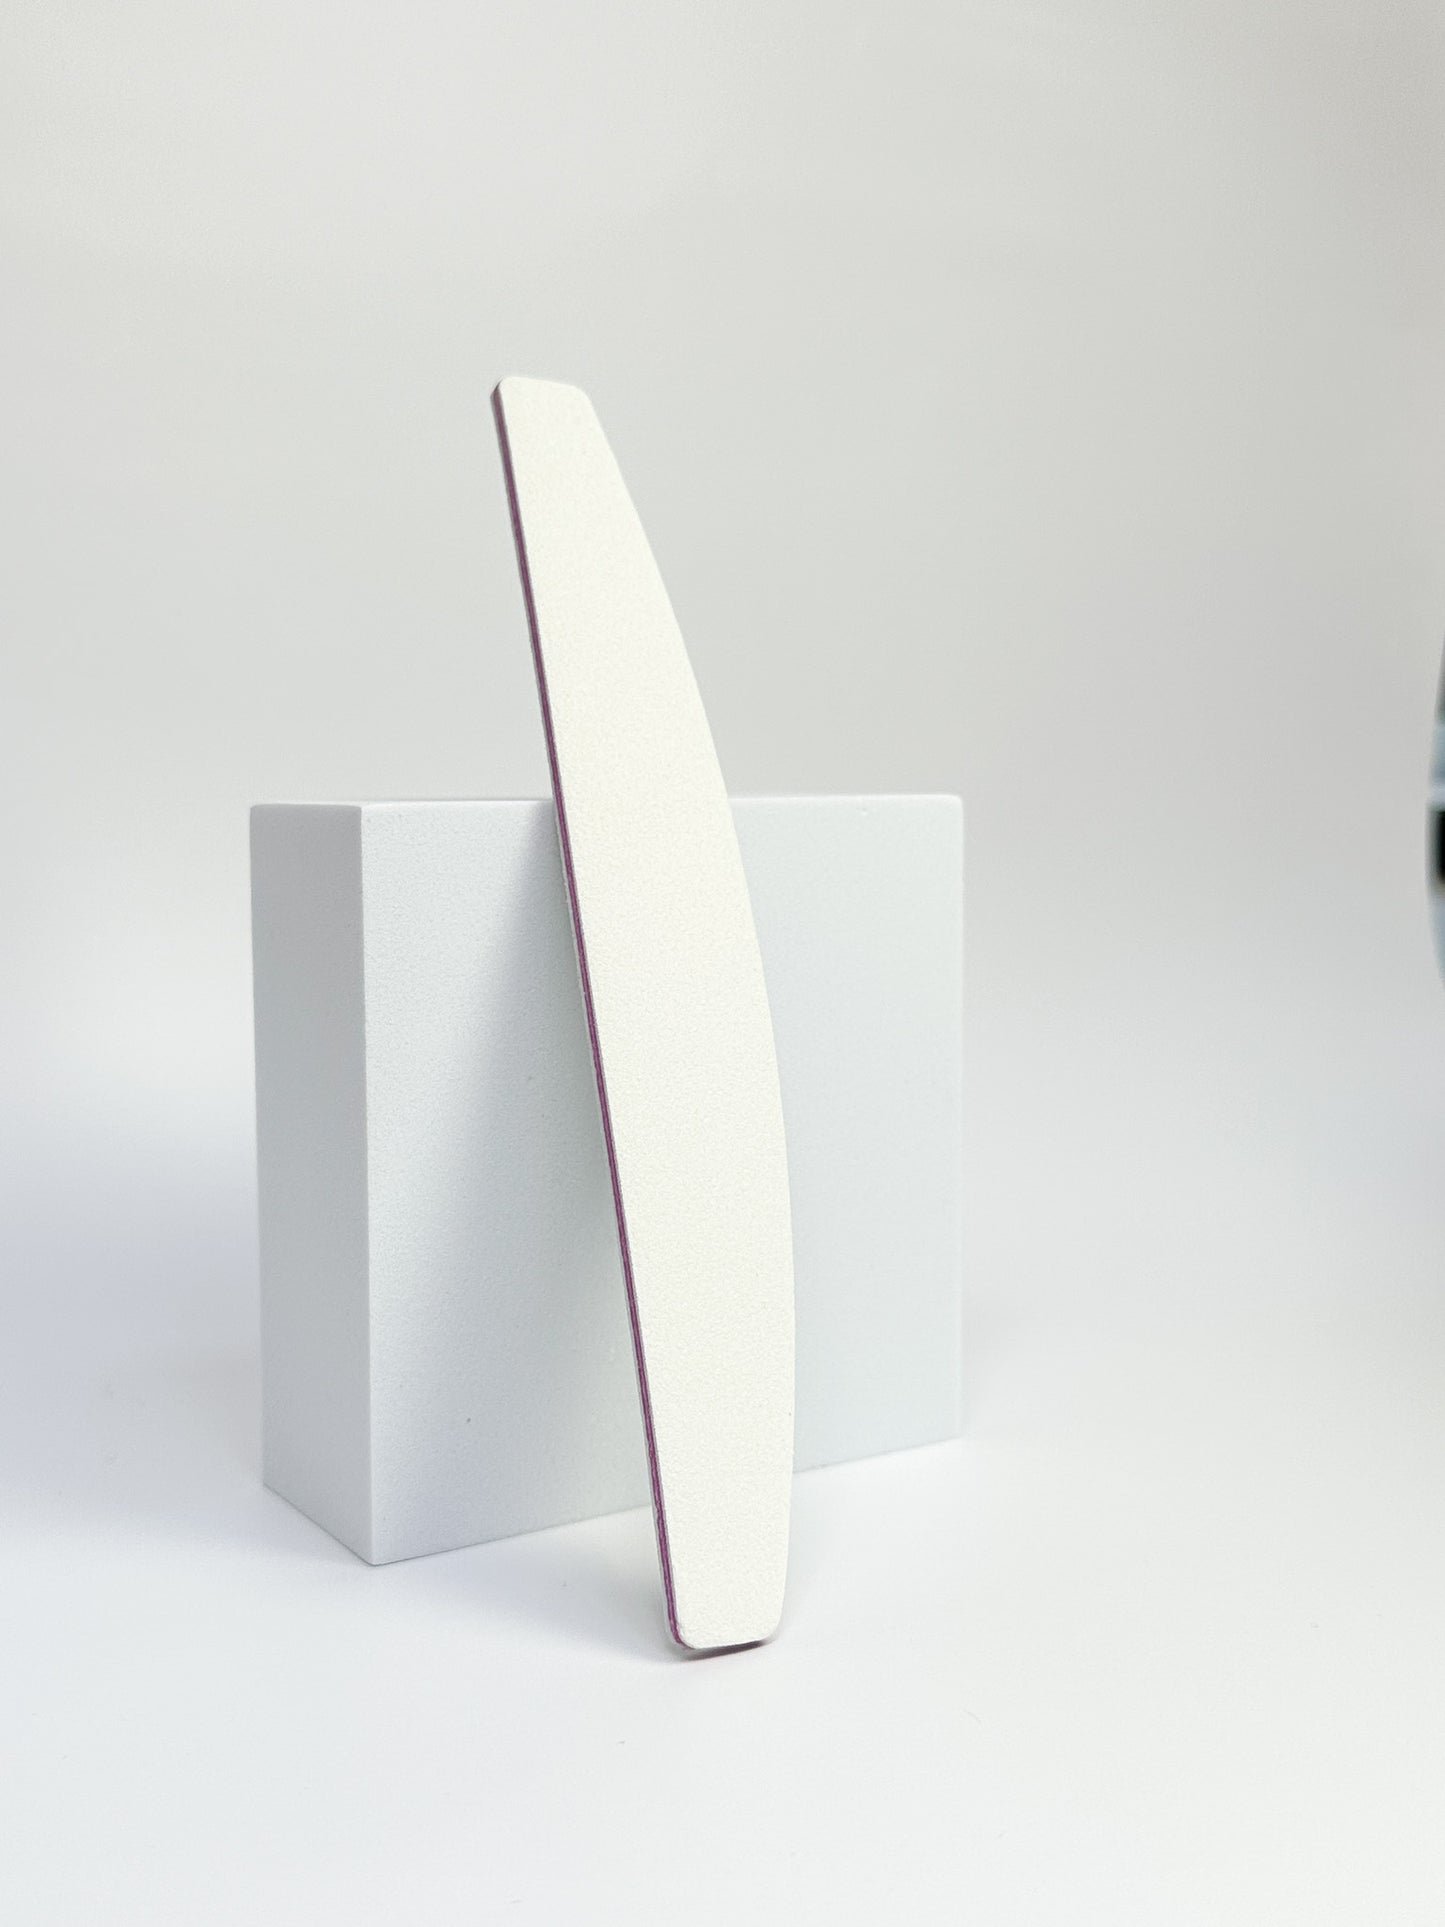
INCLUSIONS
INCLUSIONS
HOW TO USE
HOW TO USE
INGREDIENTS
INGREDIENTS
REMOVAL GUIDE
REMOVAL GUIDE

-
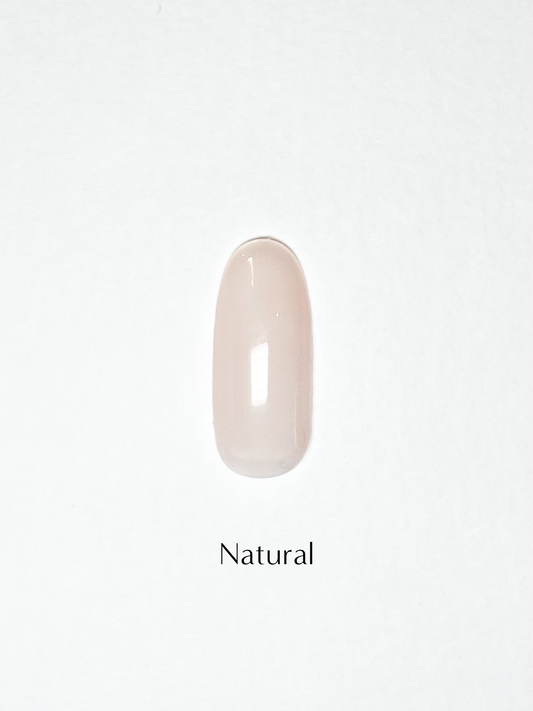
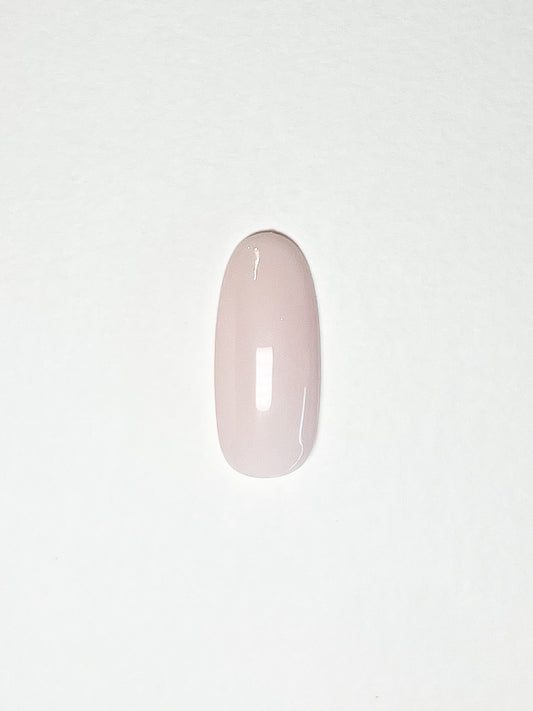
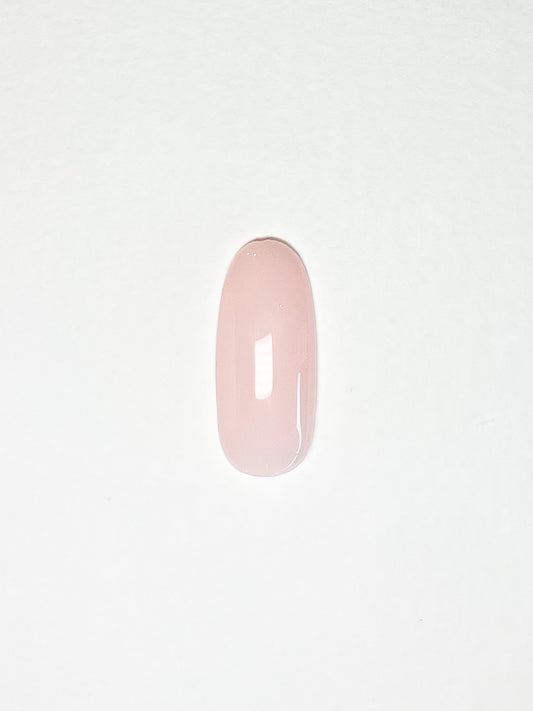
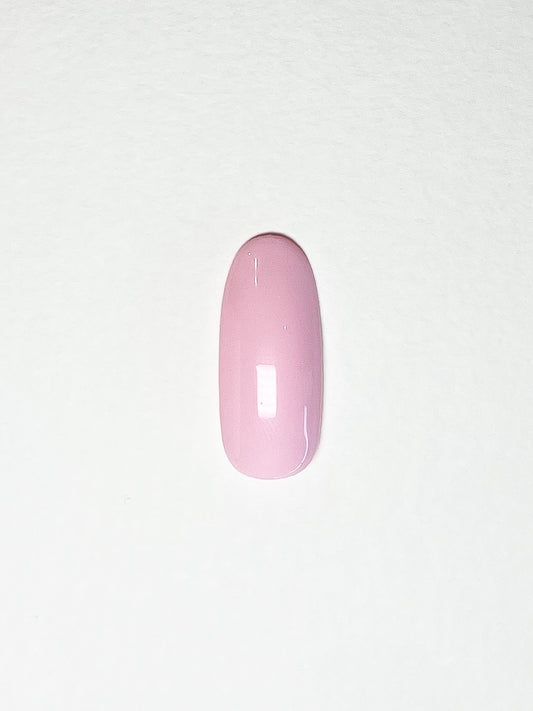
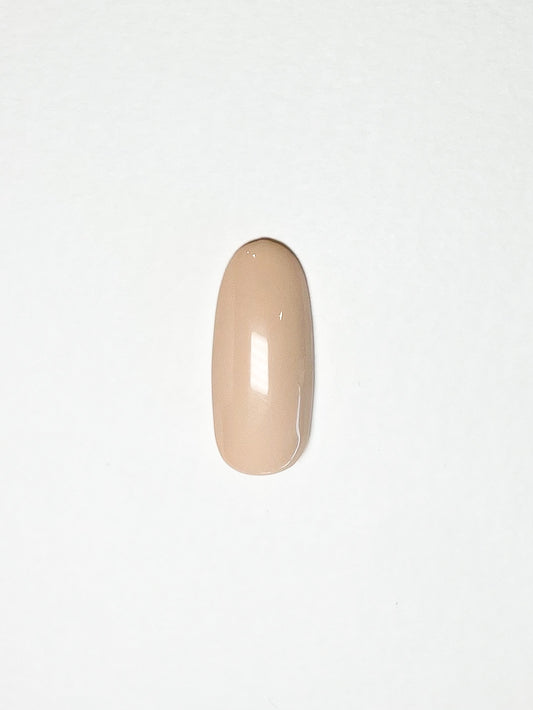
Fairy Floss
Regular price $25.00 AUDRegular priceUnit price per -
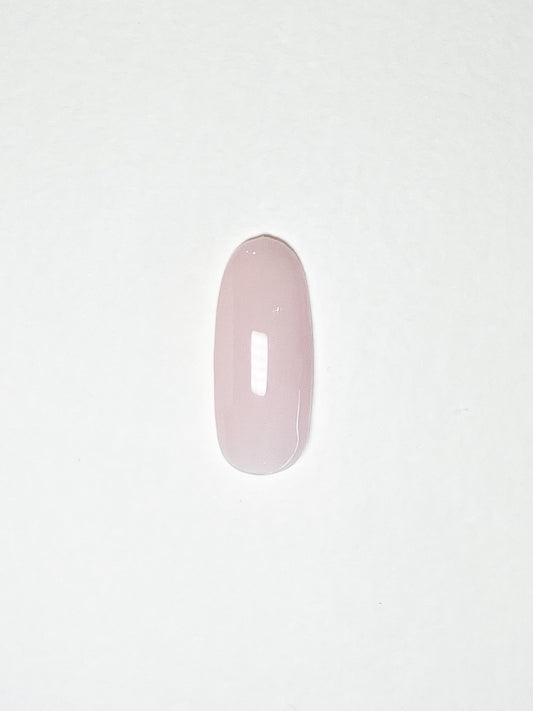
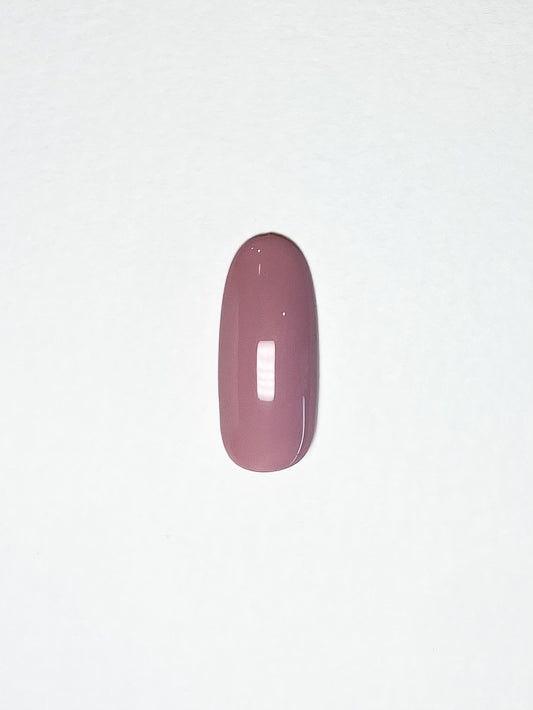
Baby Blush
Regular price $25.00 AUDRegular priceUnit price per -
Pinky Promise
Regular price $25.00 AUDRegular priceUnit price per -
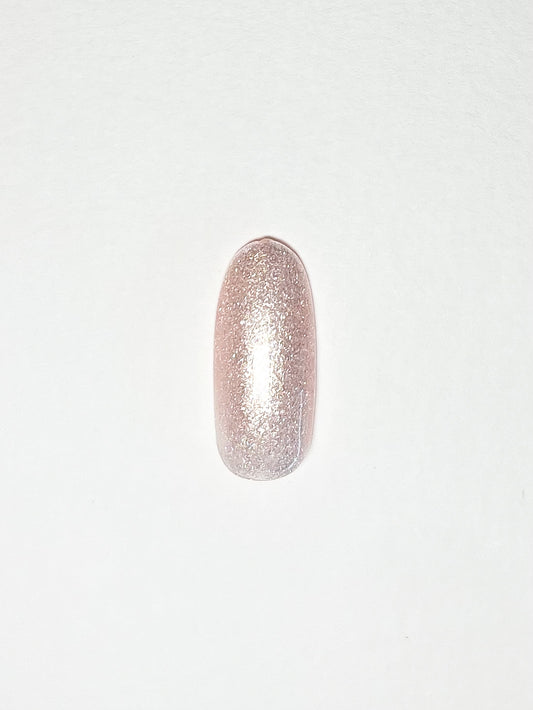
Pillow Talk
Regular price $25.00 AUDRegular priceUnit price per
-
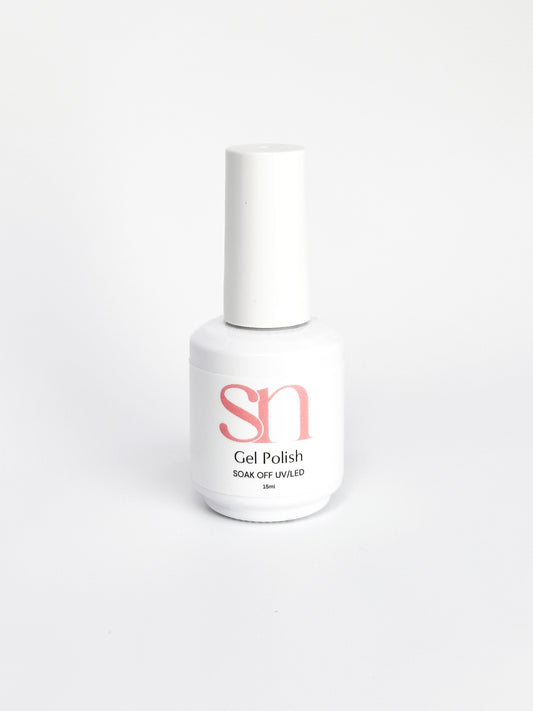
Gel Polish Starter Kit
Regular price $70.00 AUDRegular priceUnit price per -
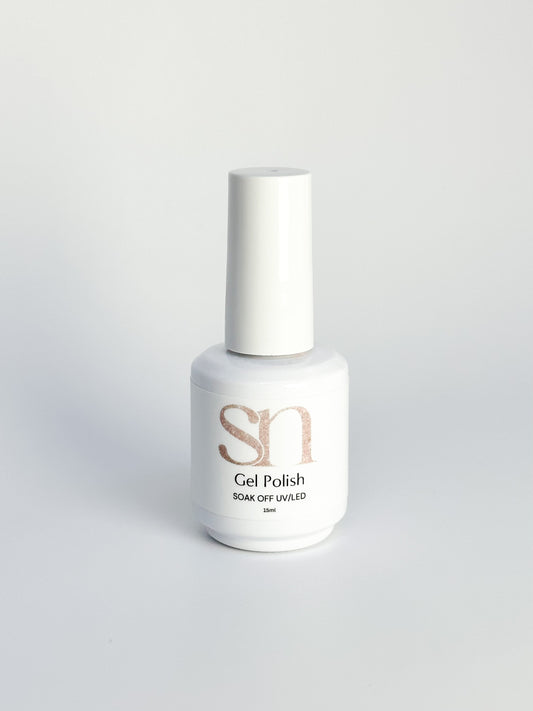
Gel Polish Ultimate Kit
Regular price $110.00 AUDRegular priceUnit price per -
Gel-Xtend Ultimate Kit (Short Almond)
Regular price $195.00 AUDRegular priceUnit price per -
Gel-Xtend Ultimate Kit (Medium Almond)
Regular price $195.00 AUDRegular priceUnit price per -
Gel-Xtend Ultimate Kit (Short Oval)
Regular price $195.00 AUDRegular priceUnit price per -
Gel-Xtend Ultimate Kit (Extra Short Almond)
Regular price $195.00 AUDRegular priceUnit price per -
Gel-Xtend Ultimate Kit (Extra Short Oval)
Regular price $195.00 AUDRegular priceUnit price per -
Gel-Xtend Starter Kit (Short Almond)
Regular price $150.00 AUDRegular priceUnit price per -
Gel-Xtend Ultimate Kit (Medium Oval)
Regular price $195.00 AUDRegular priceUnit price per -
Gel-Xtend Ultimate Kit (Medium Square)
Regular price $195.00 AUDRegular priceUnit price per -
Gel-Xtend Ultimate Kit (Short Square)
Regular price $195.00 AUDRegular priceUnit price per -
Gel-Xtend Ultimate Kit (Extra Short Square)
Regular price $195.00 AUDRegular priceUnit price per -
Gel-Xtend Ultimate Kit (Short Coffin)
Regular price $195.00 AUDRegular priceUnit price per -
Gel-Xtend Starter Kit (Extra-Short Almond)
Regular price $150.00 AUDRegular priceUnit price per -
Gel-Xtend Starter Kit (Medium Almond)
Regular price $150.00 AUDRegular priceUnit price per -
Gel-Xtend Starter Kit (Extra-Short Oval)
Regular price $150.00 AUDRegular priceUnit price per -
Gel-Xtend Starter Kit (Short Oval)
Regular price $150.00 AUDRegular priceUnit price per -
Gel-Xtend Starter Kit (Medium Oval)
Regular price $150.00 AUDRegular priceUnit price per -
Gel-Xtend Starter Kit (Extra-Short Square)
Regular price $150.00 AUDRegular priceUnit price per -
Gel-Xtend Starter Kit (Short Square)
Regular price $150.00 AUDRegular priceUnit price per -
Gel-Xtend Starter Kit (Medium Square)
Regular price $150.00 AUDRegular priceUnit price per -
Gel-Xtend Starter Kit (Short Coffin)
Regular price $150.00 AUDRegular priceUnit price per -
Gel-Xtend Starter Kit (Medium Coffin)
Regular price $150.00 AUDRegular priceUnit price per -
Gel-Xtend Ultimate Kit (Medium Coffin)
Regular price $195.00 AUDRegular priceUnit price per