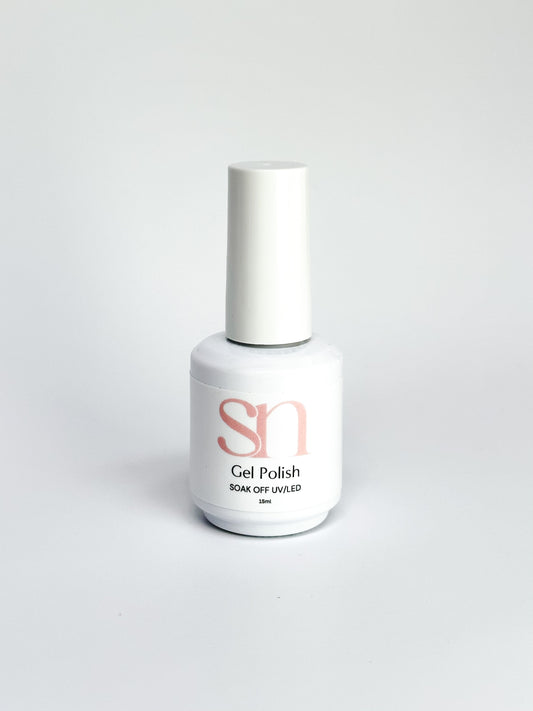
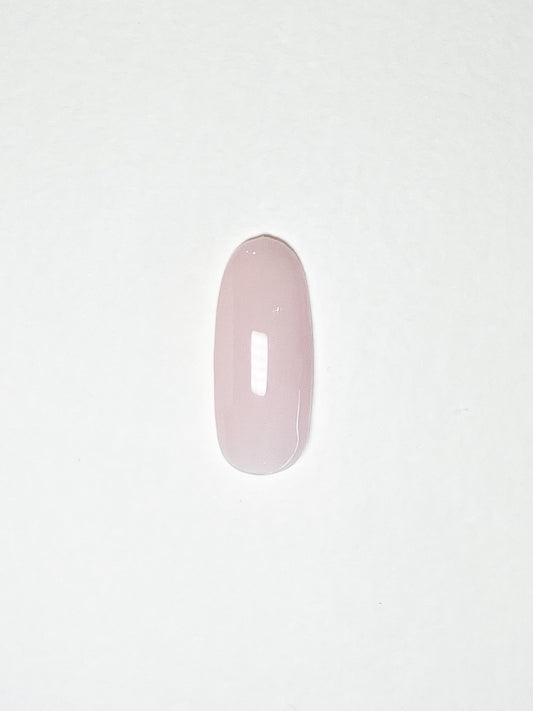
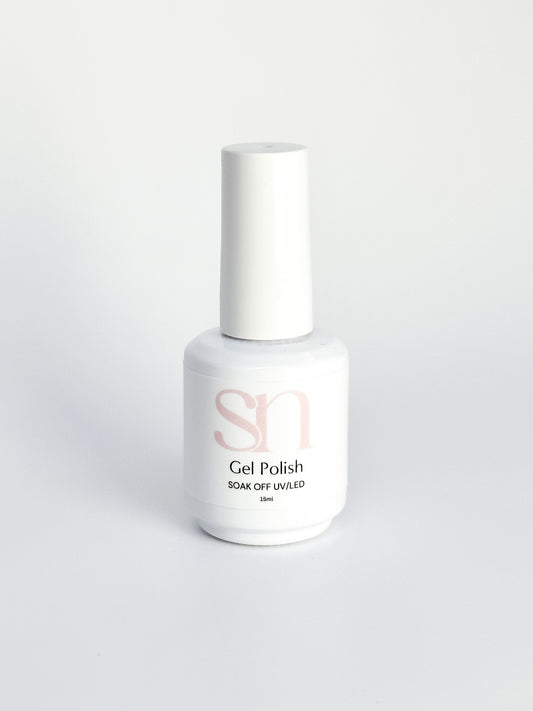
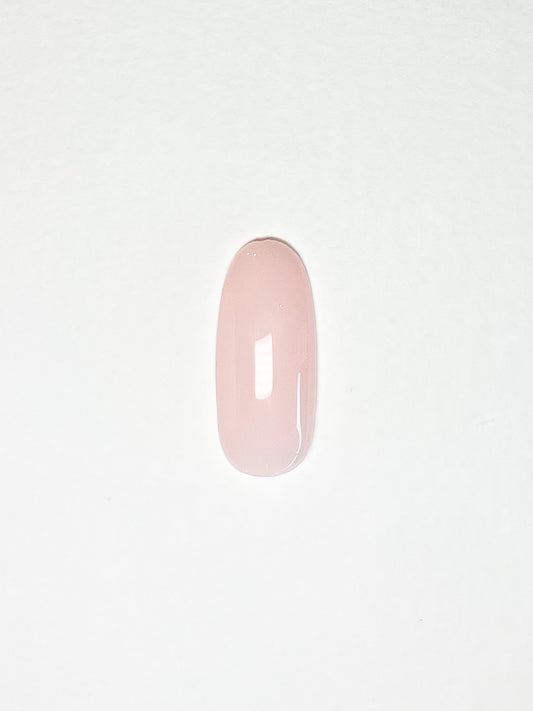
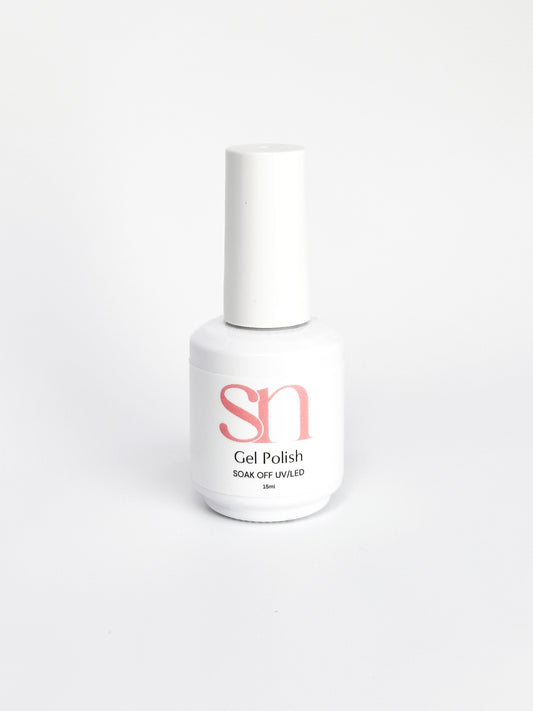
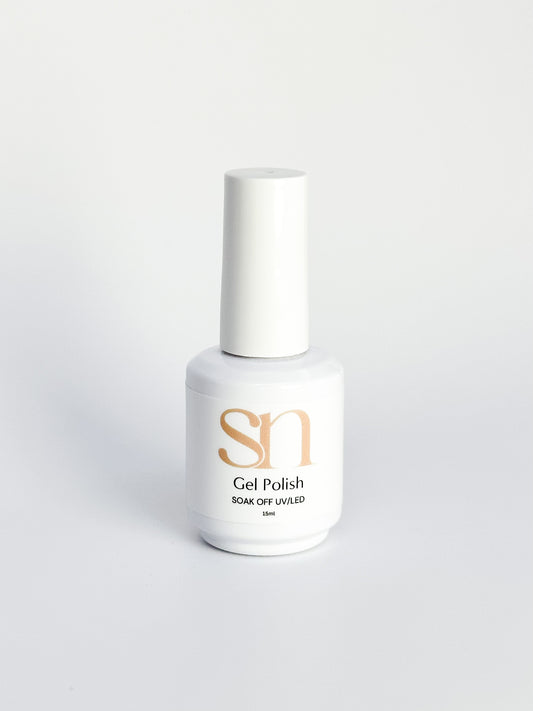
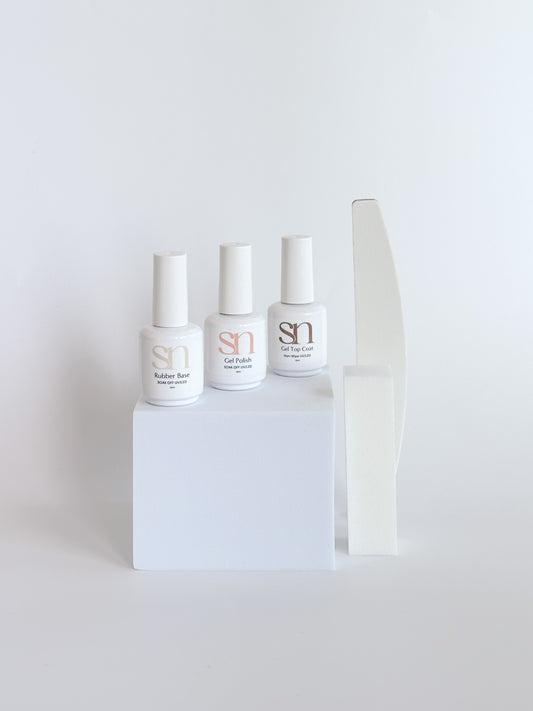
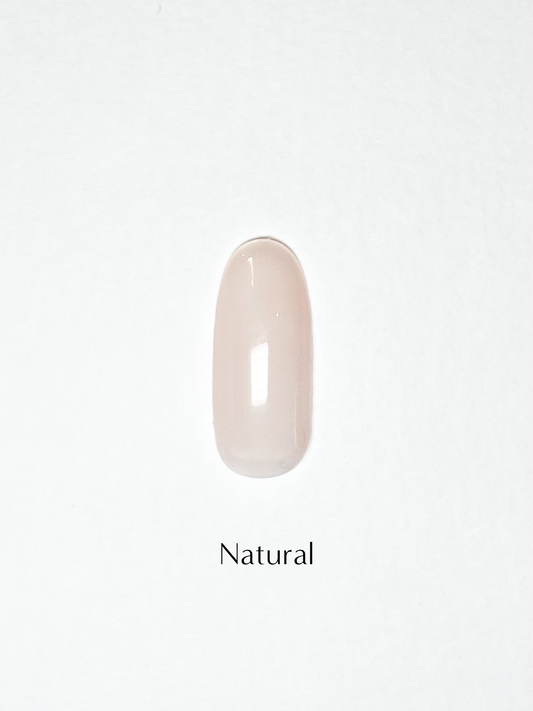
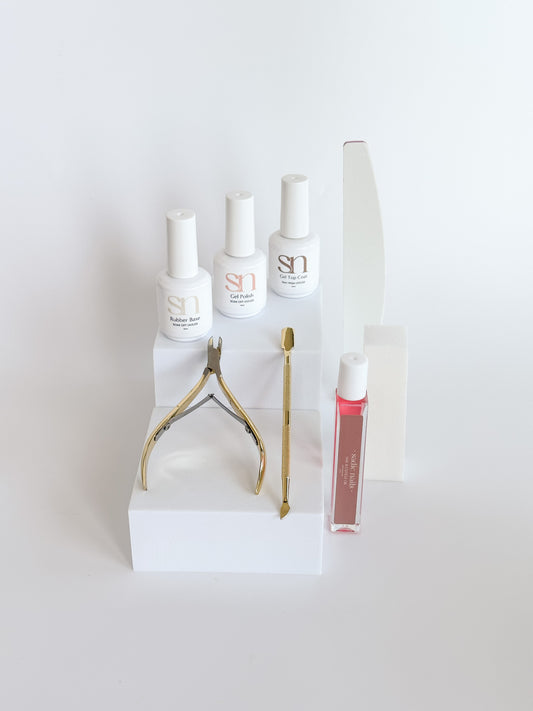
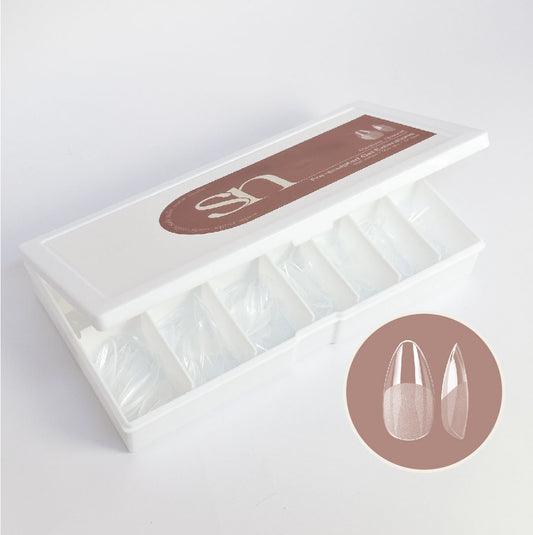
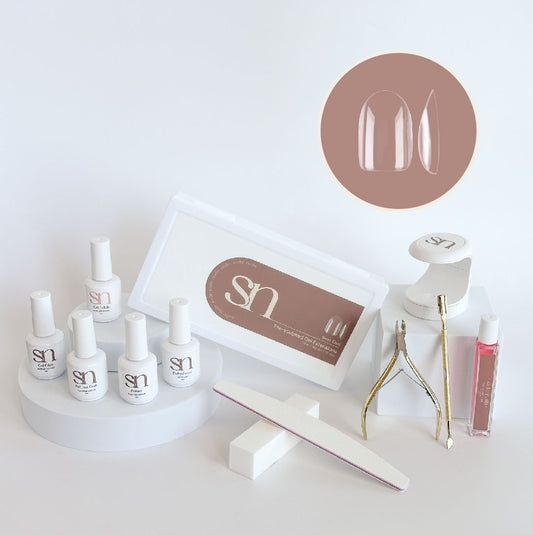
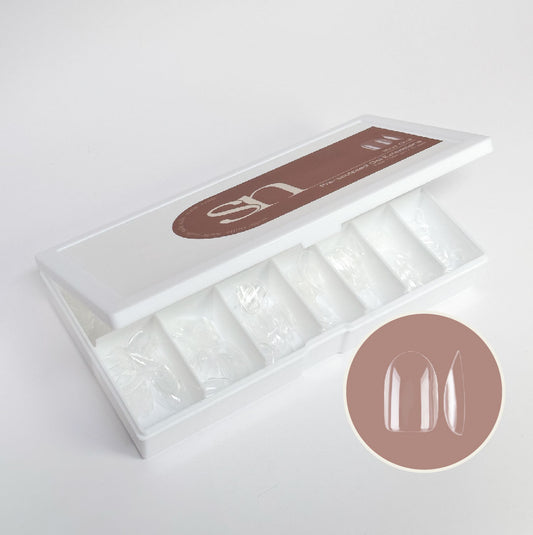
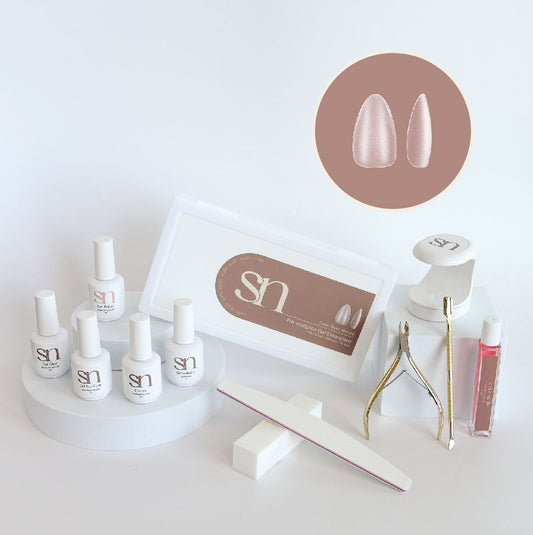
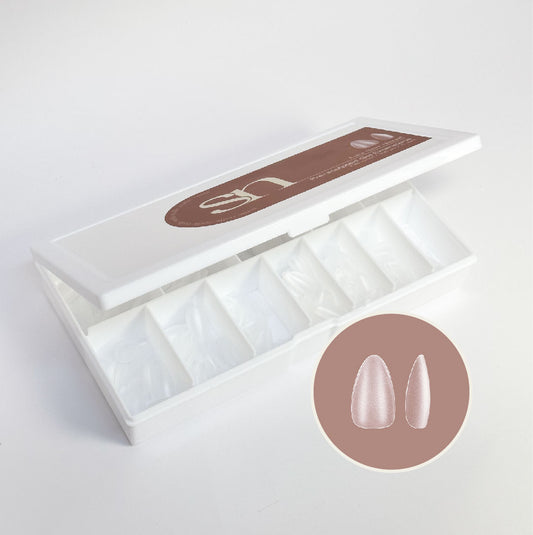
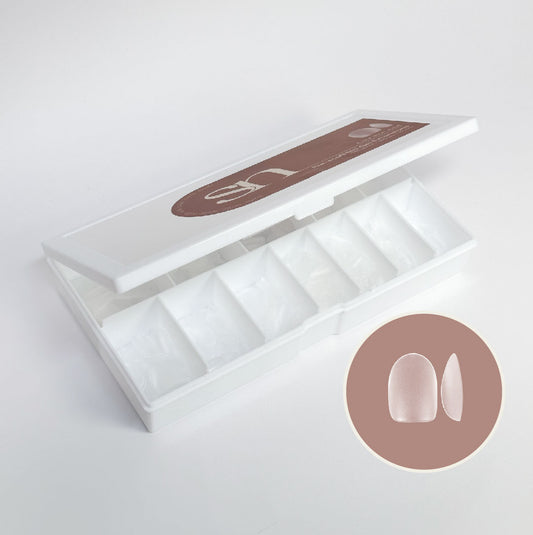
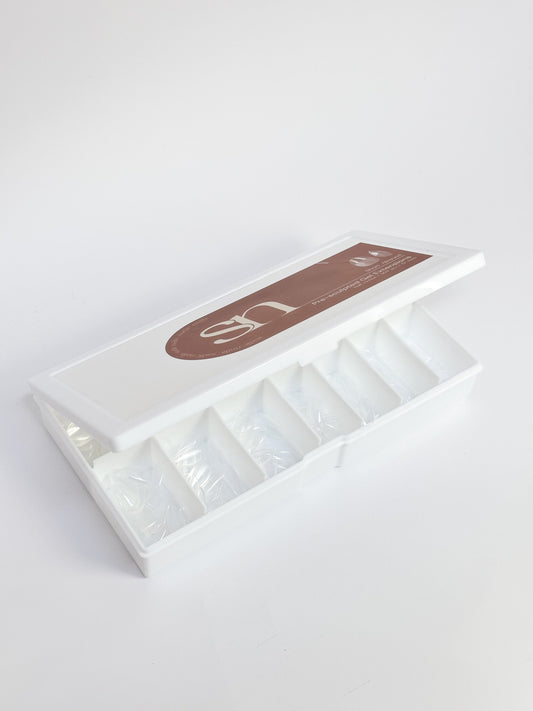
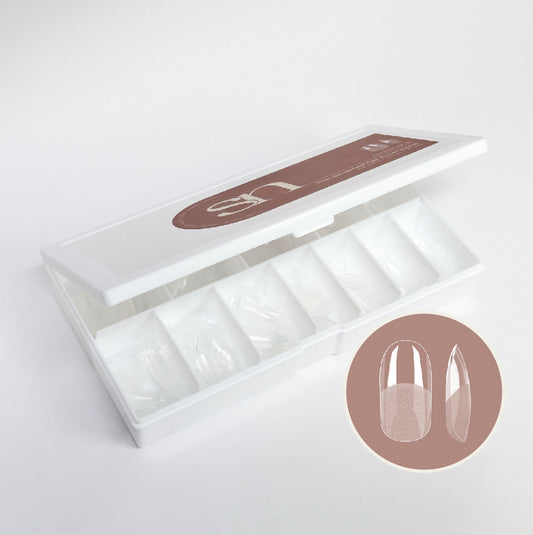
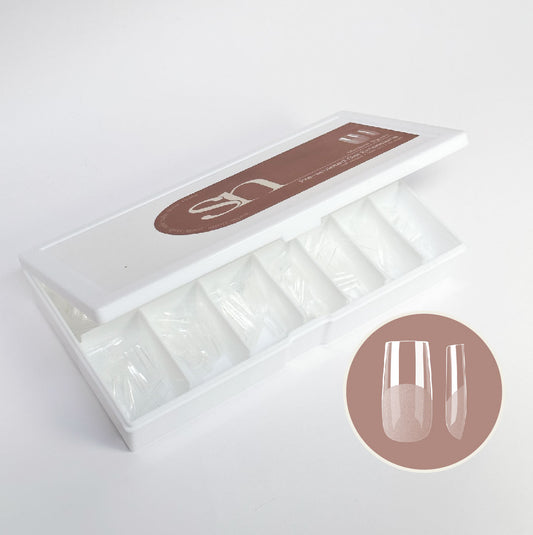
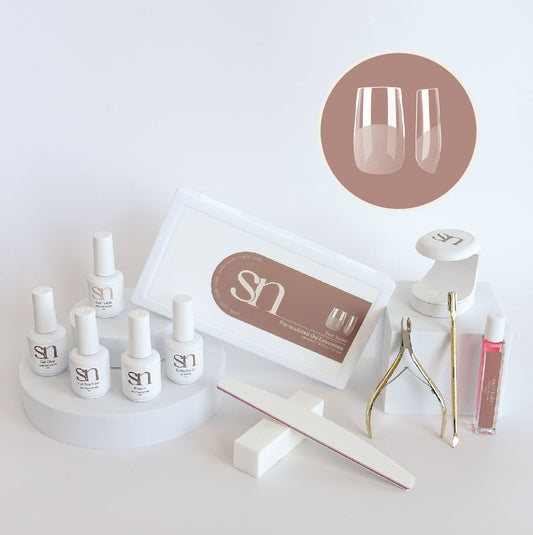
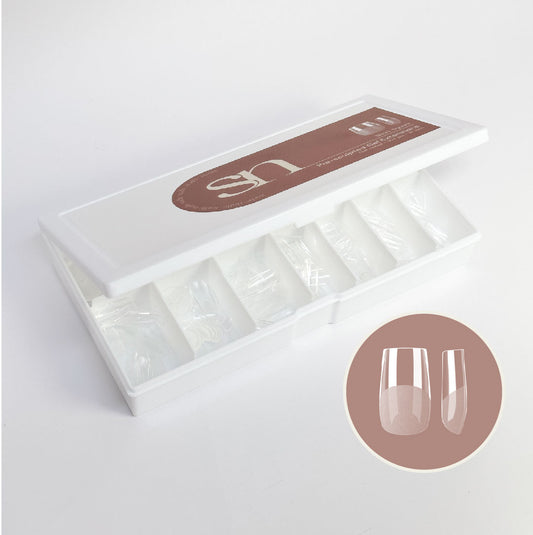
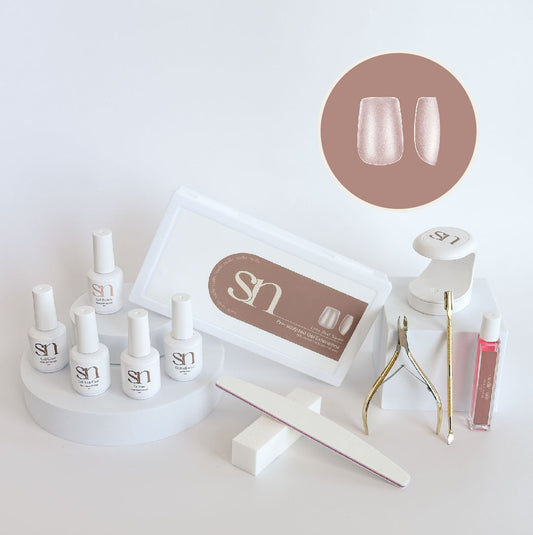
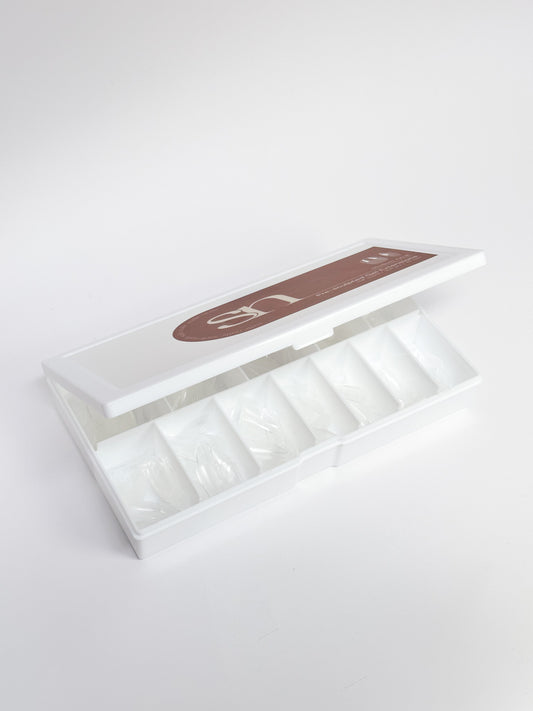
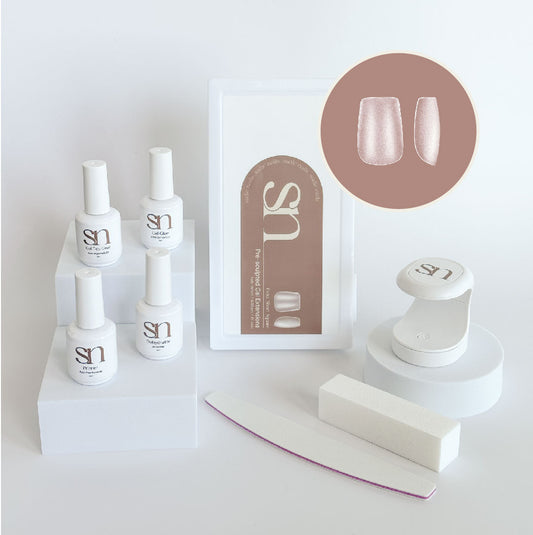
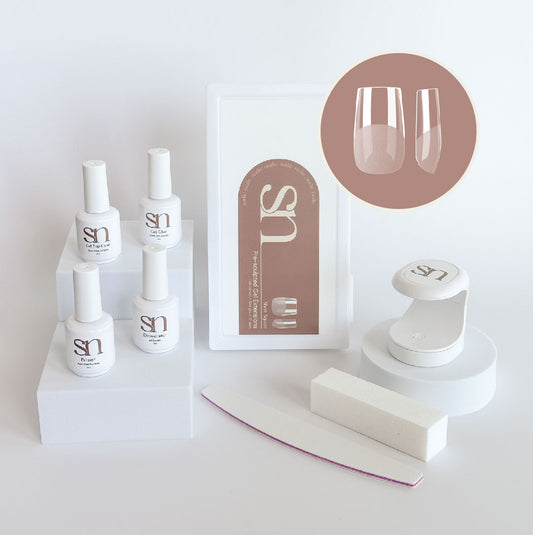
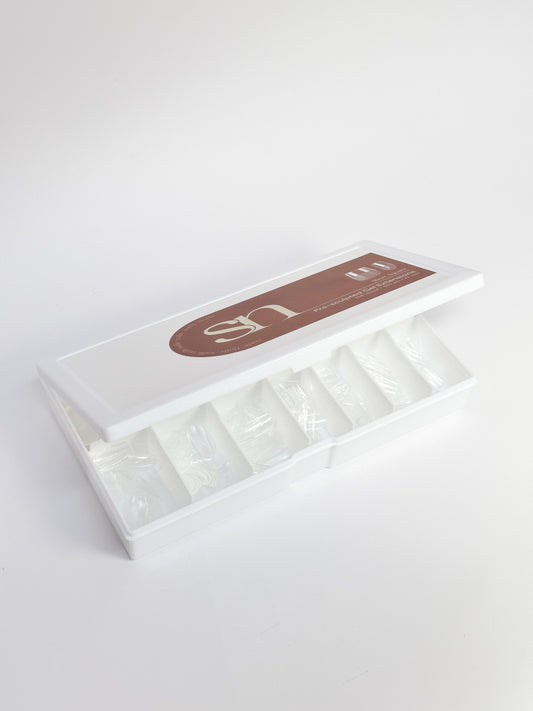
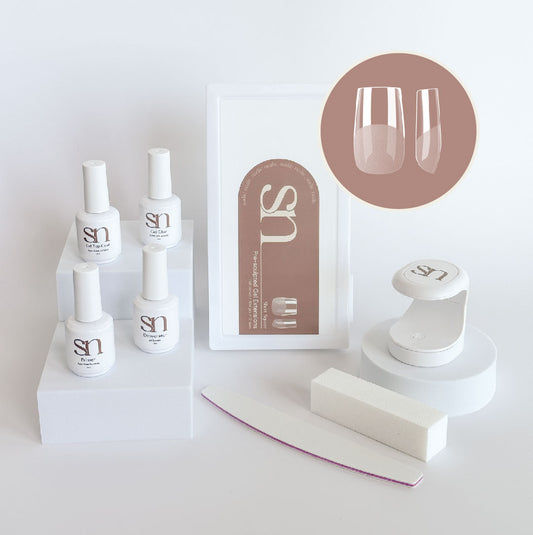
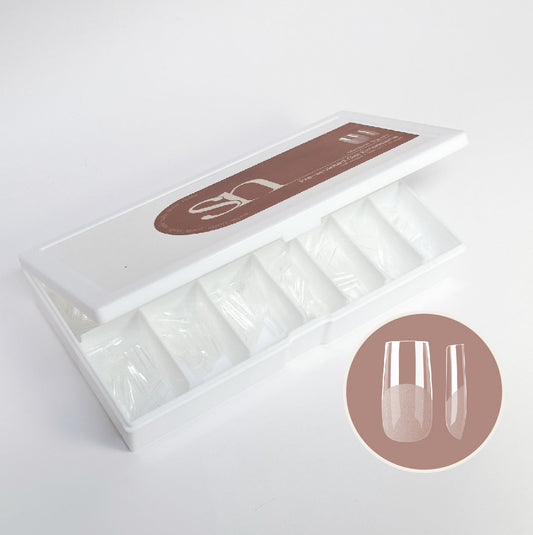
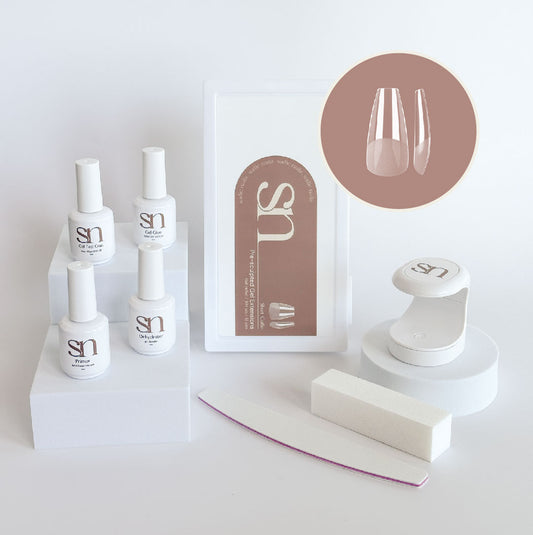
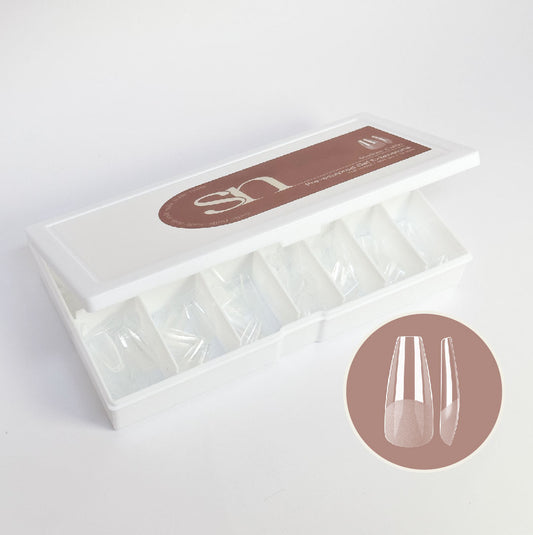
Gel-Xtend Starter Kit (Medium Square)
Gel-Xtend Starter Kit (Medium Square)
Couldn't load pickup availability
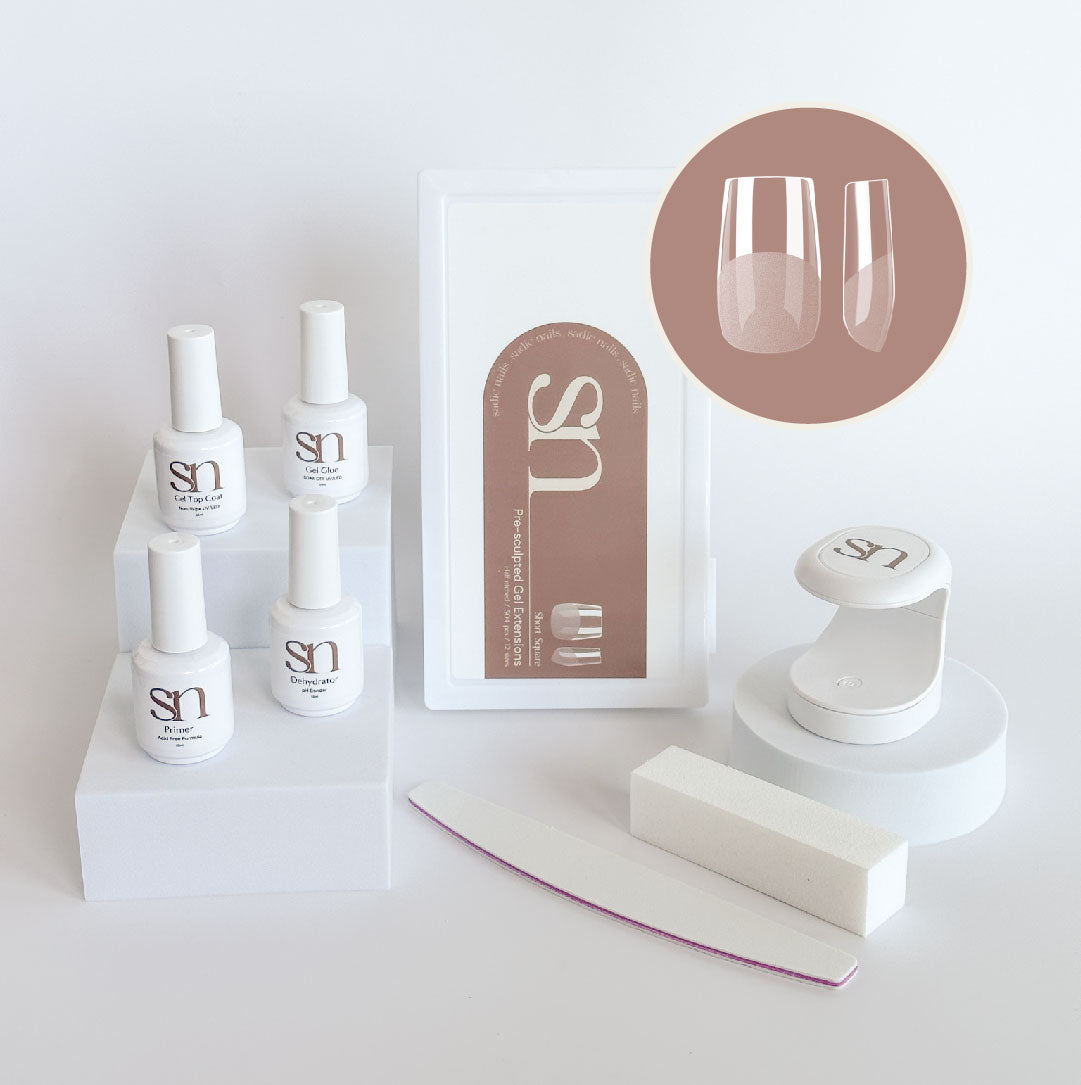
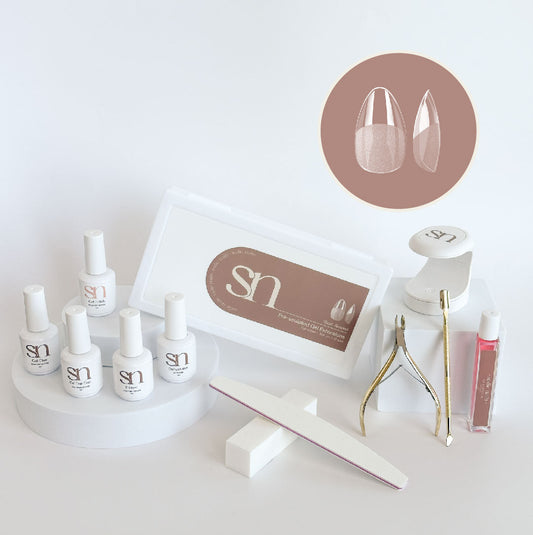
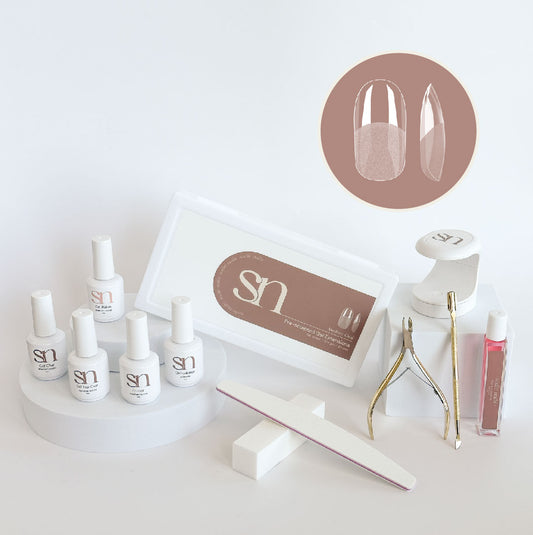
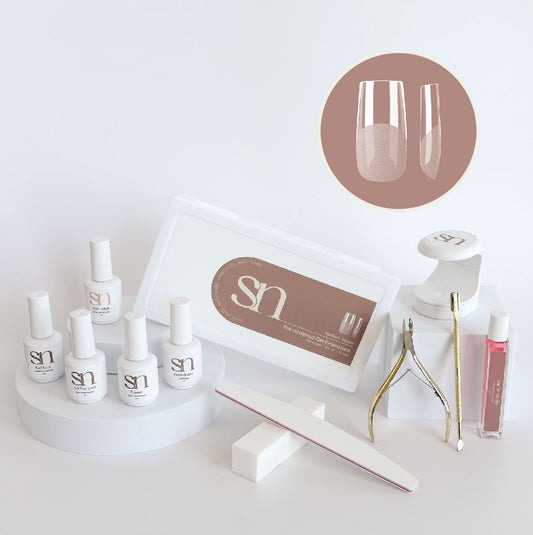
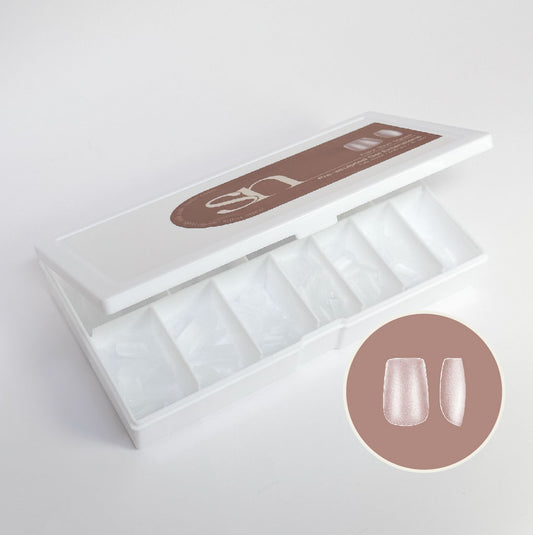
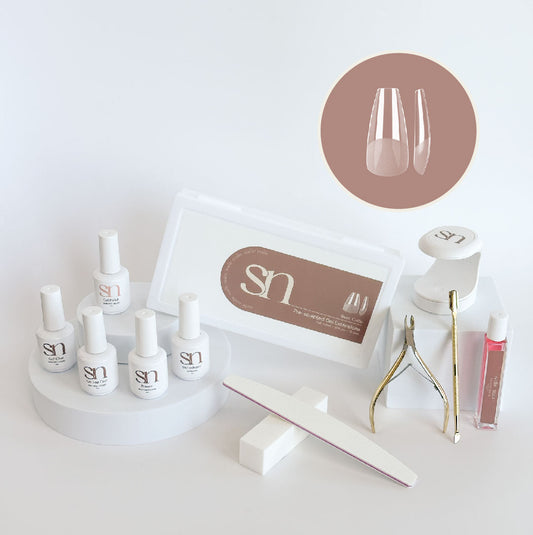
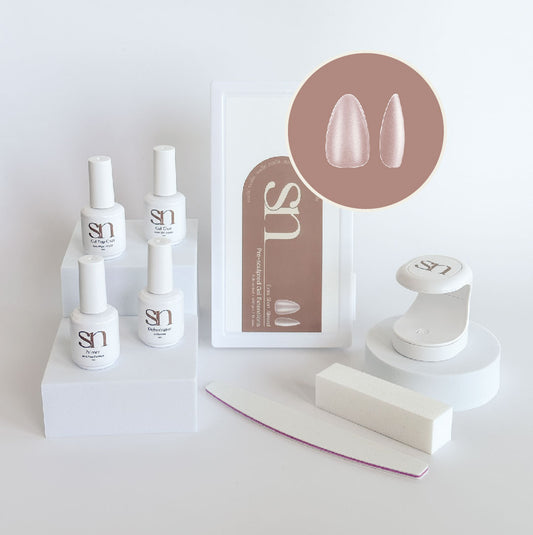
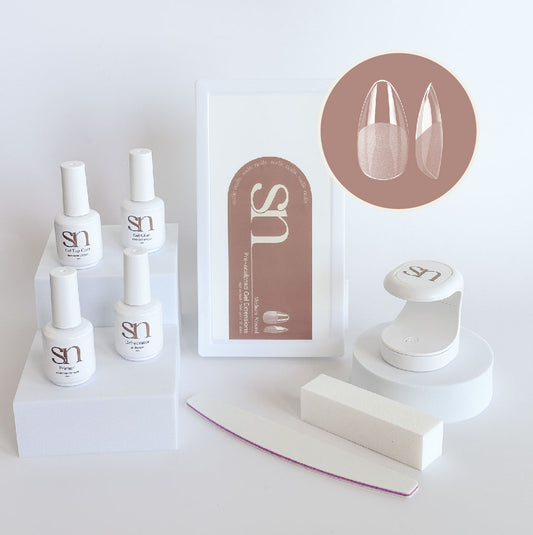
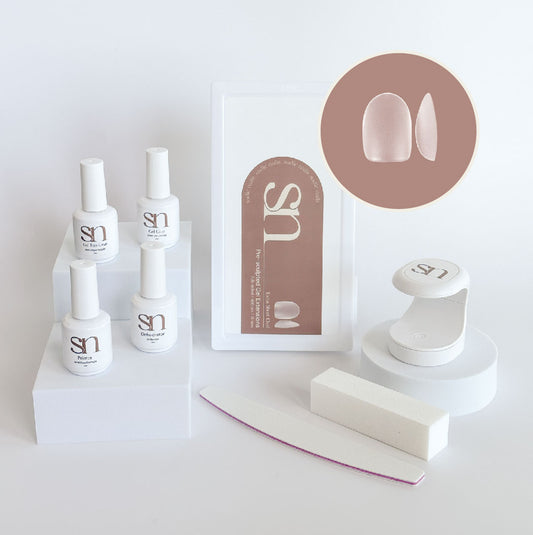
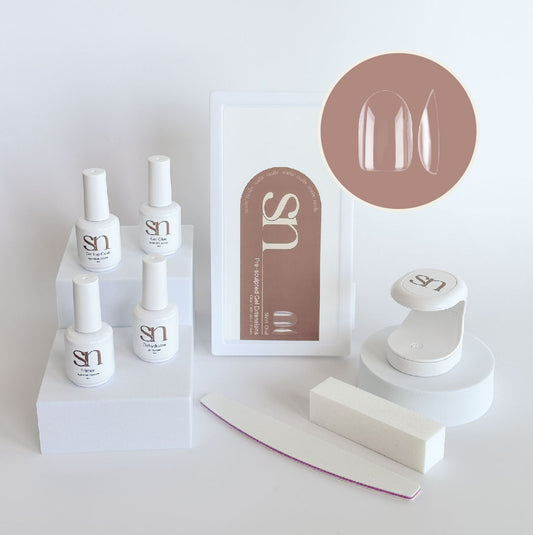
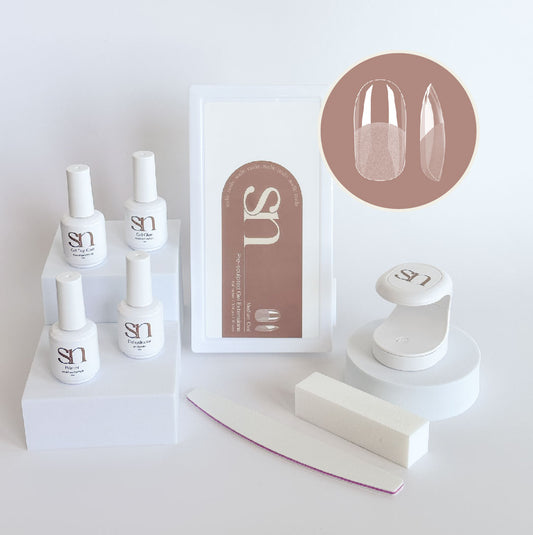
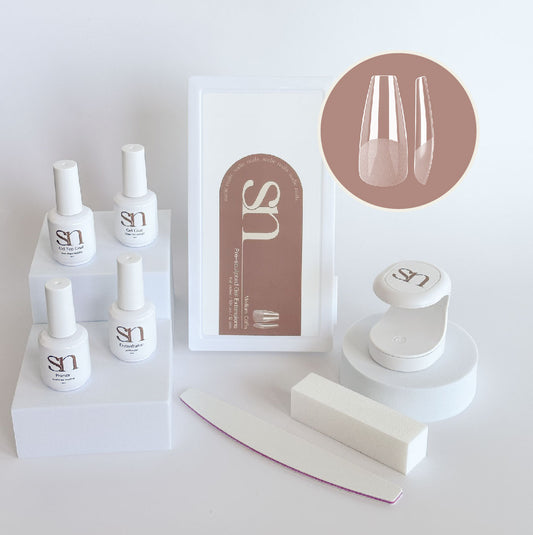
Ready to become your own nail tech? This kit is curated for beginners who are just starting out on their DIY gel extension journey and comes complete with the essentials you need to get salon-quality gel extensions.
Why you'll love this kit:
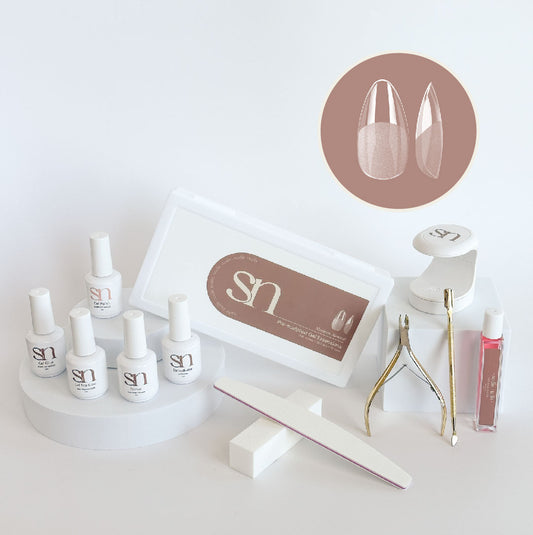
✅ Includes all the essentials for the Gel-X system
✅ Salon-quality products formulated for long-lasting (3-4 weeks) wear.
✅ Beginner friendly with easy application without extensive filing or shaping
✅ Soft-gel extensions are lightweight and comfortable (no bulk!)
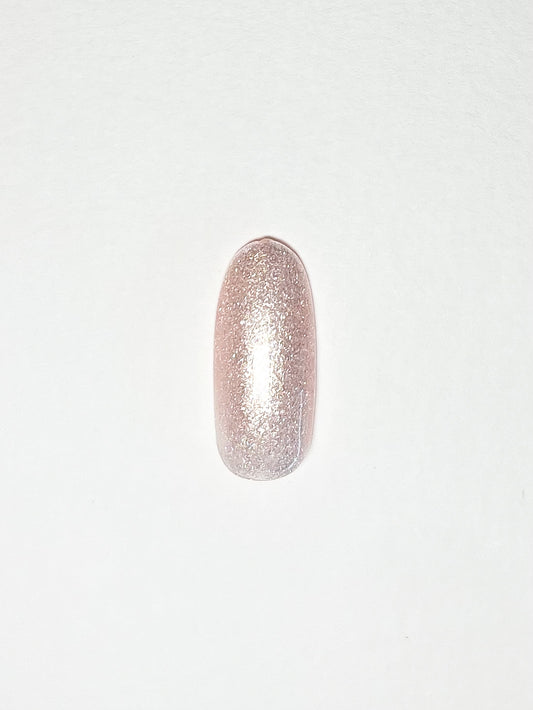
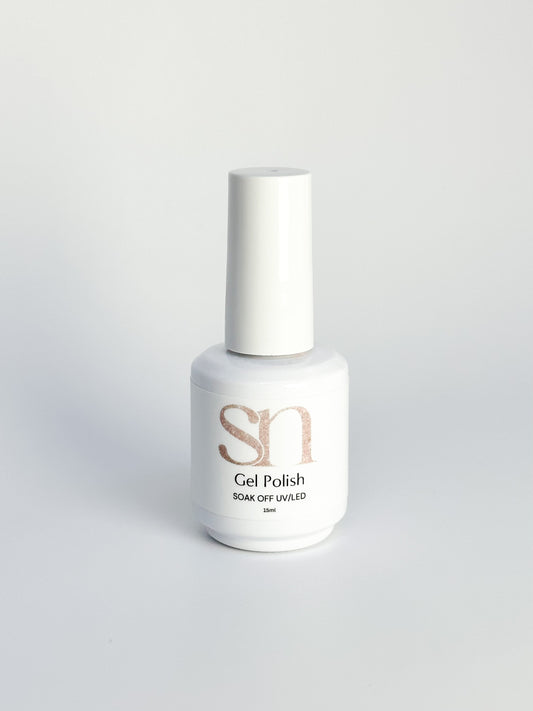
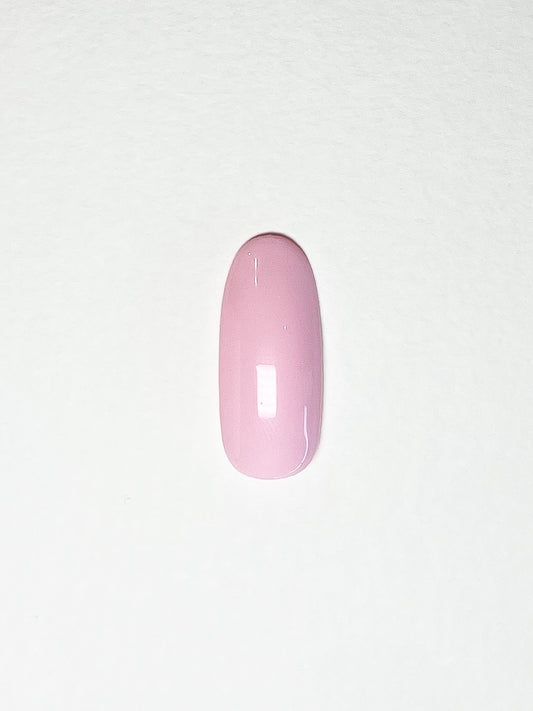
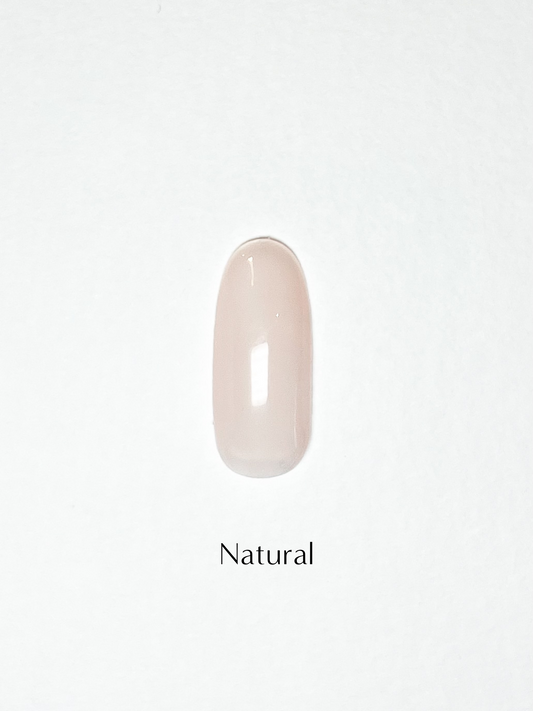
✅ Personalised - get your choice of gel polish colours
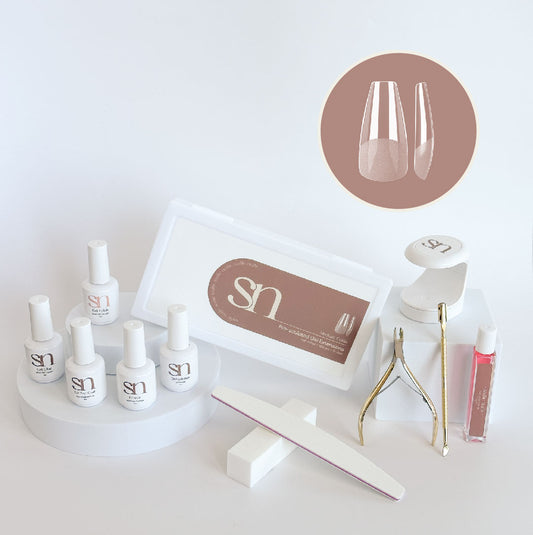
If you're looking a more extensive kit with more nail prep tools and cuticle care, our Gel-Xtend Ultimate Kits might be more suited for you.
Want to learn more about our Gel-Xtend System? Click HERE.
Not sure about sizing? See our size guide HERE.
Please note this system also requires a full size 48W UV/LED lamp to fully cure the gel glue and gel polish. Check out our Sadie Lamp 💗
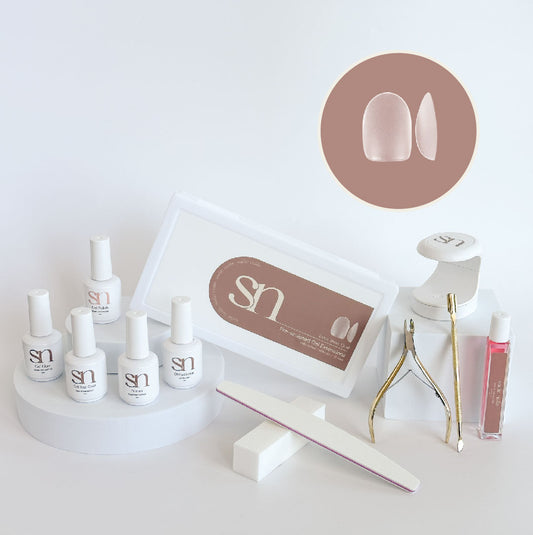
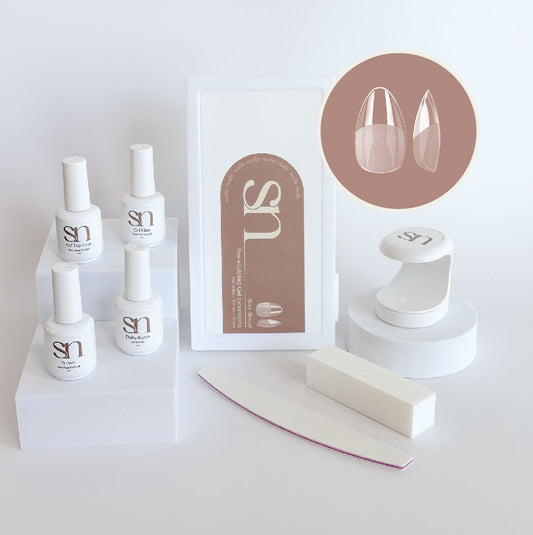
INCLUSIONS
INCLUSIONS
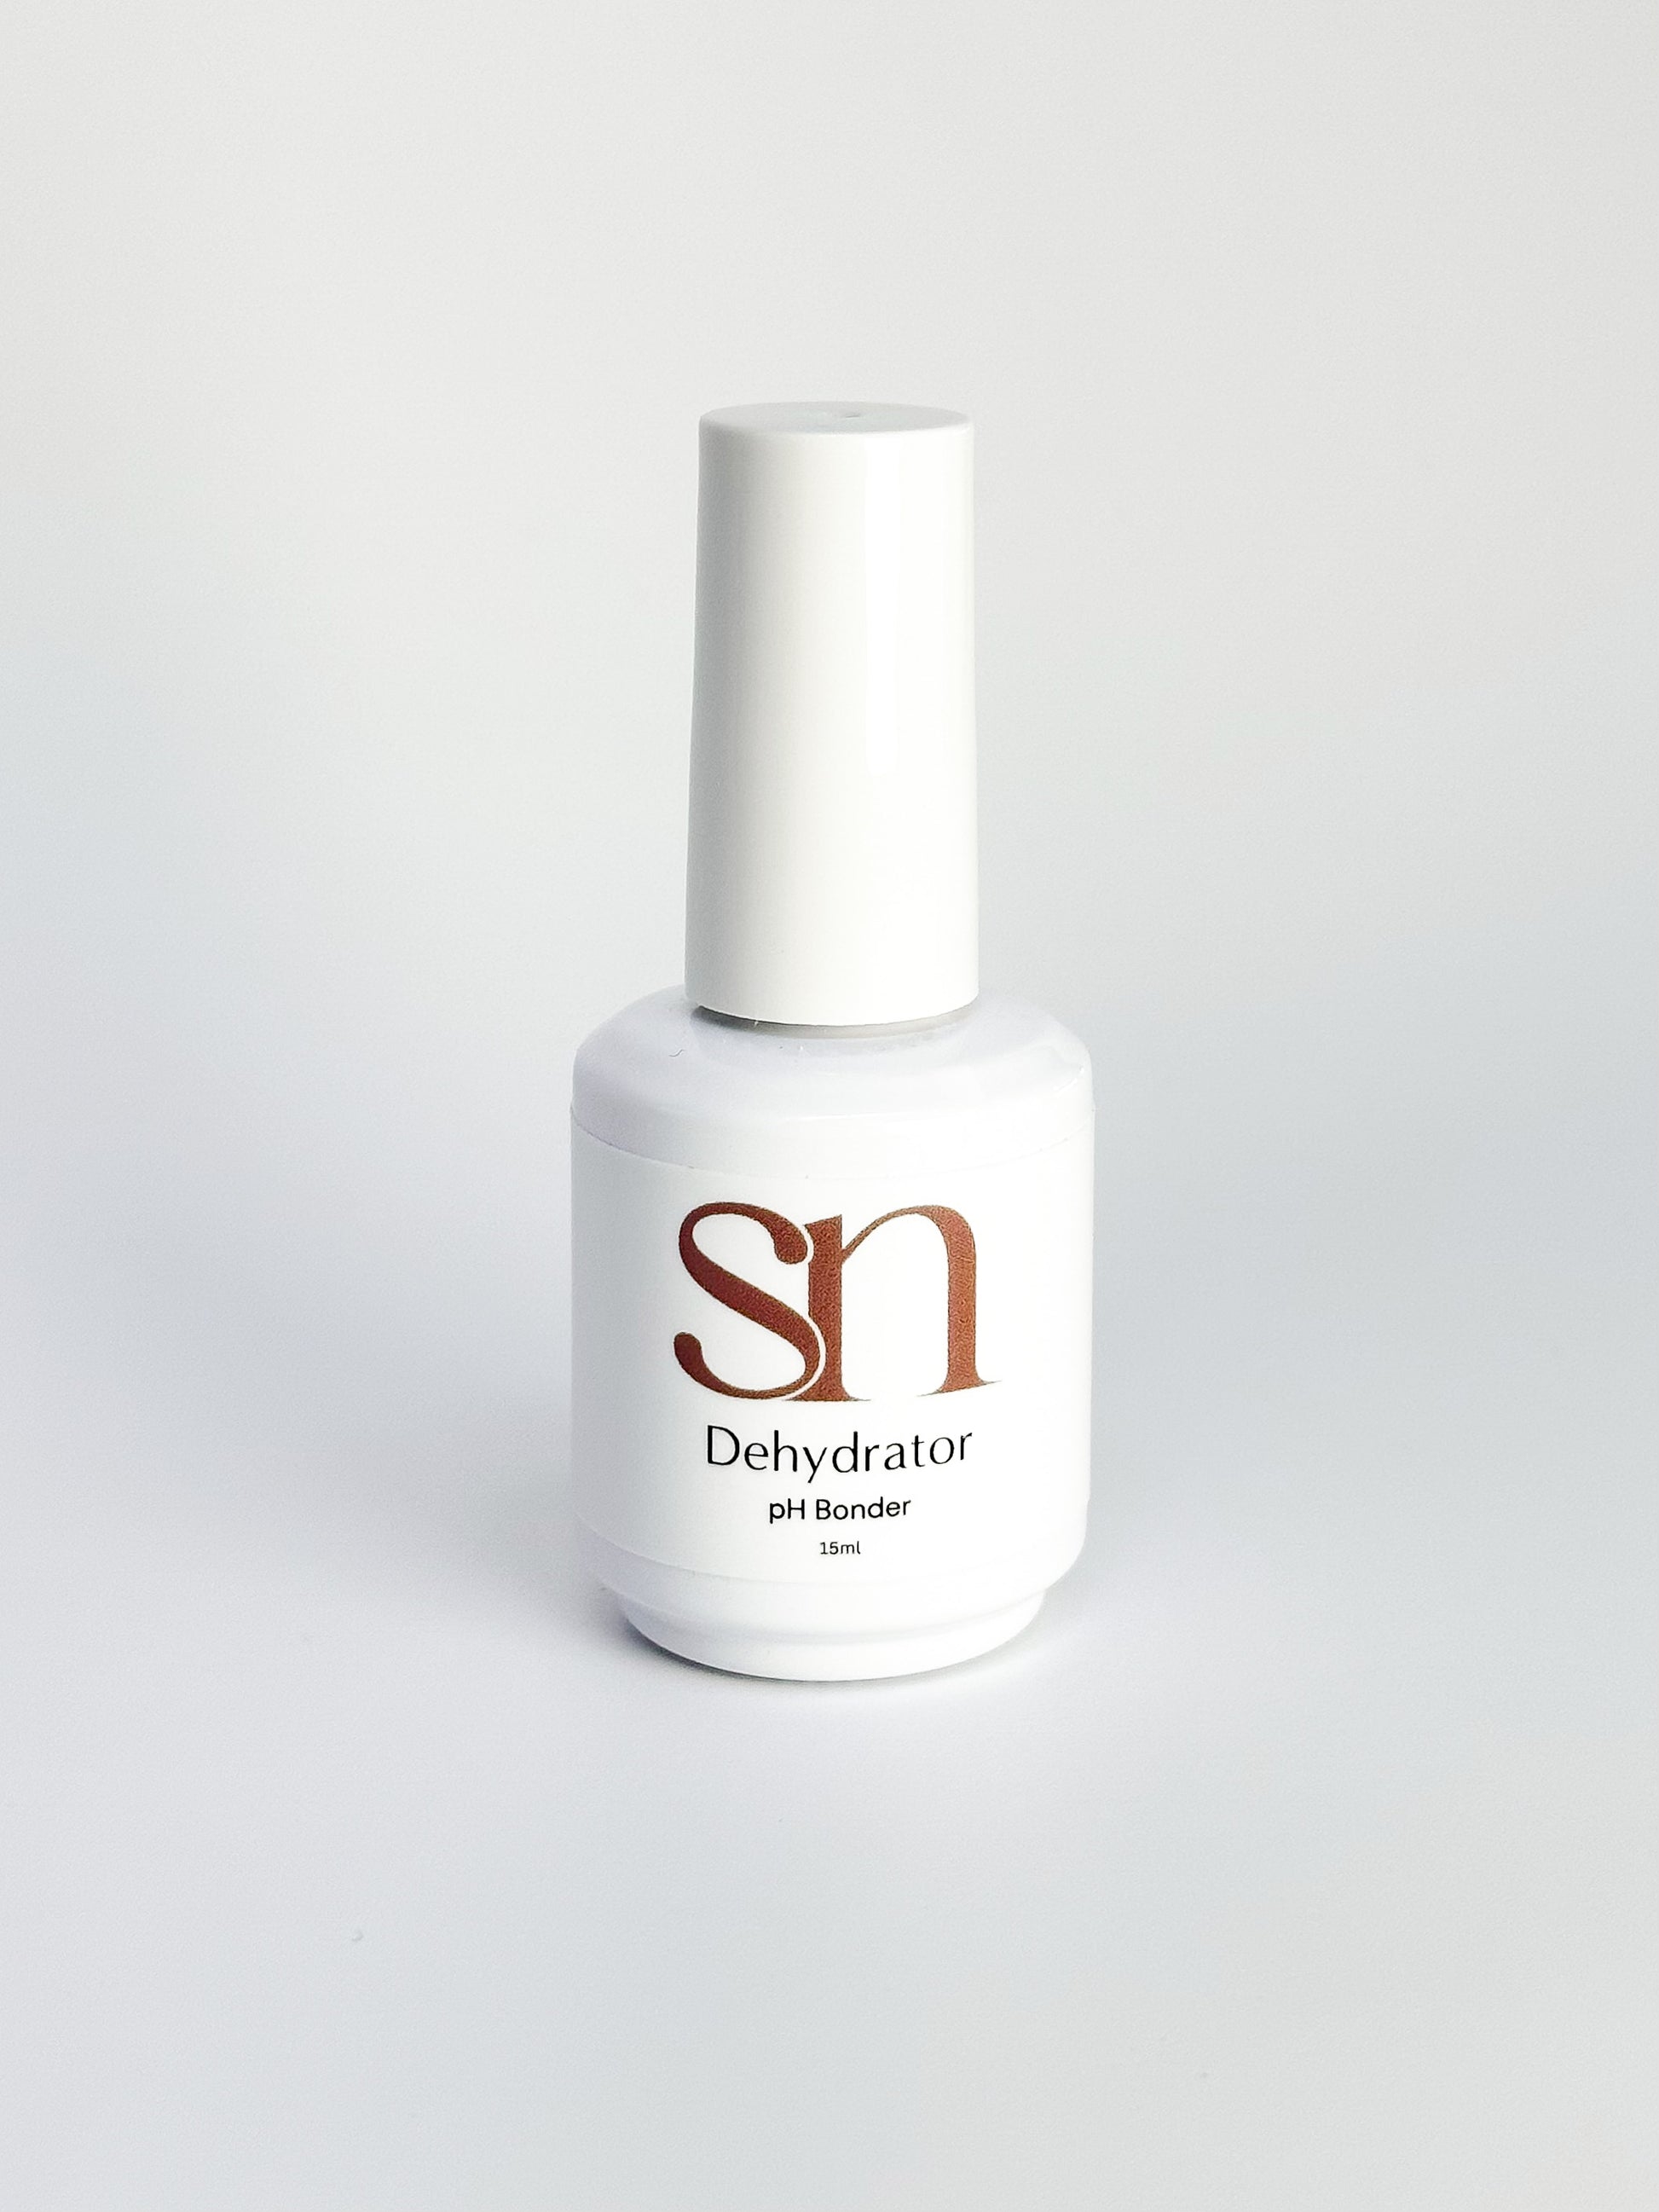
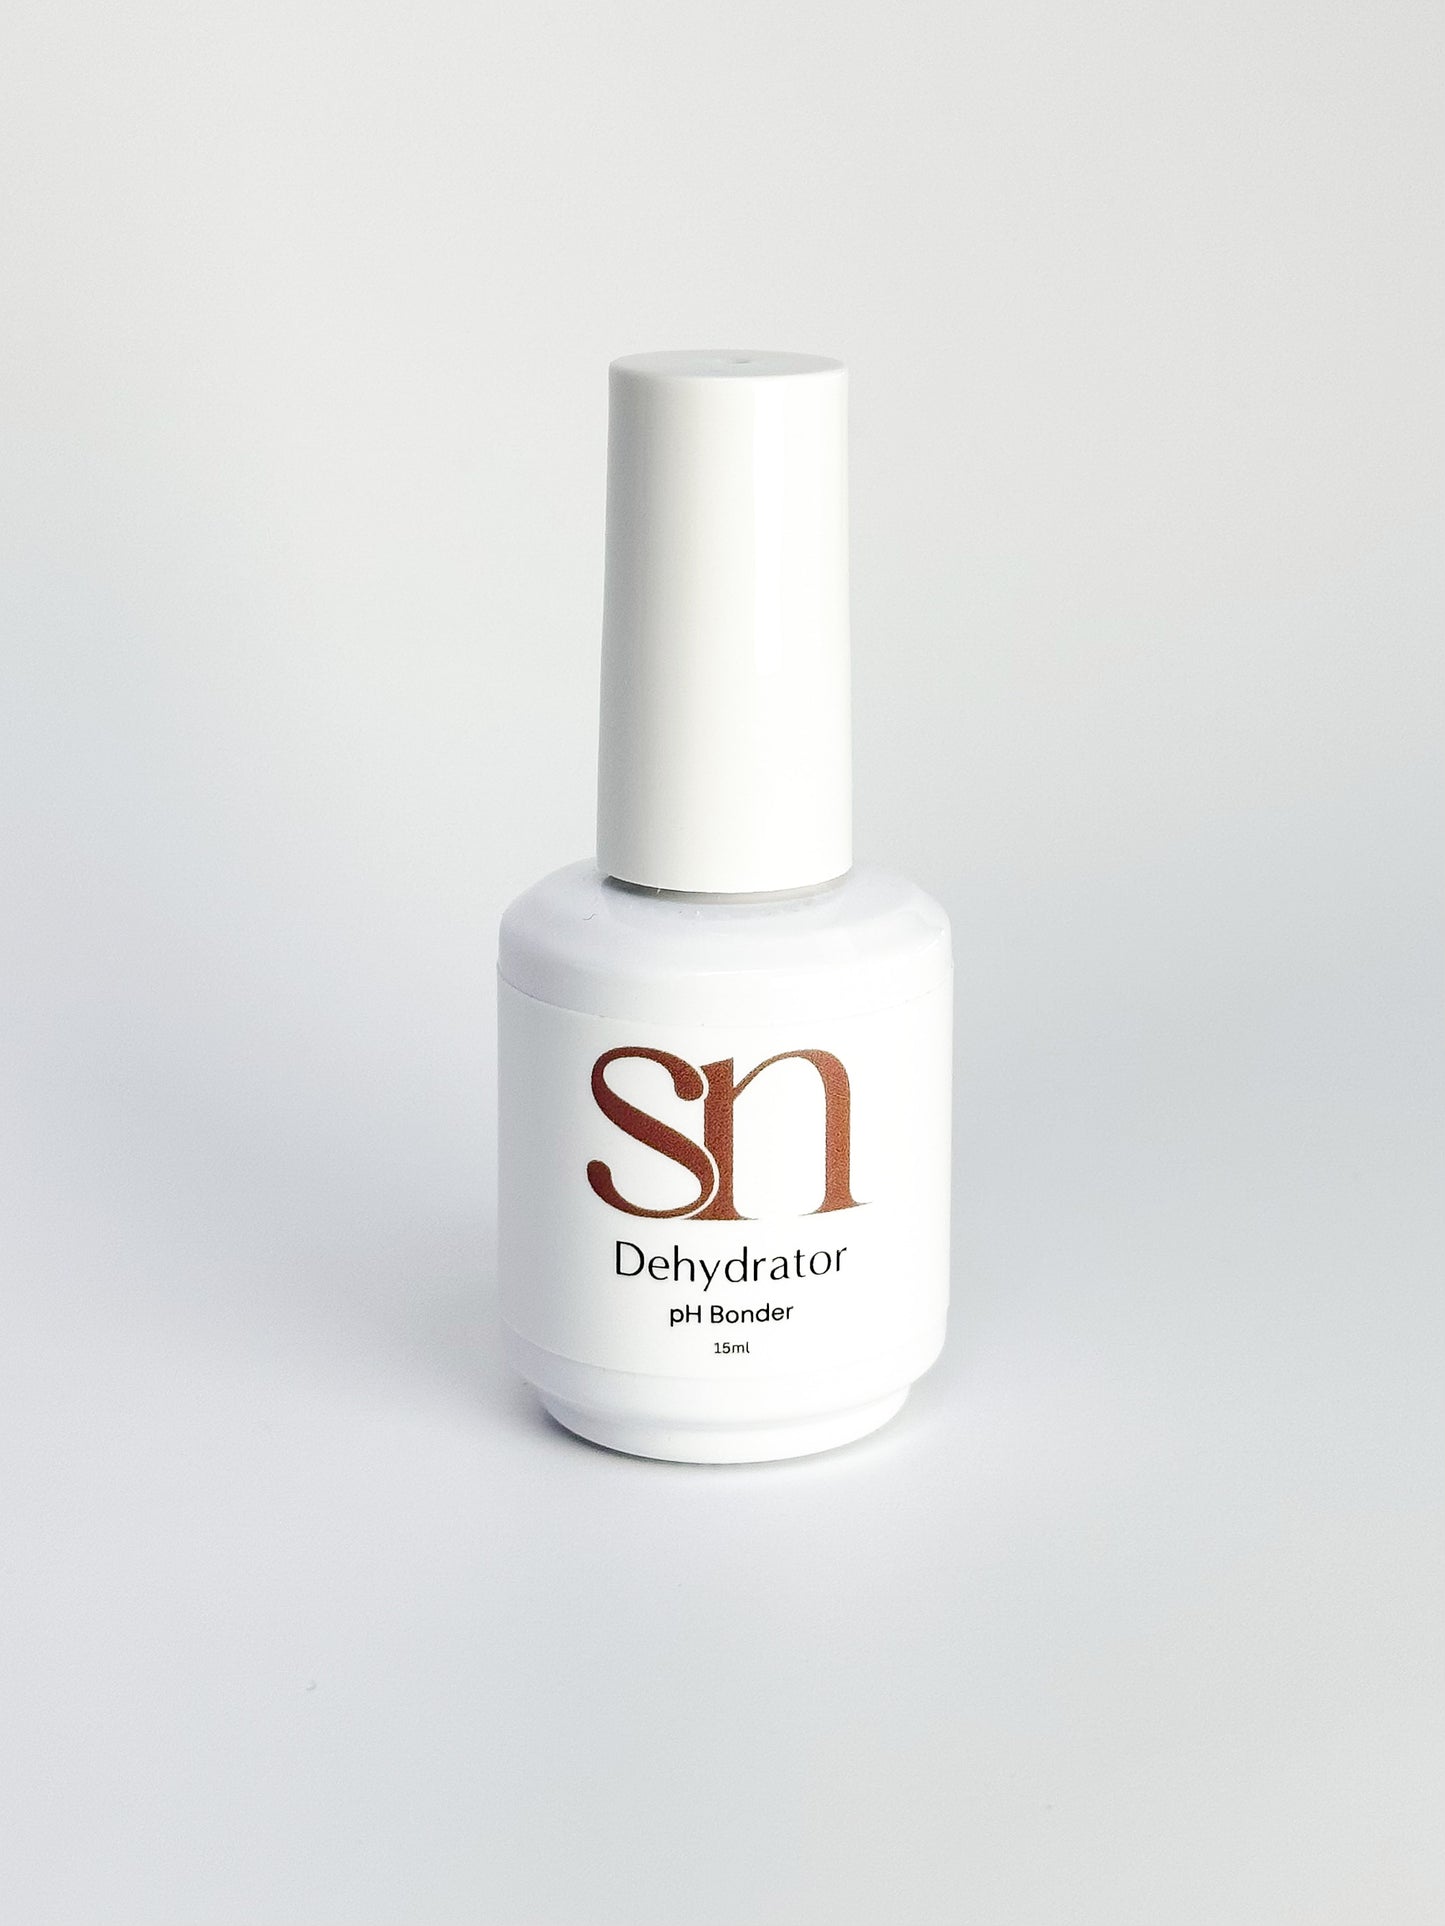
1 x Dehydrator
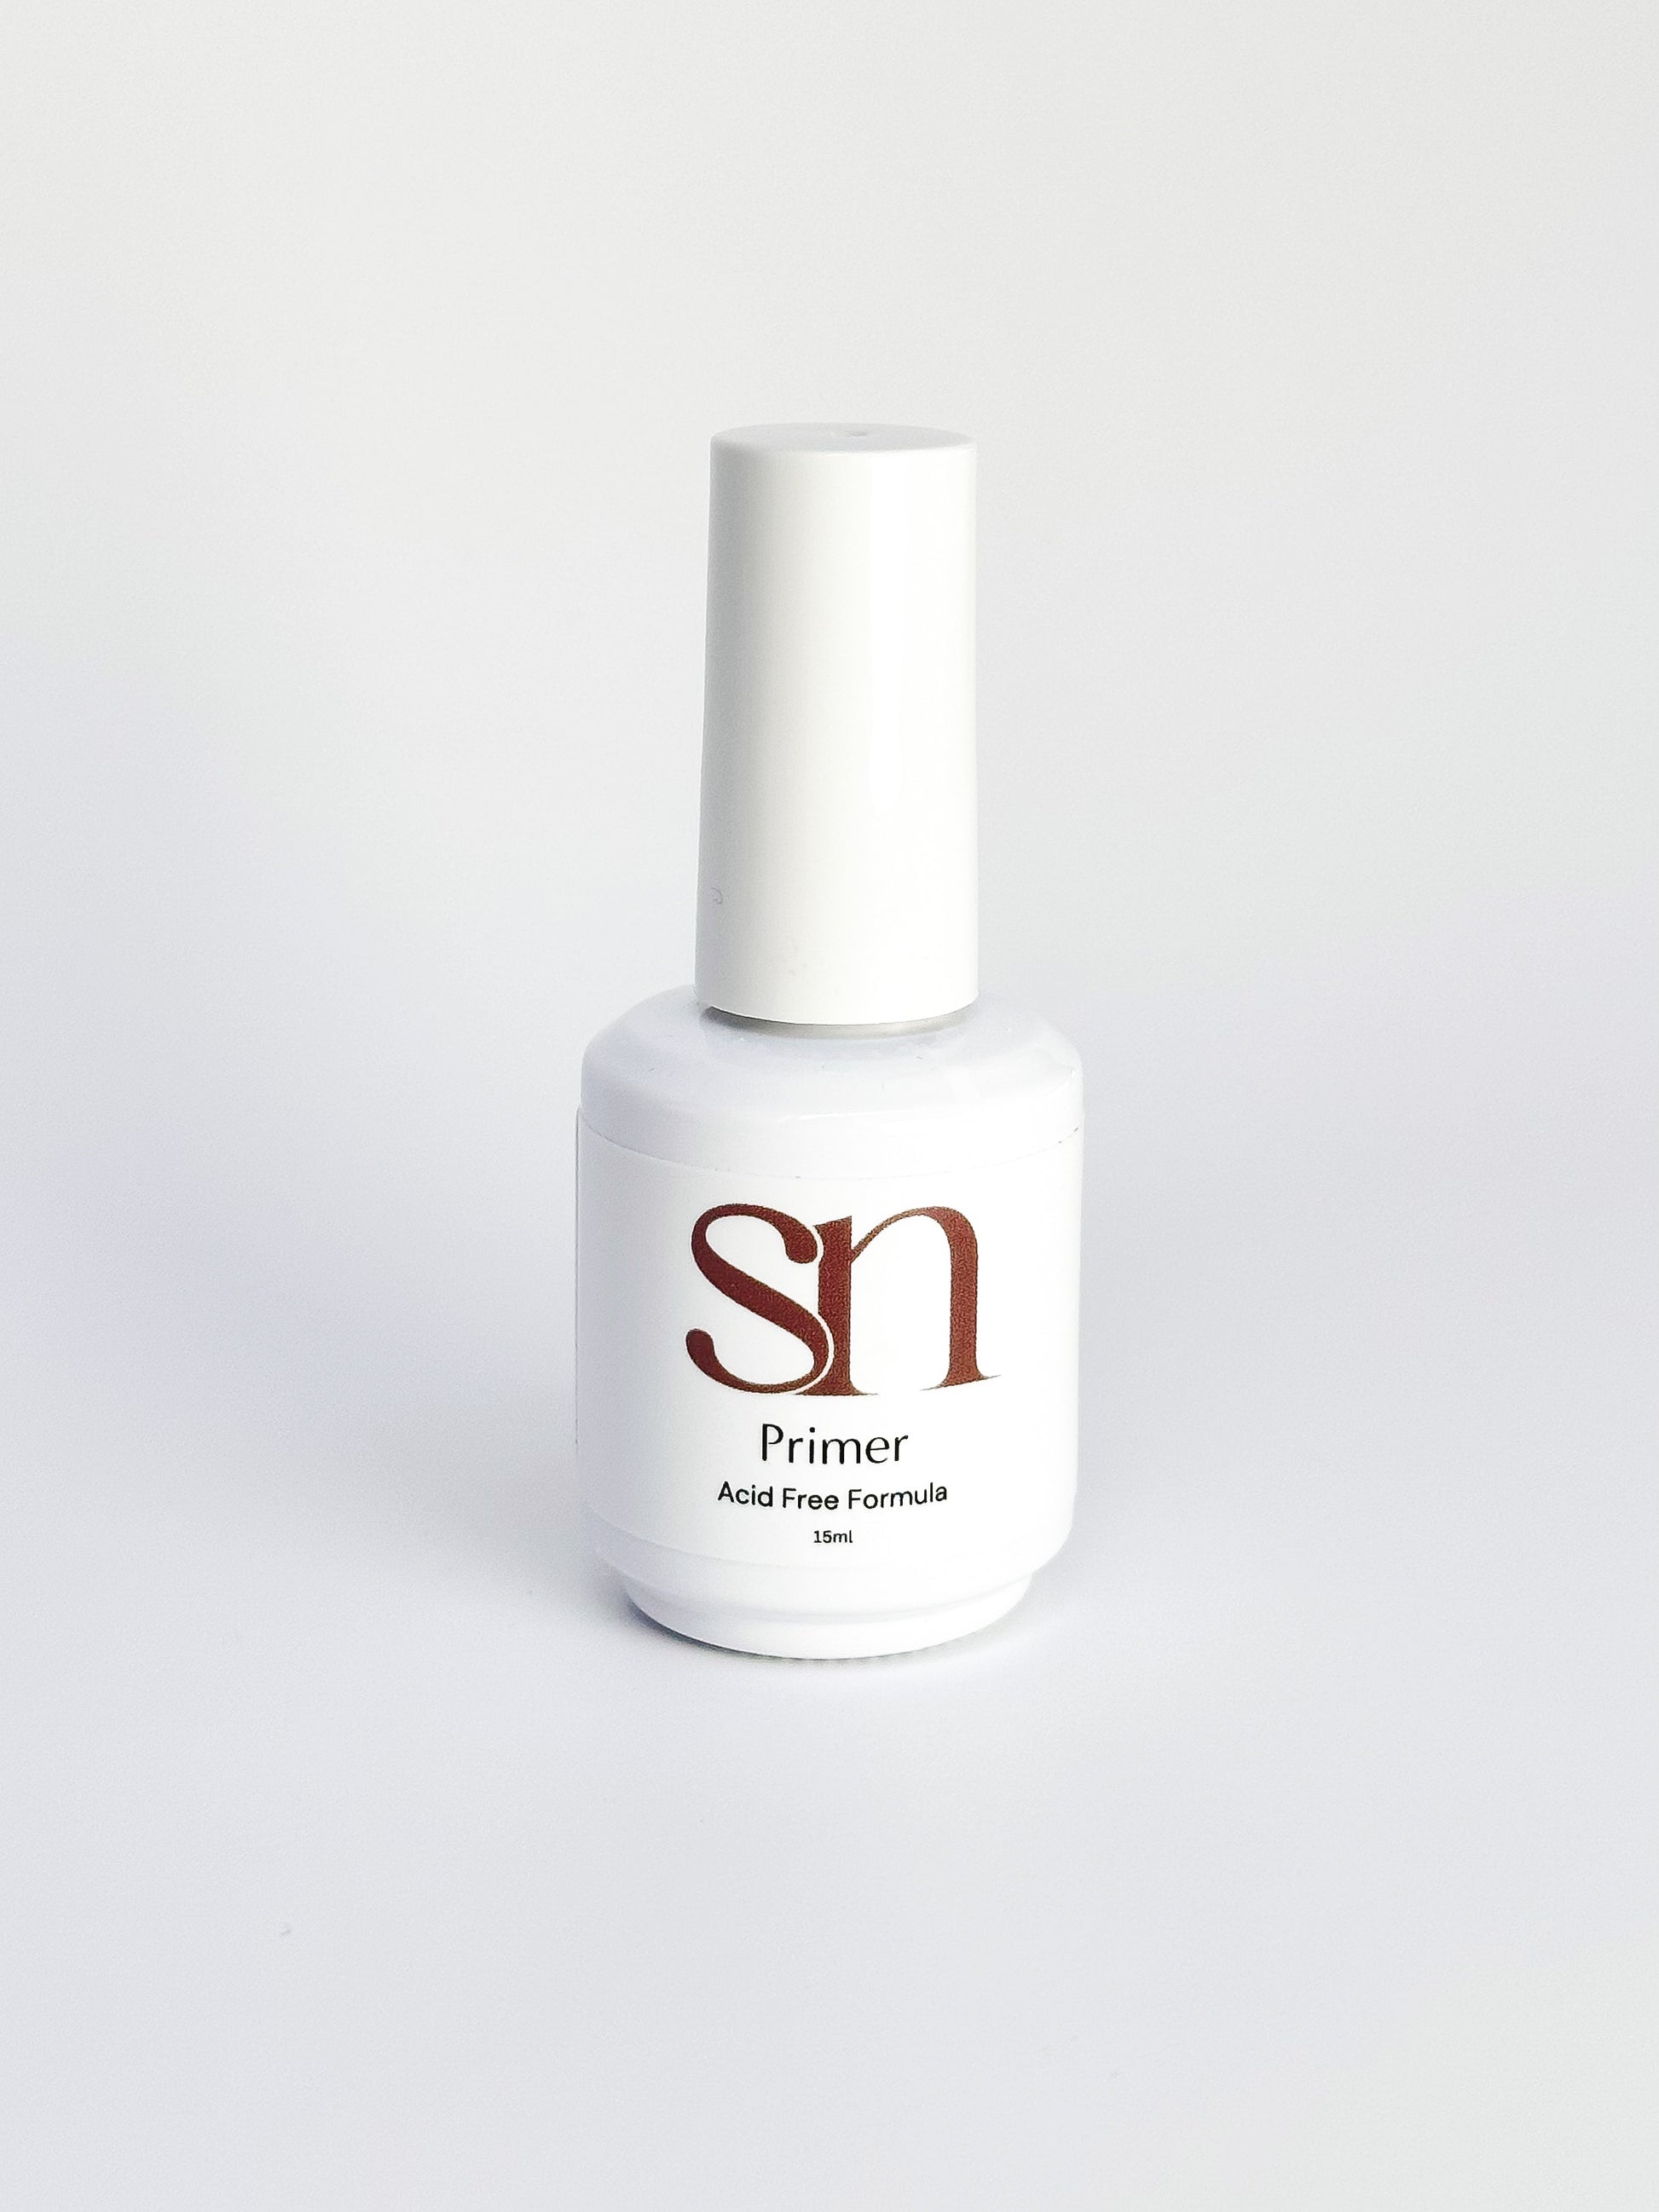
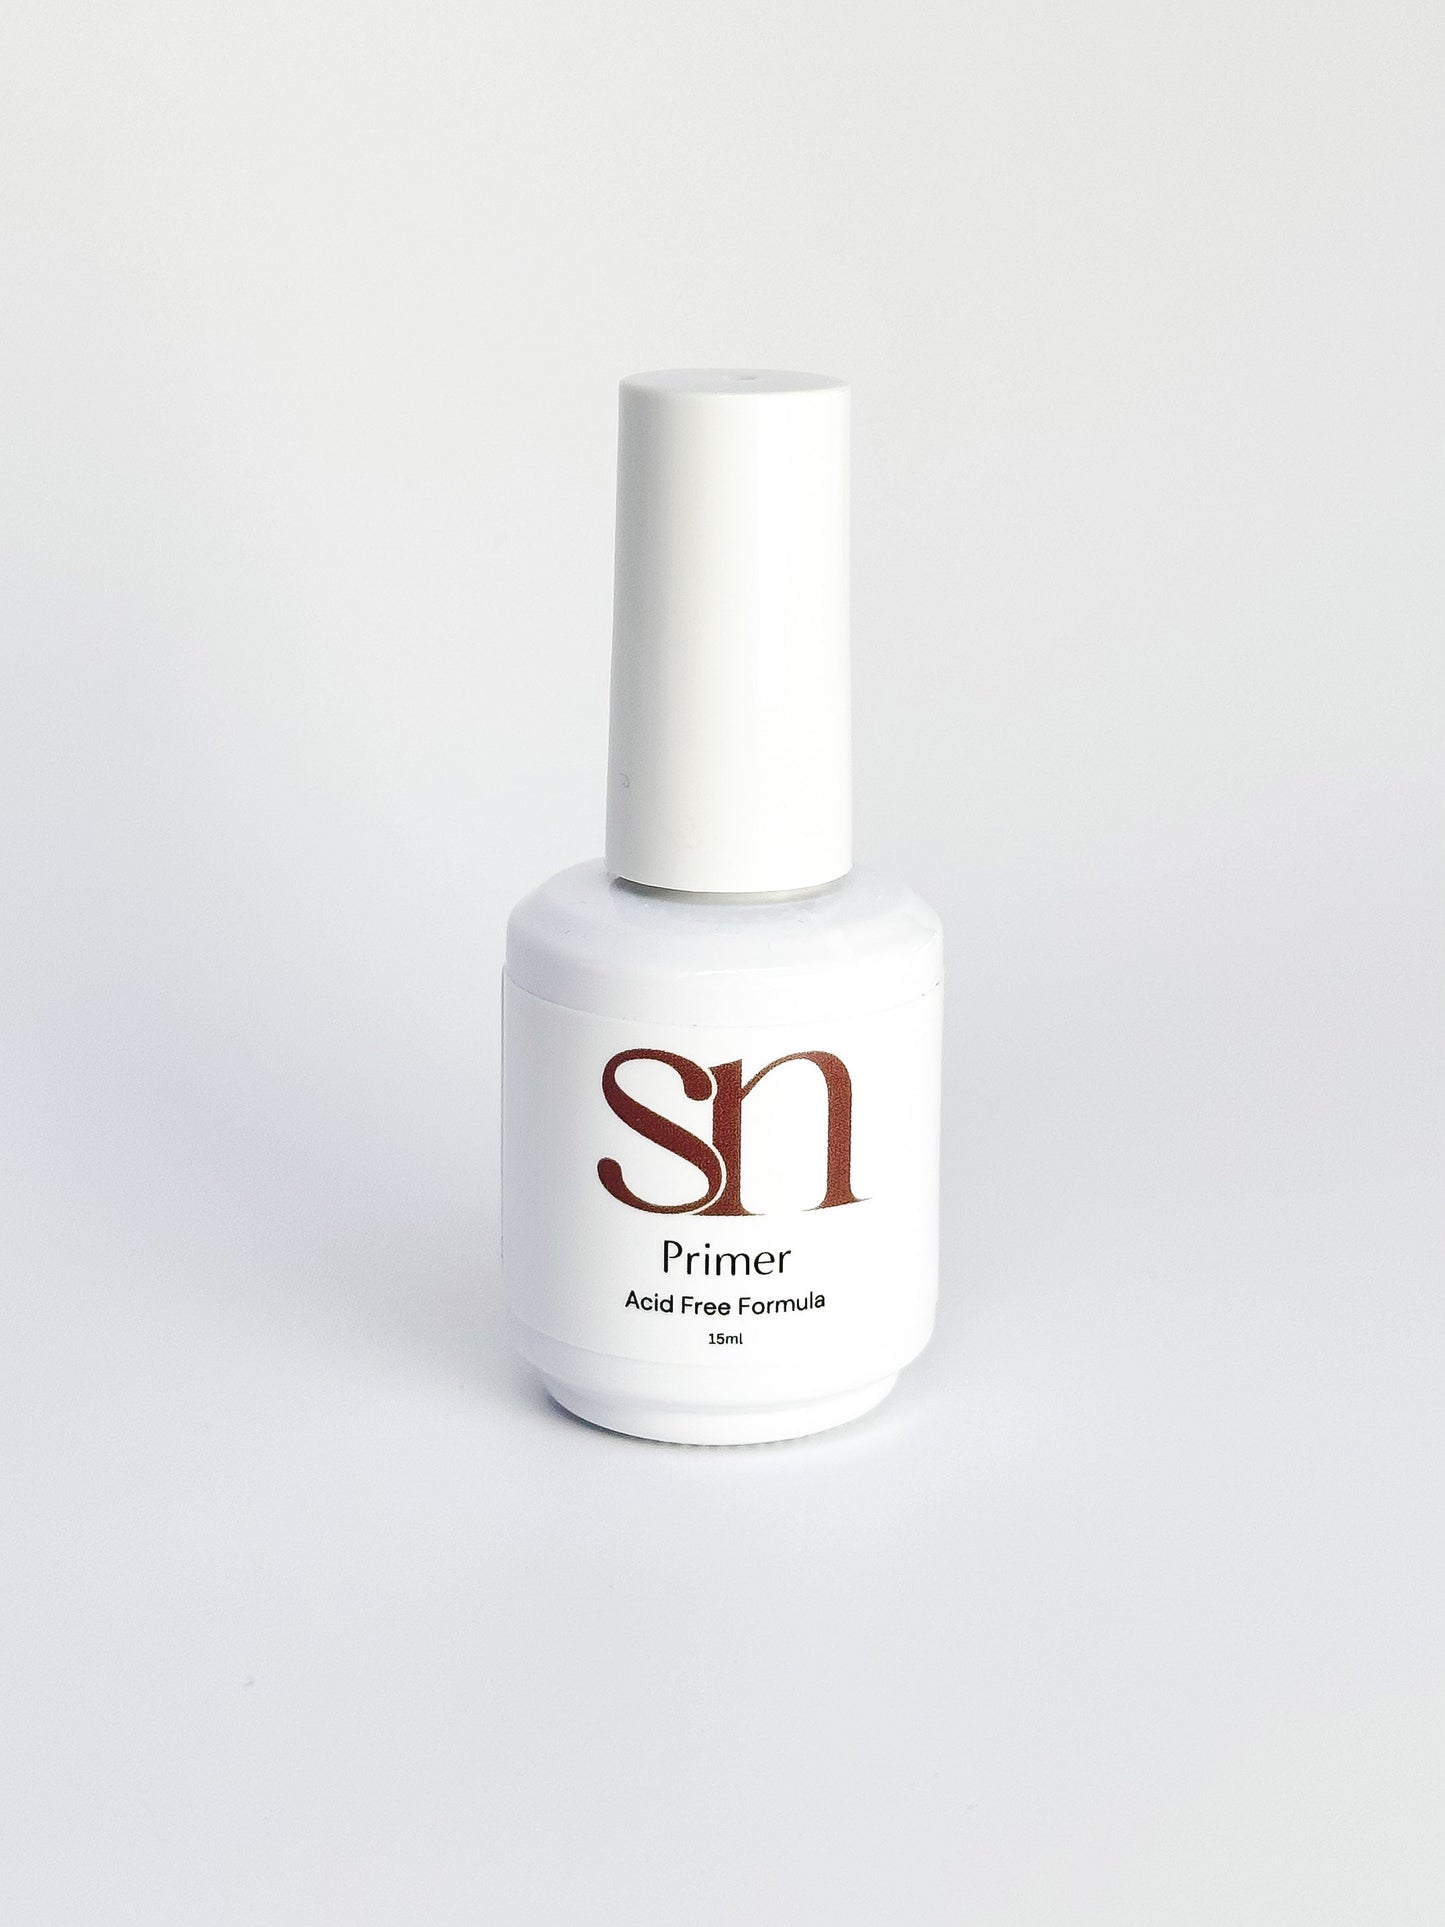
1 x Primer
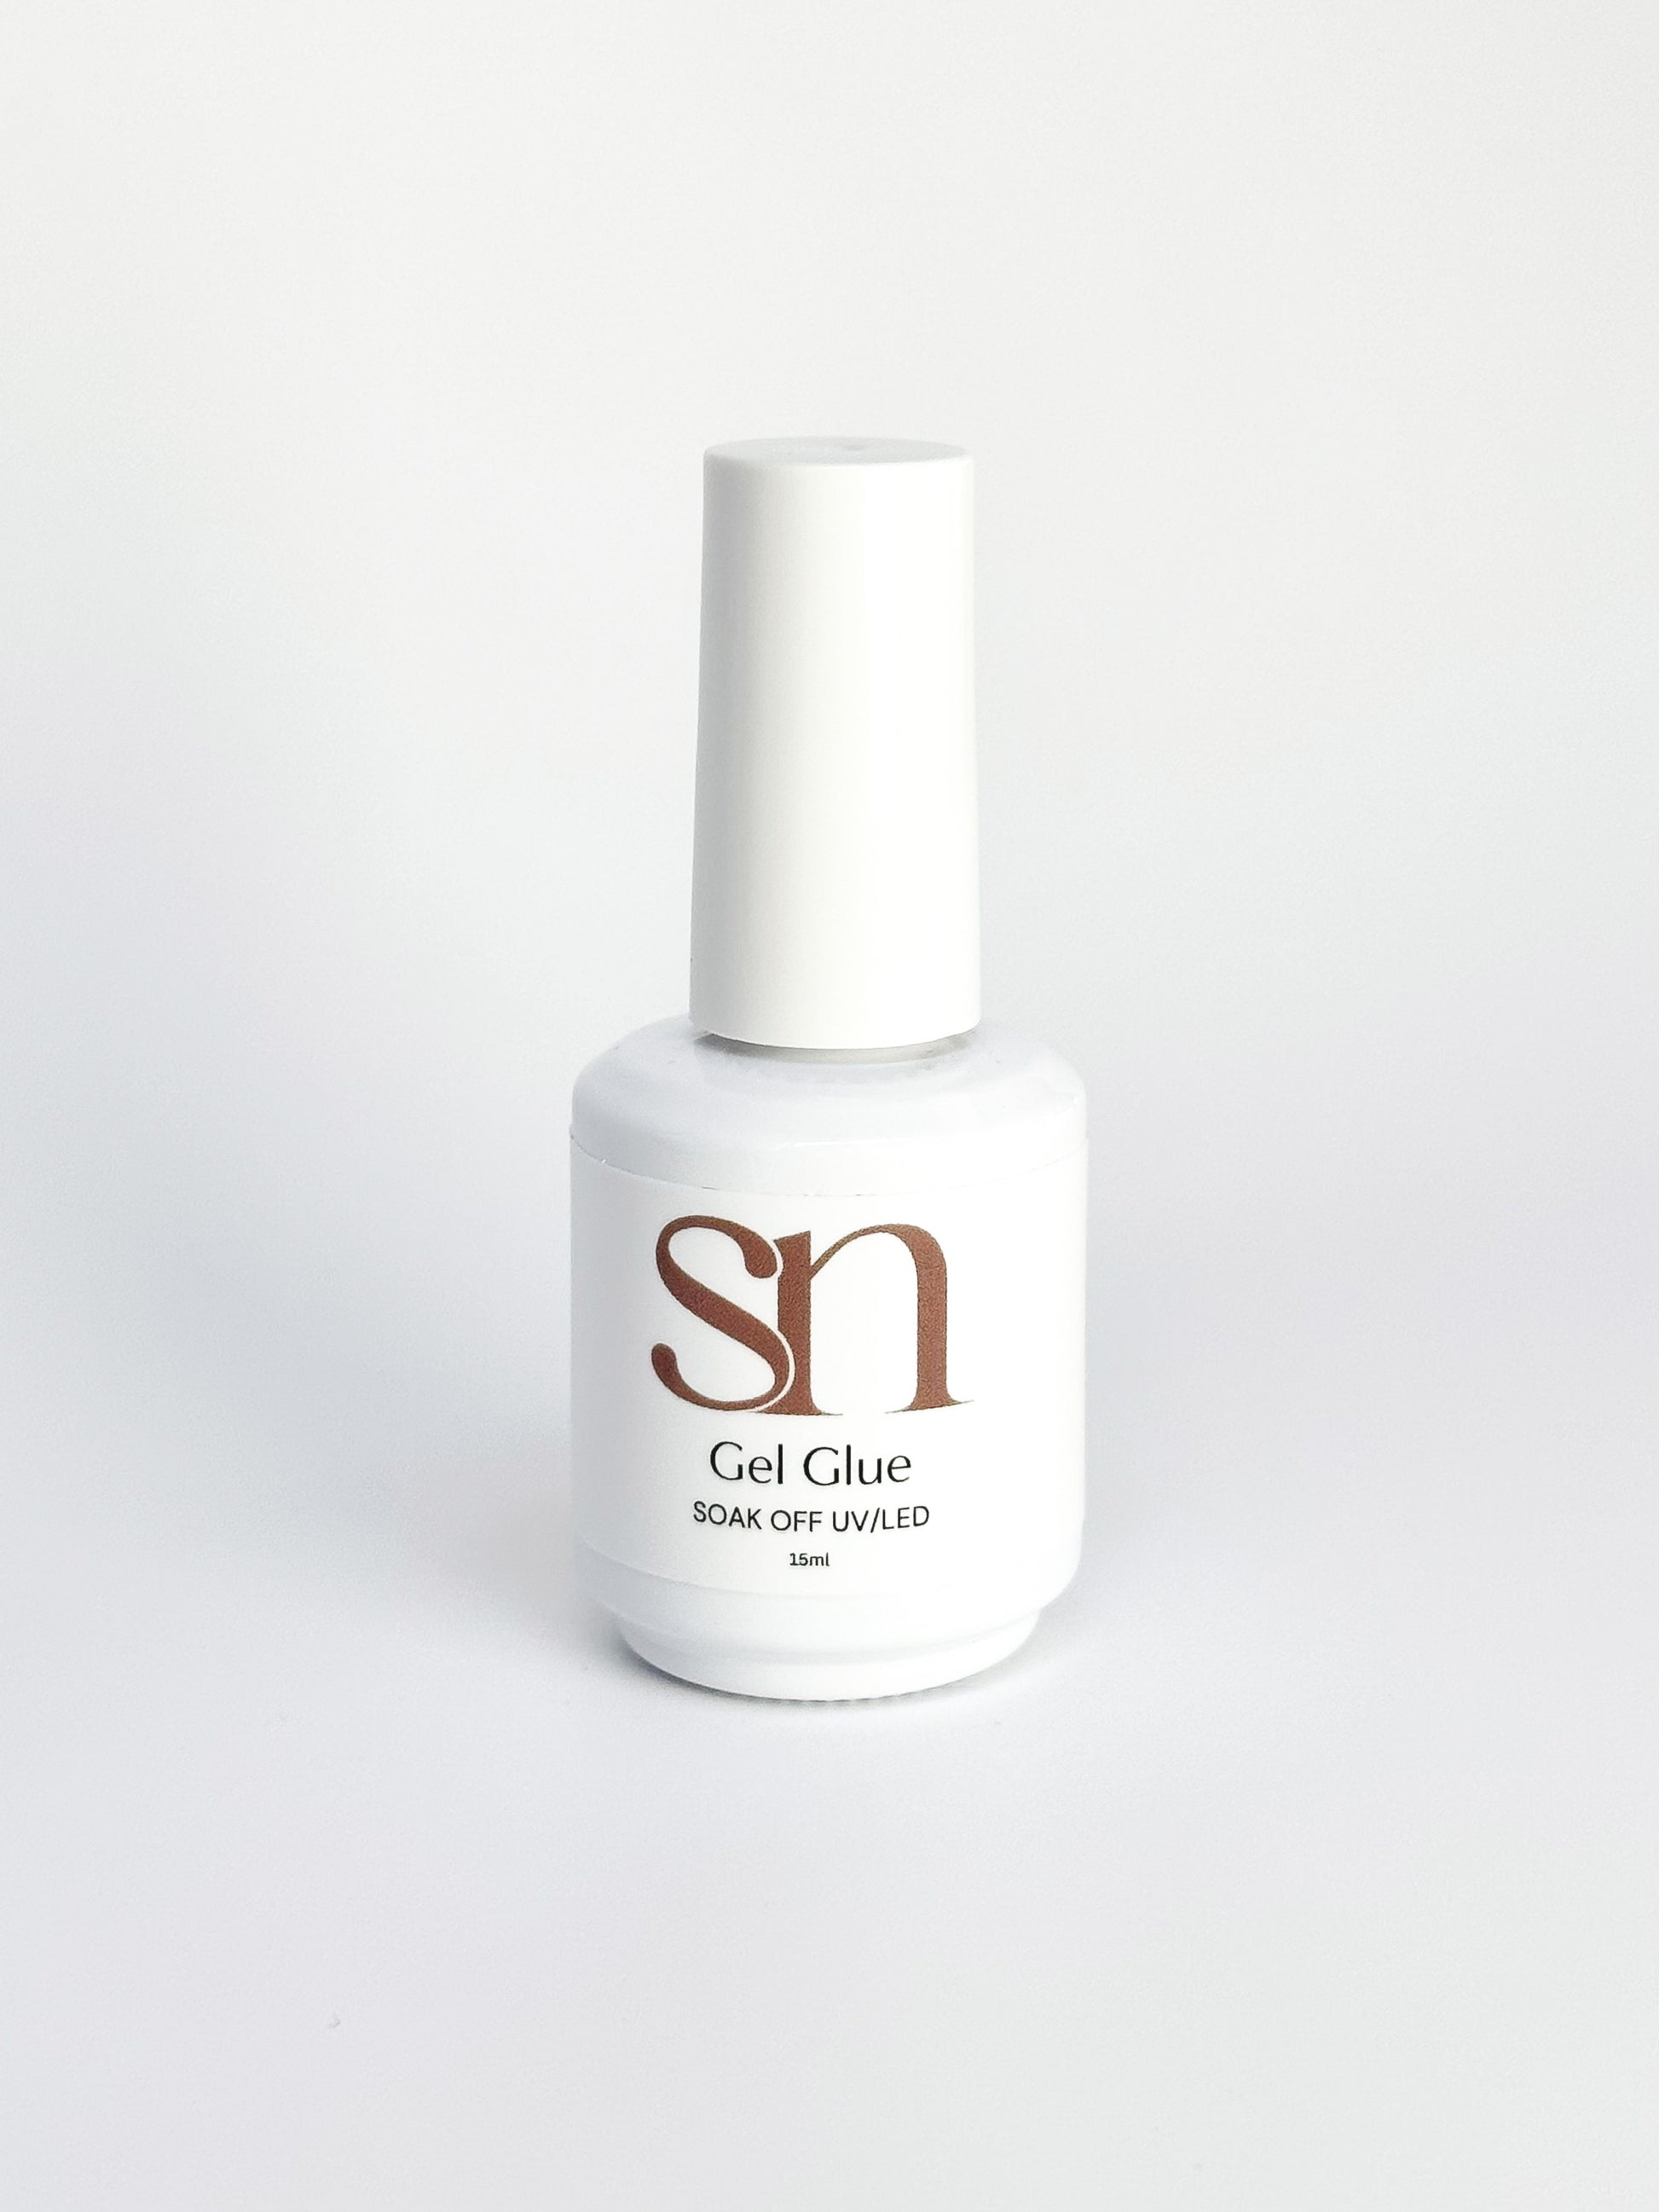
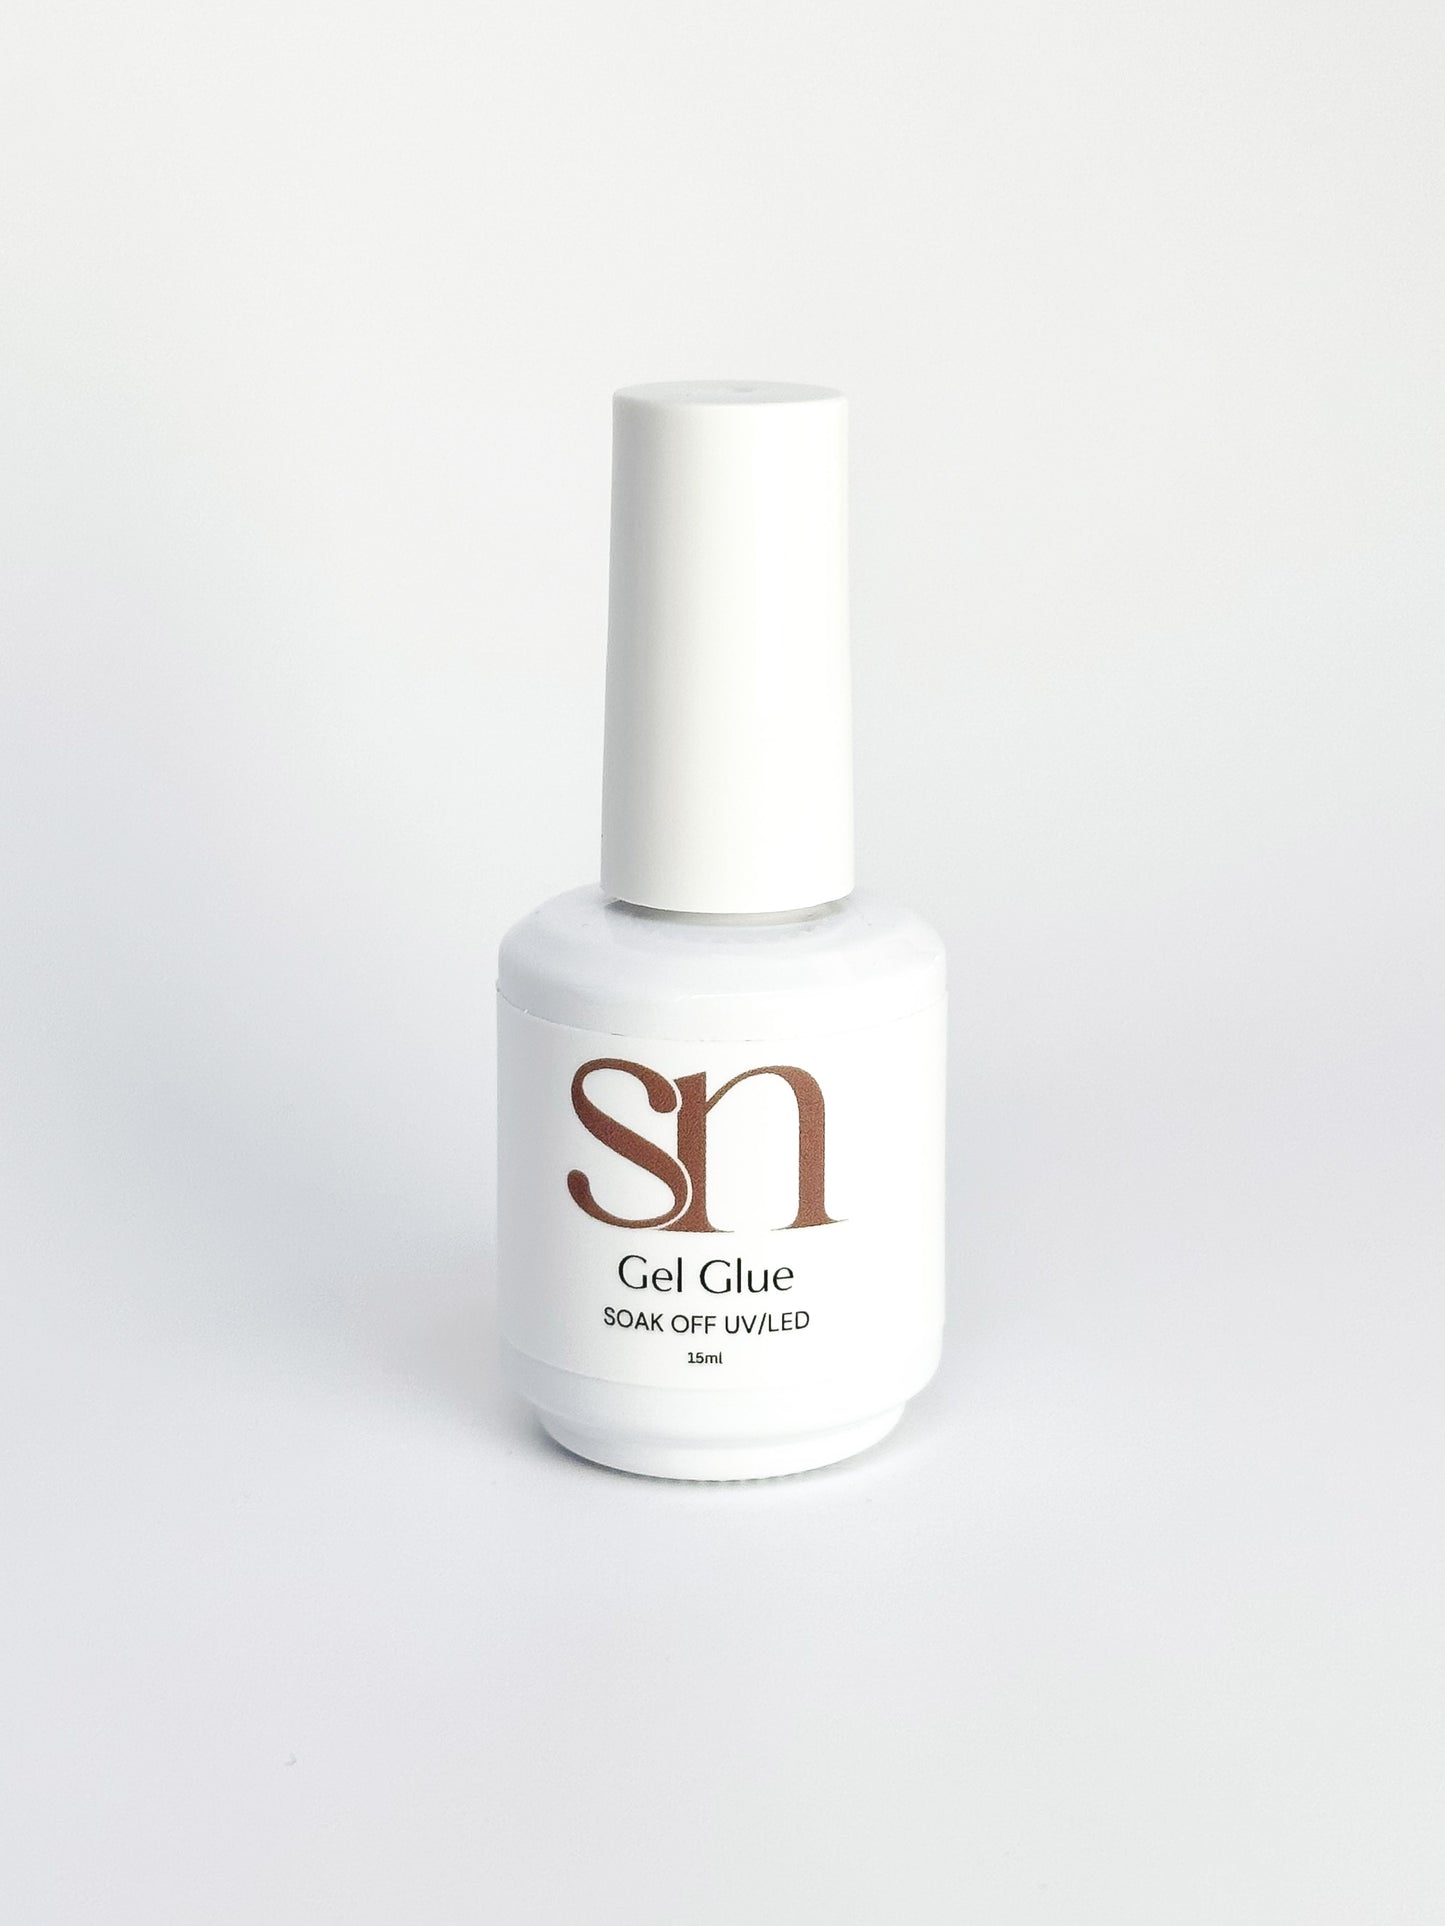
1 x Gel Glue
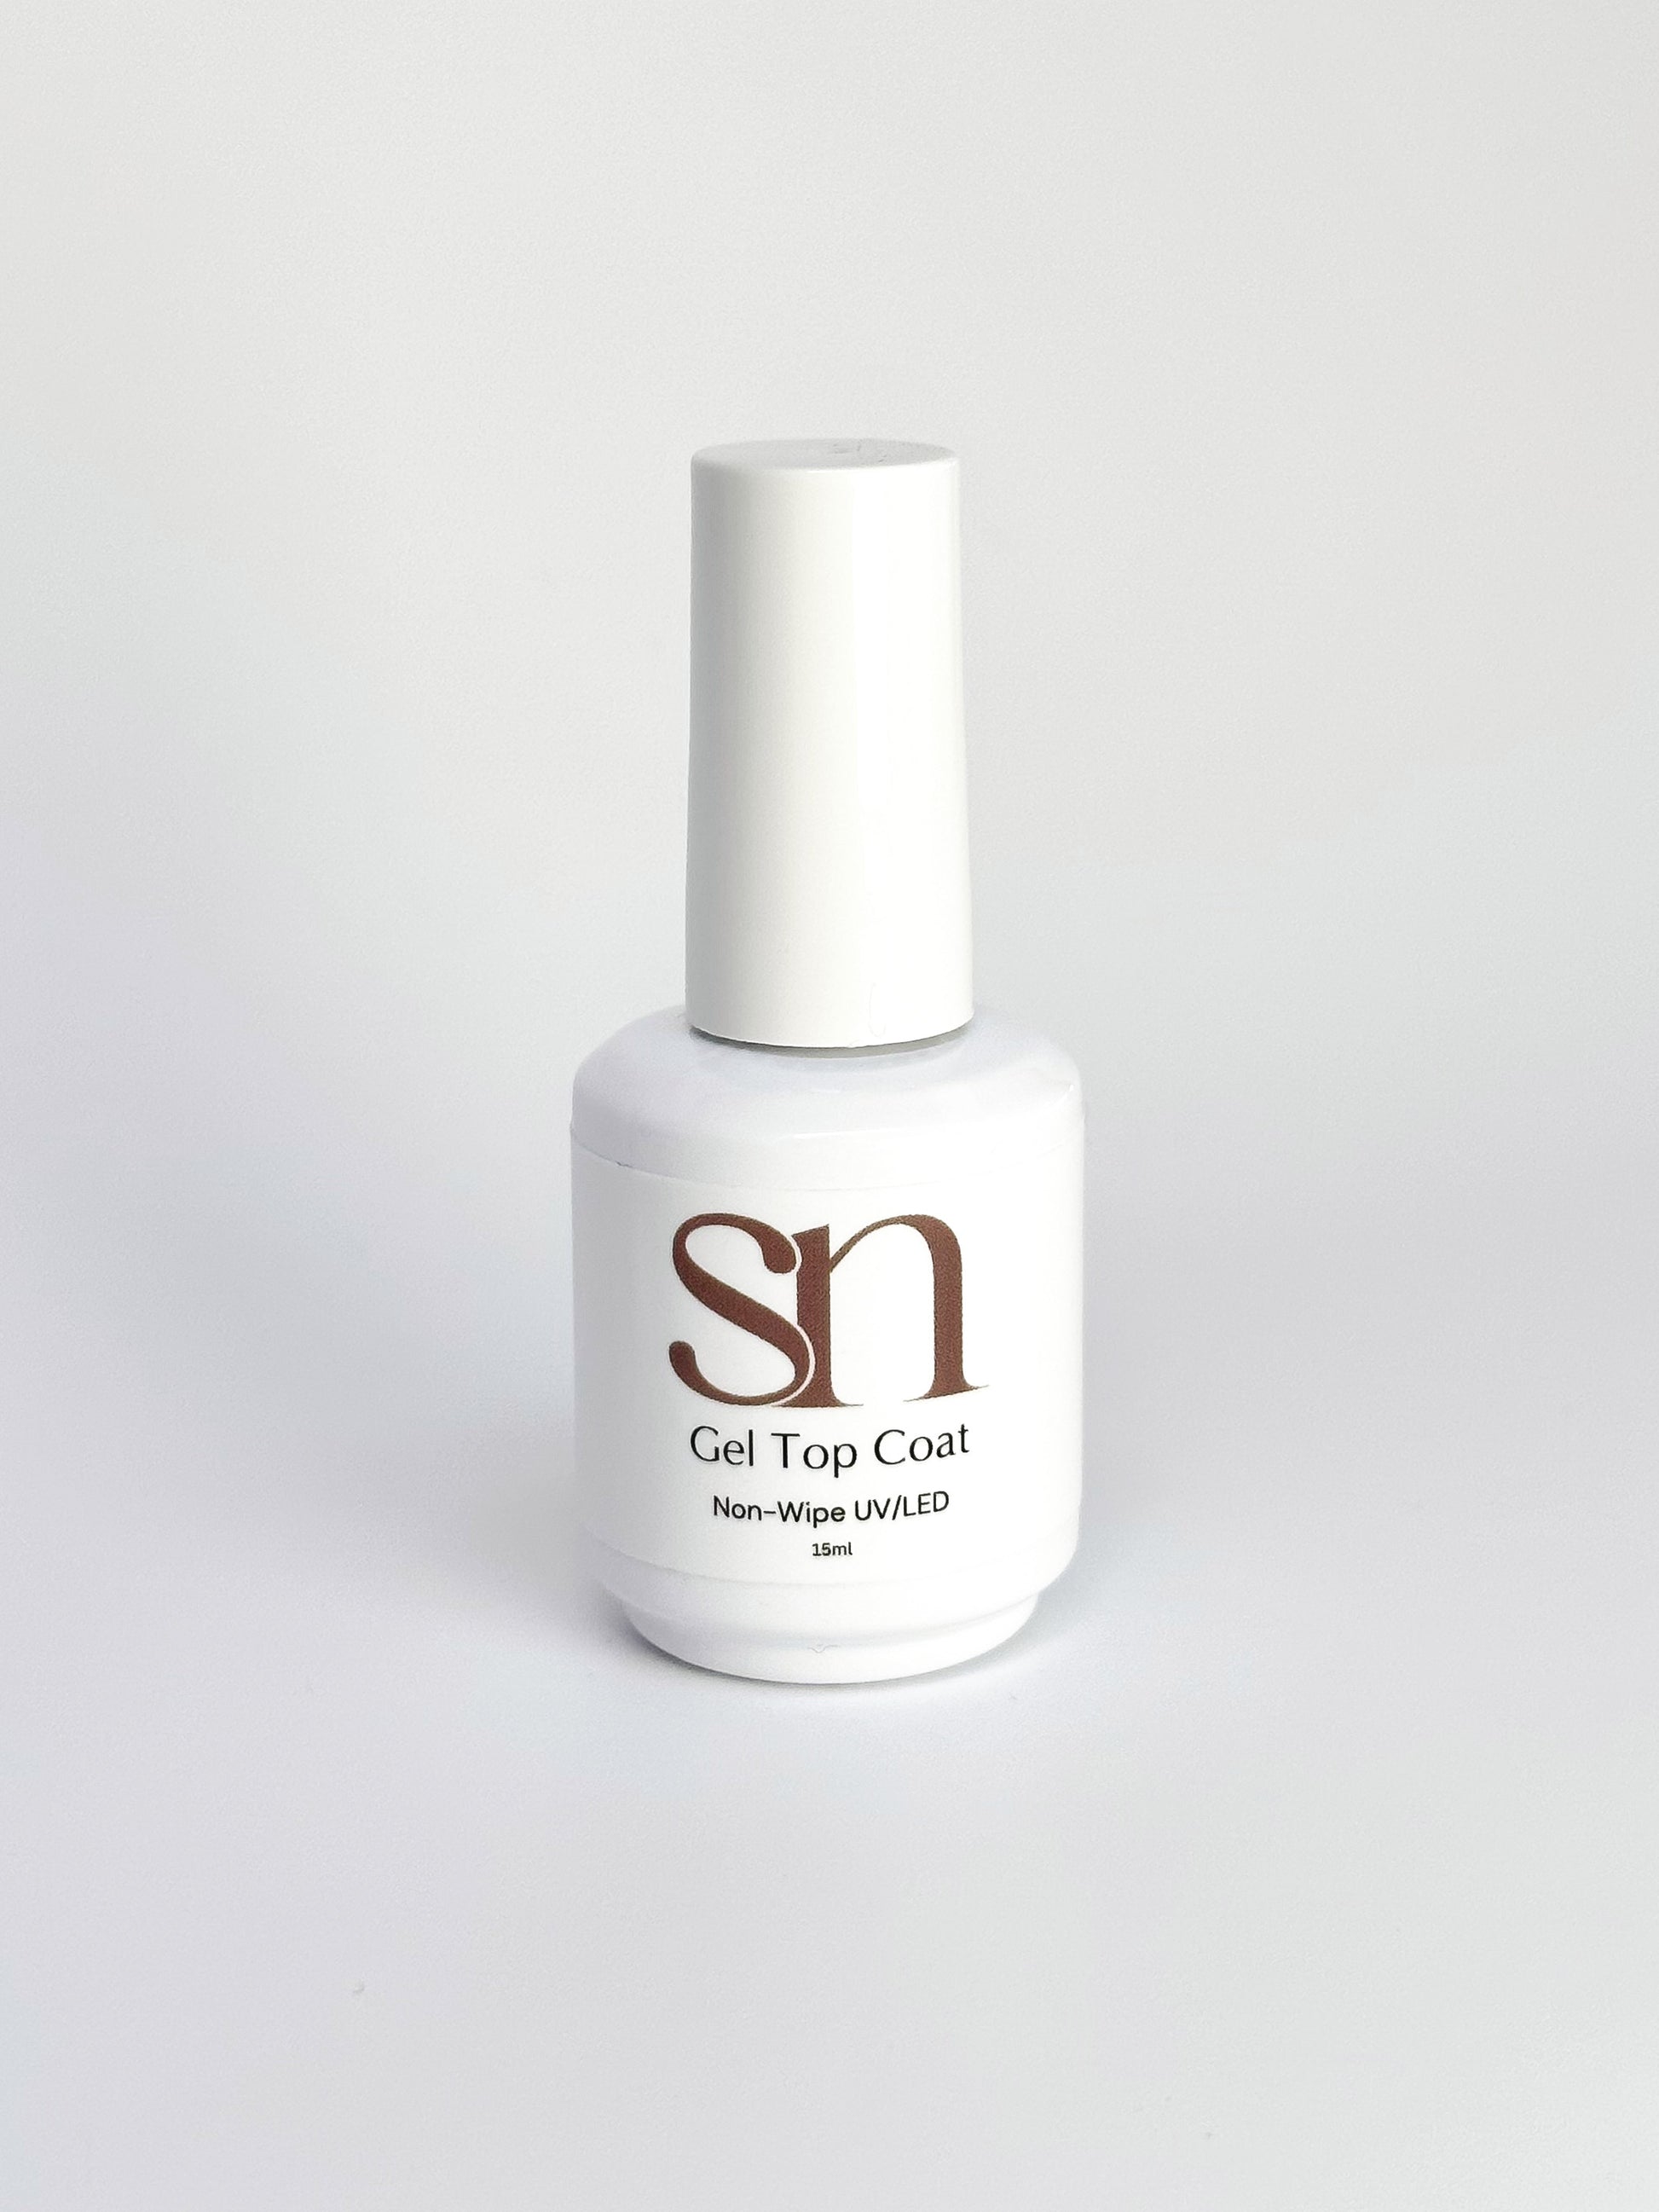
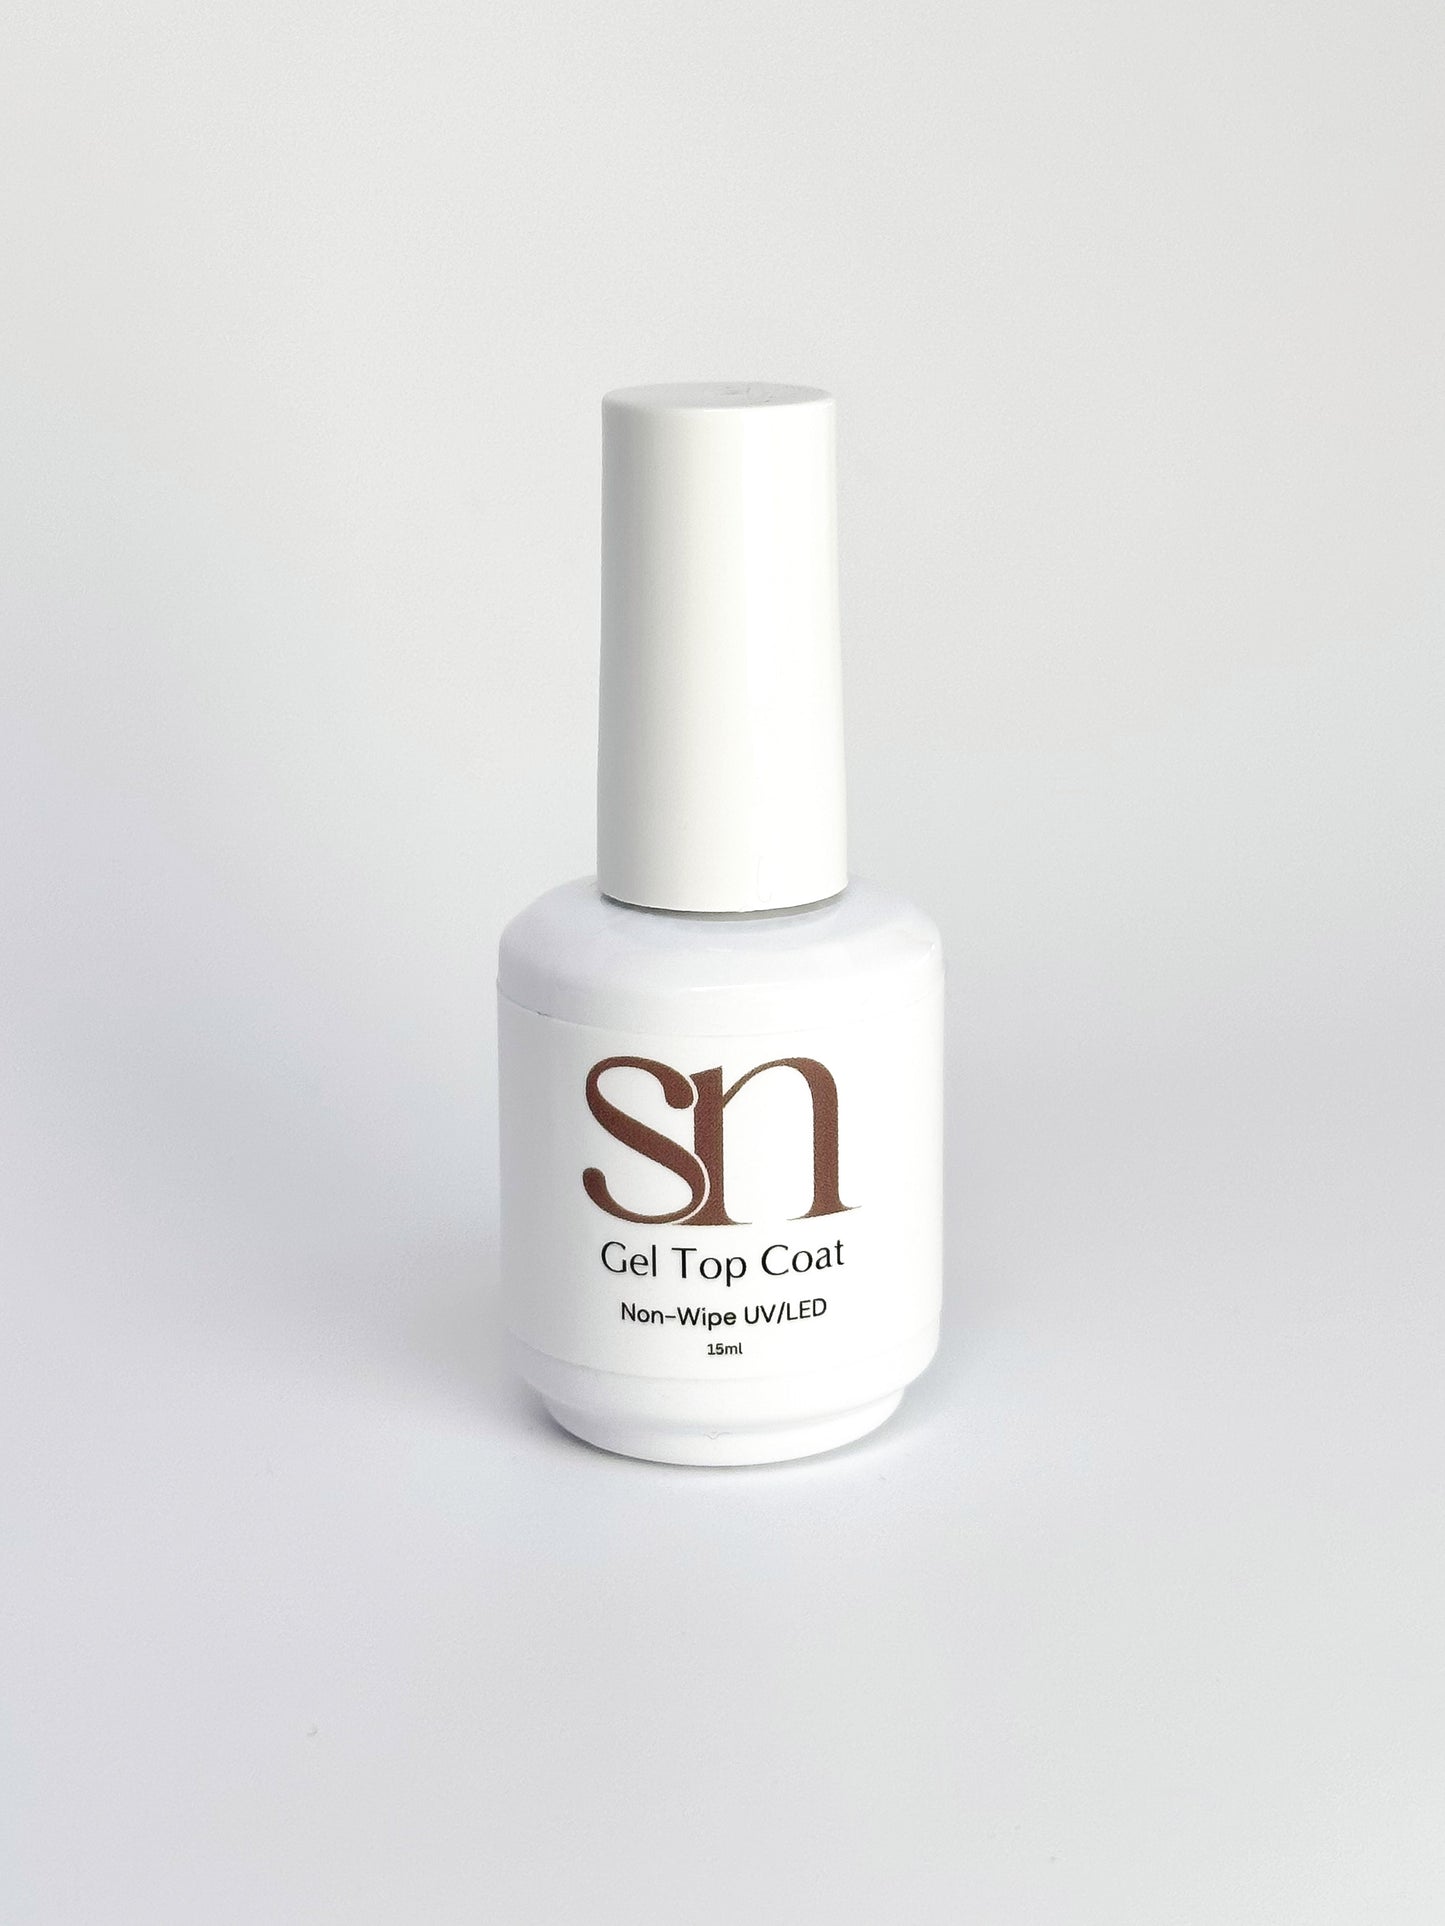
1 x Gel Top Coat
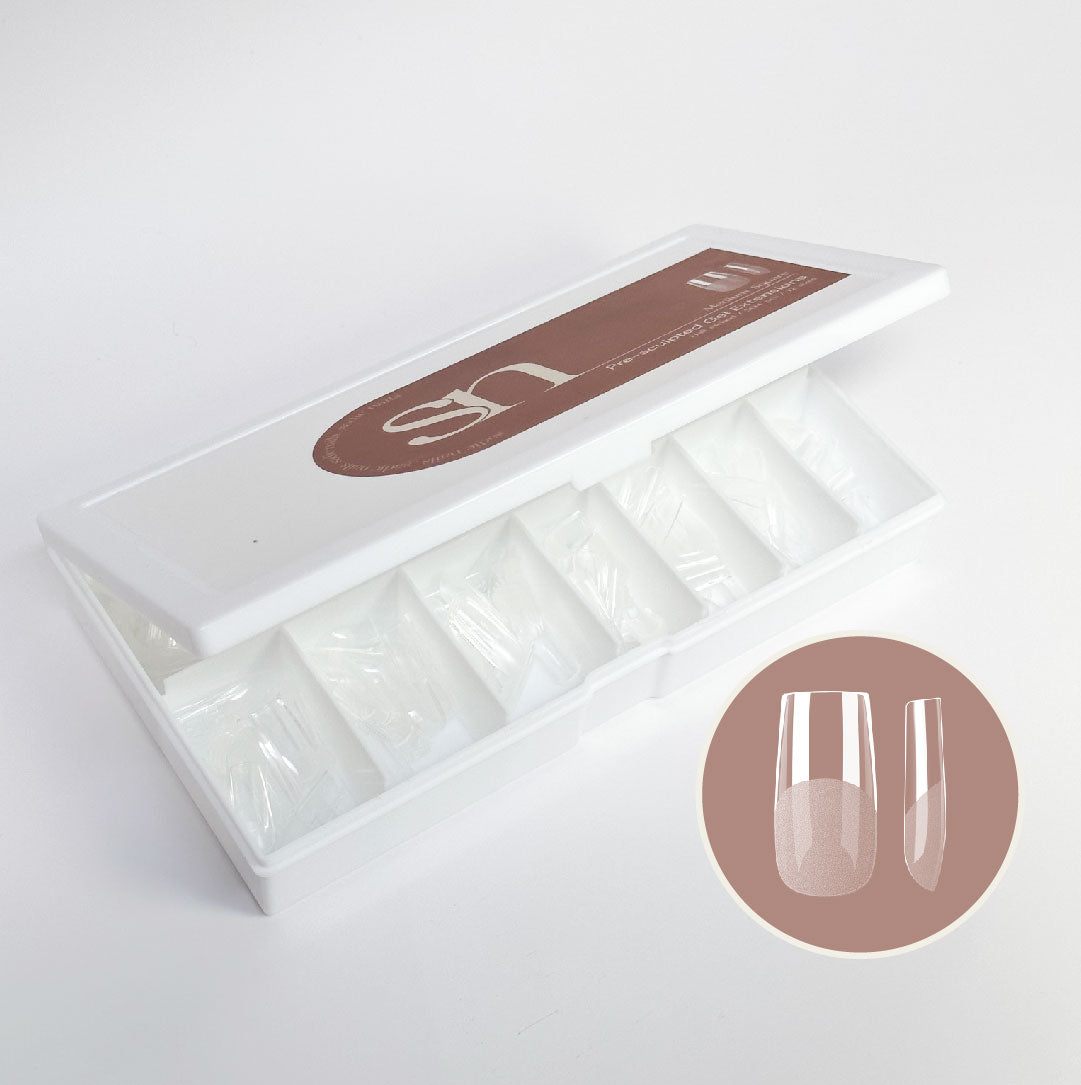
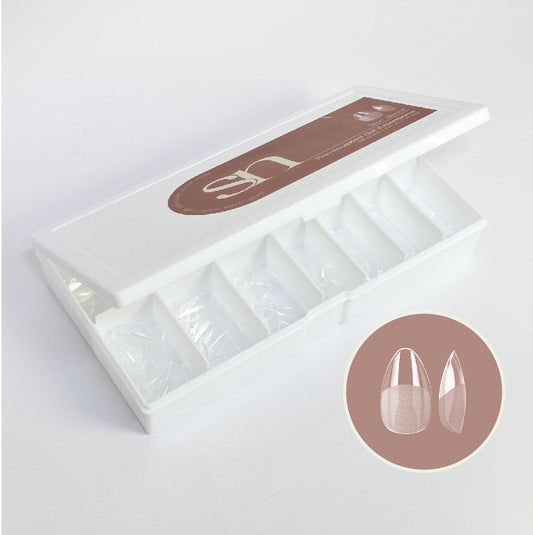
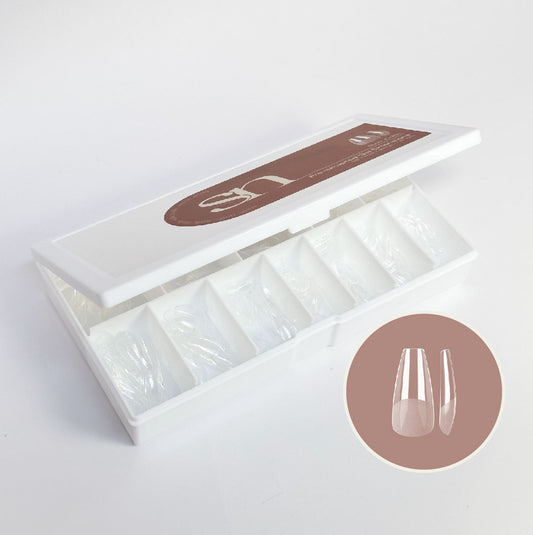
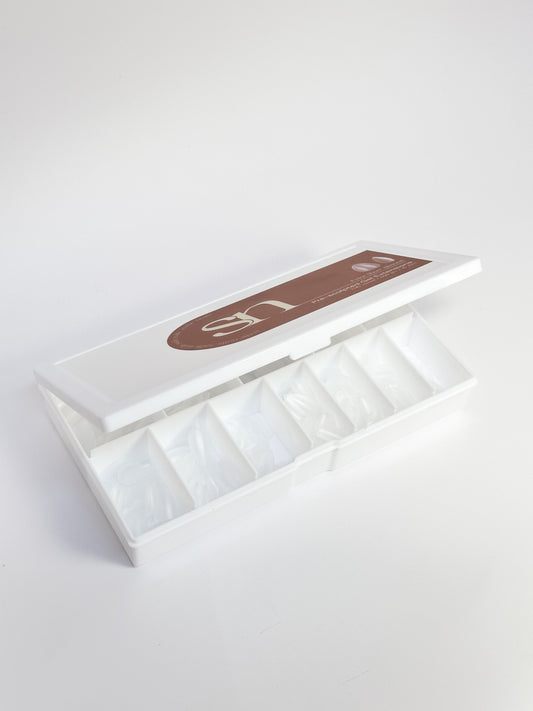
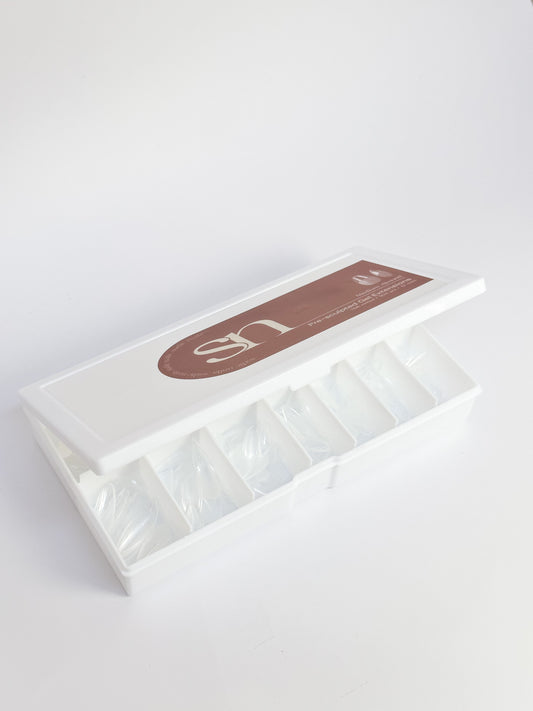
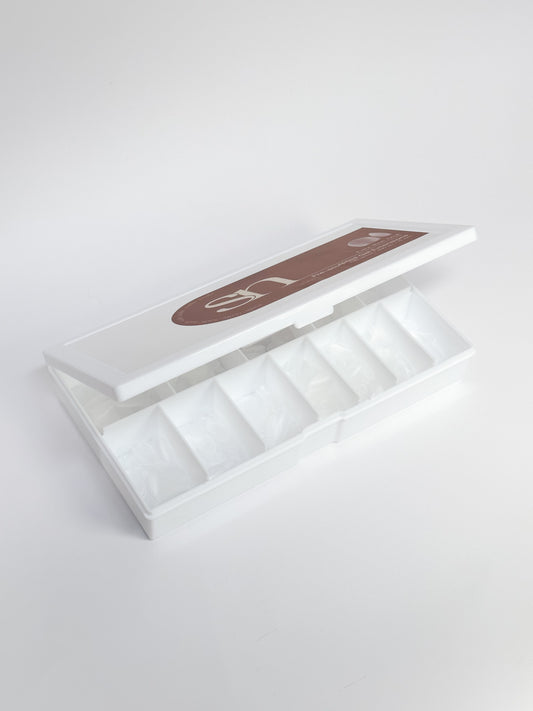
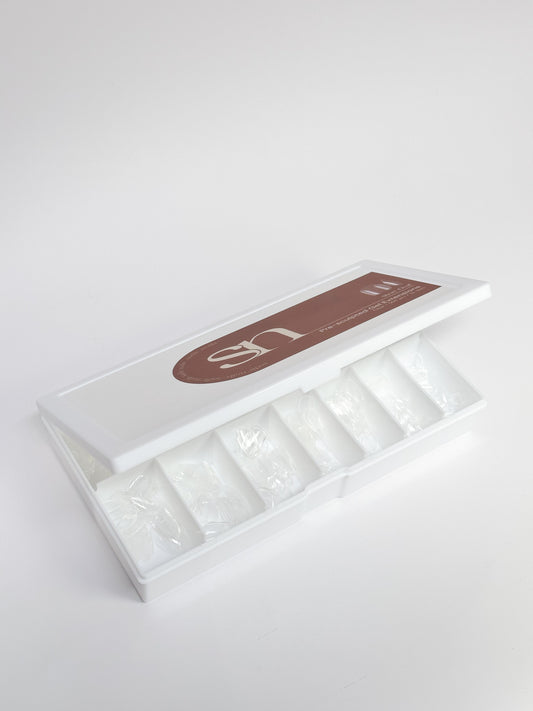
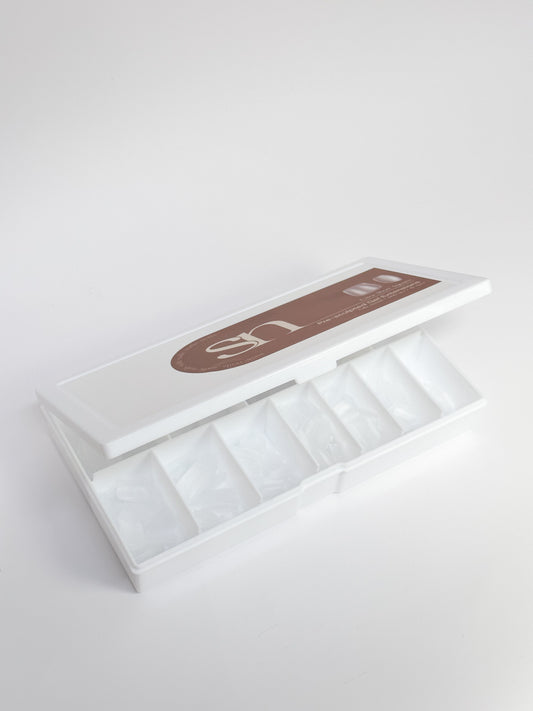
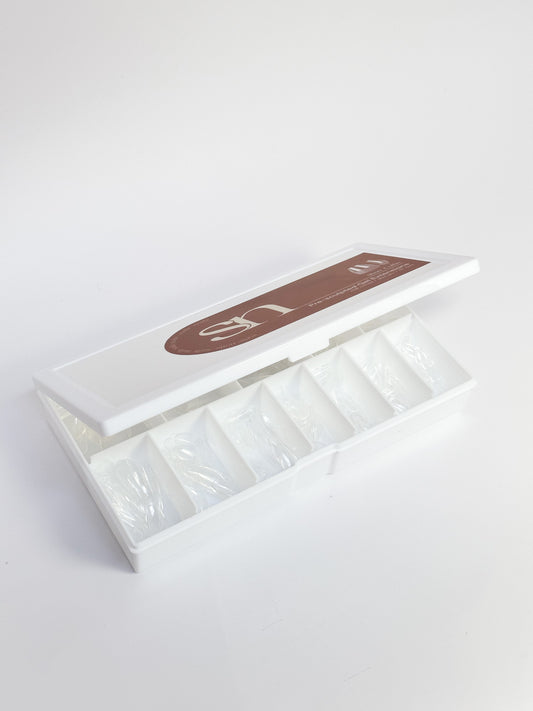
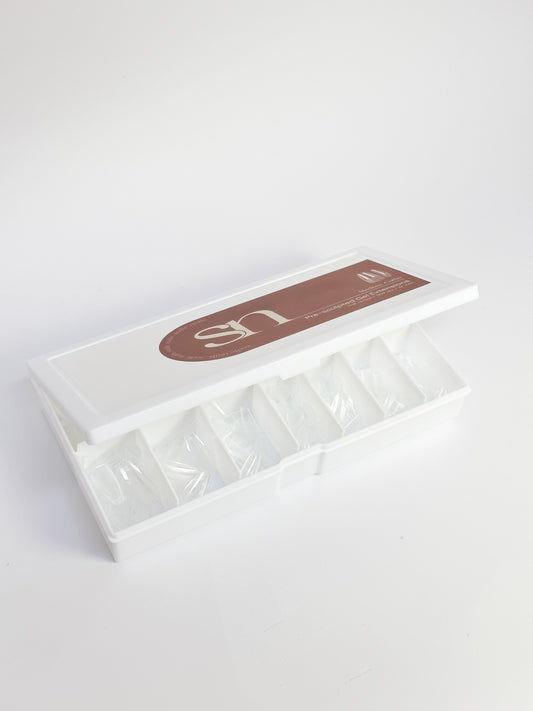
1 x Pre-Scultped Gel Extensions (Style of Choice)
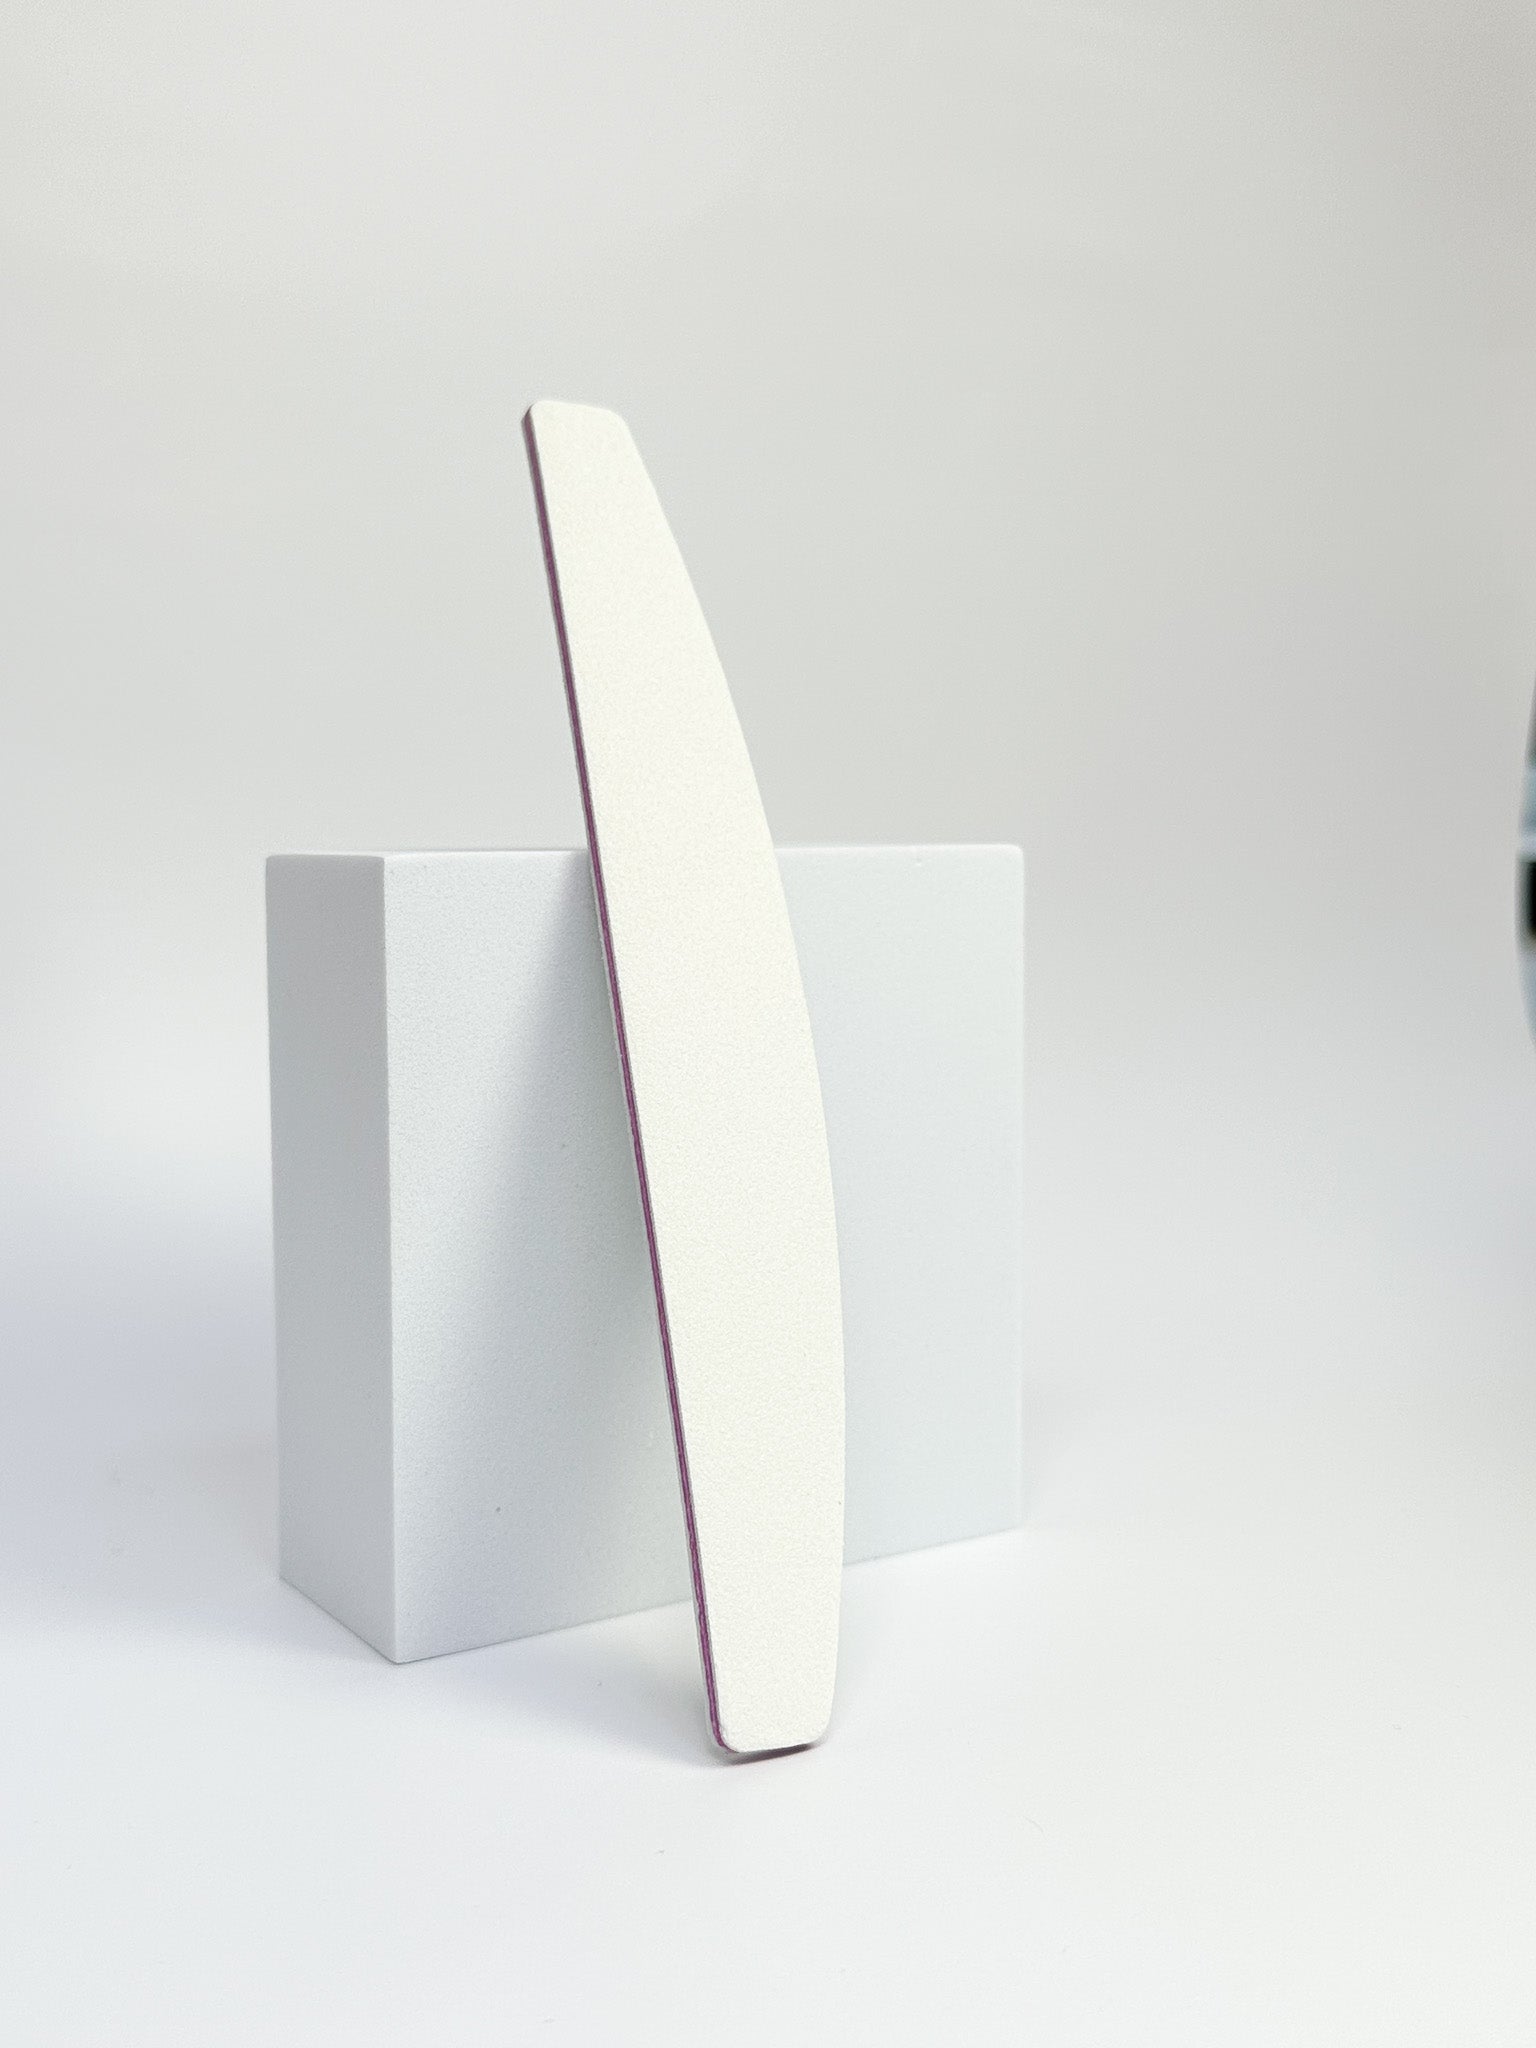
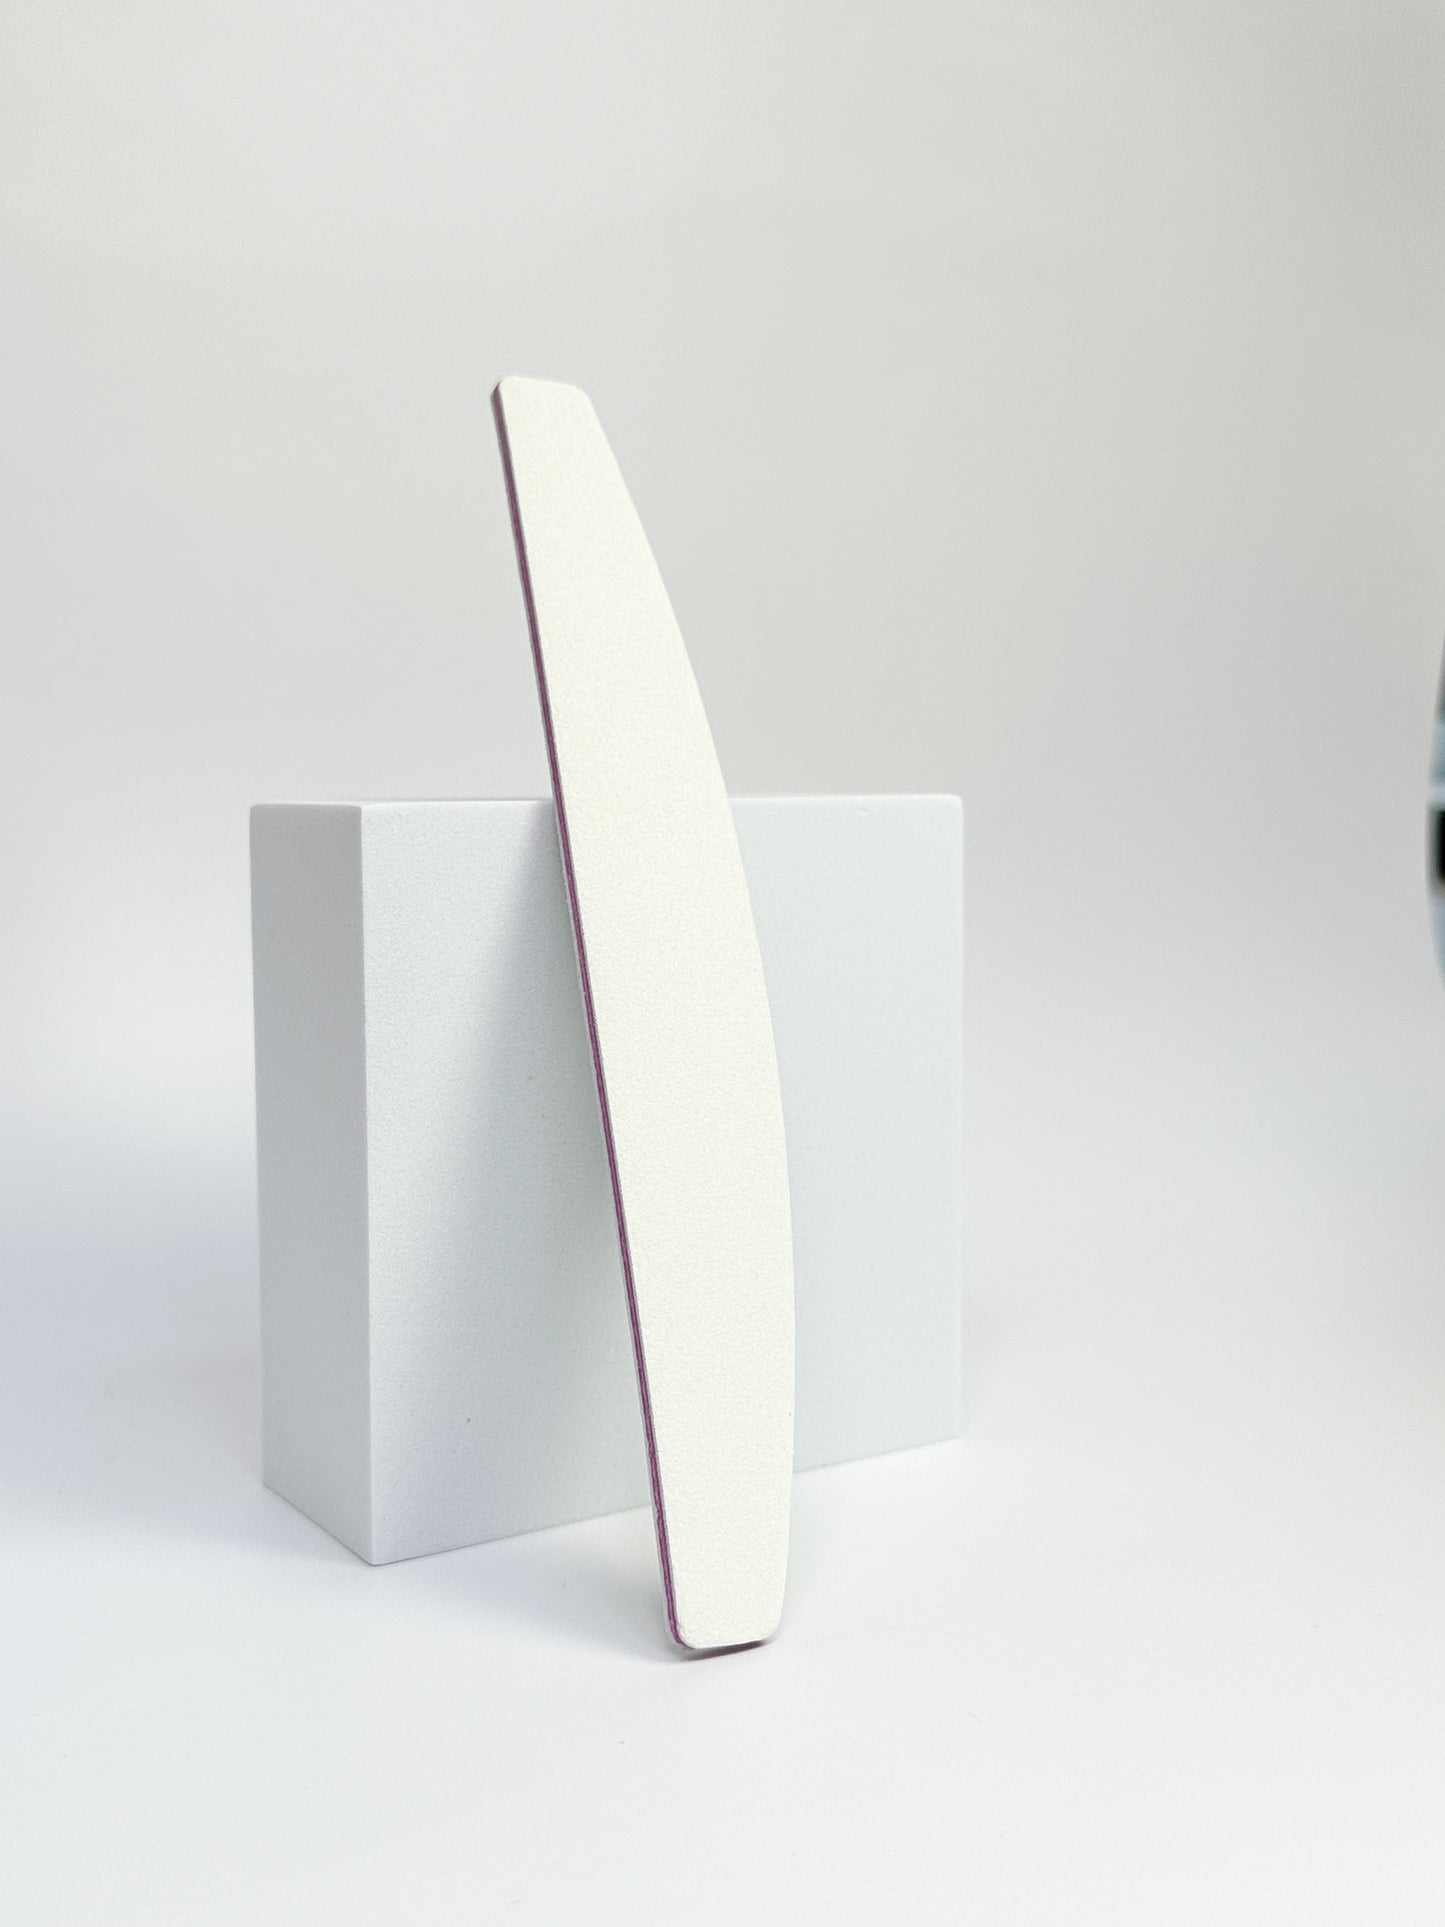
1 x Nail File: 100/180 Grit
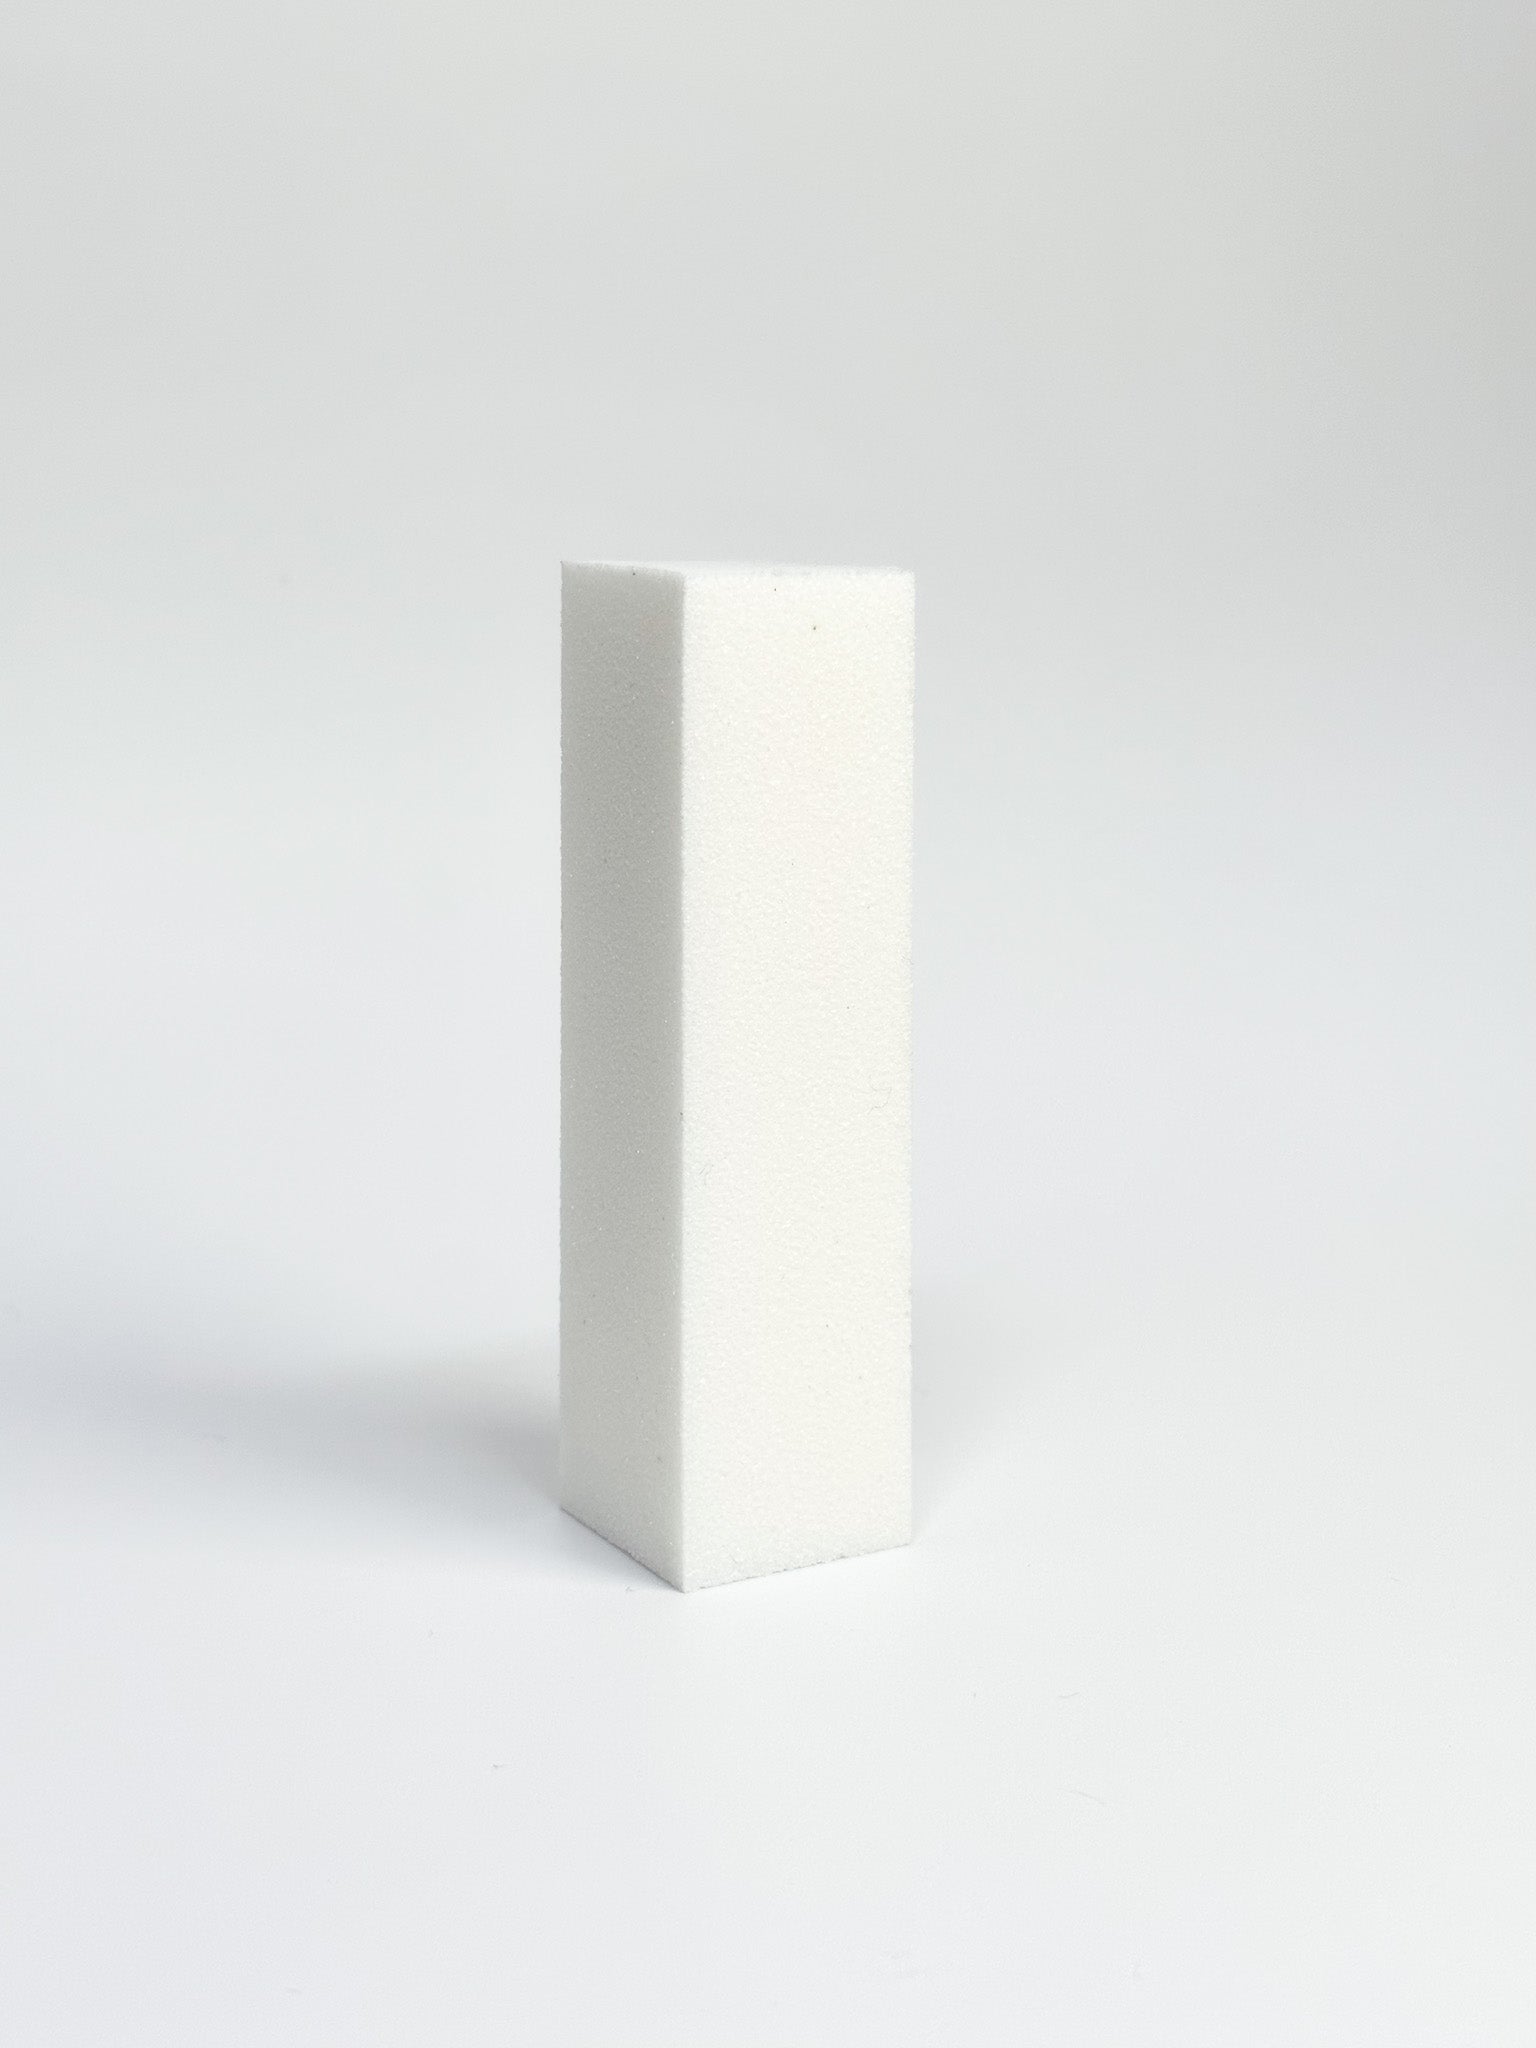
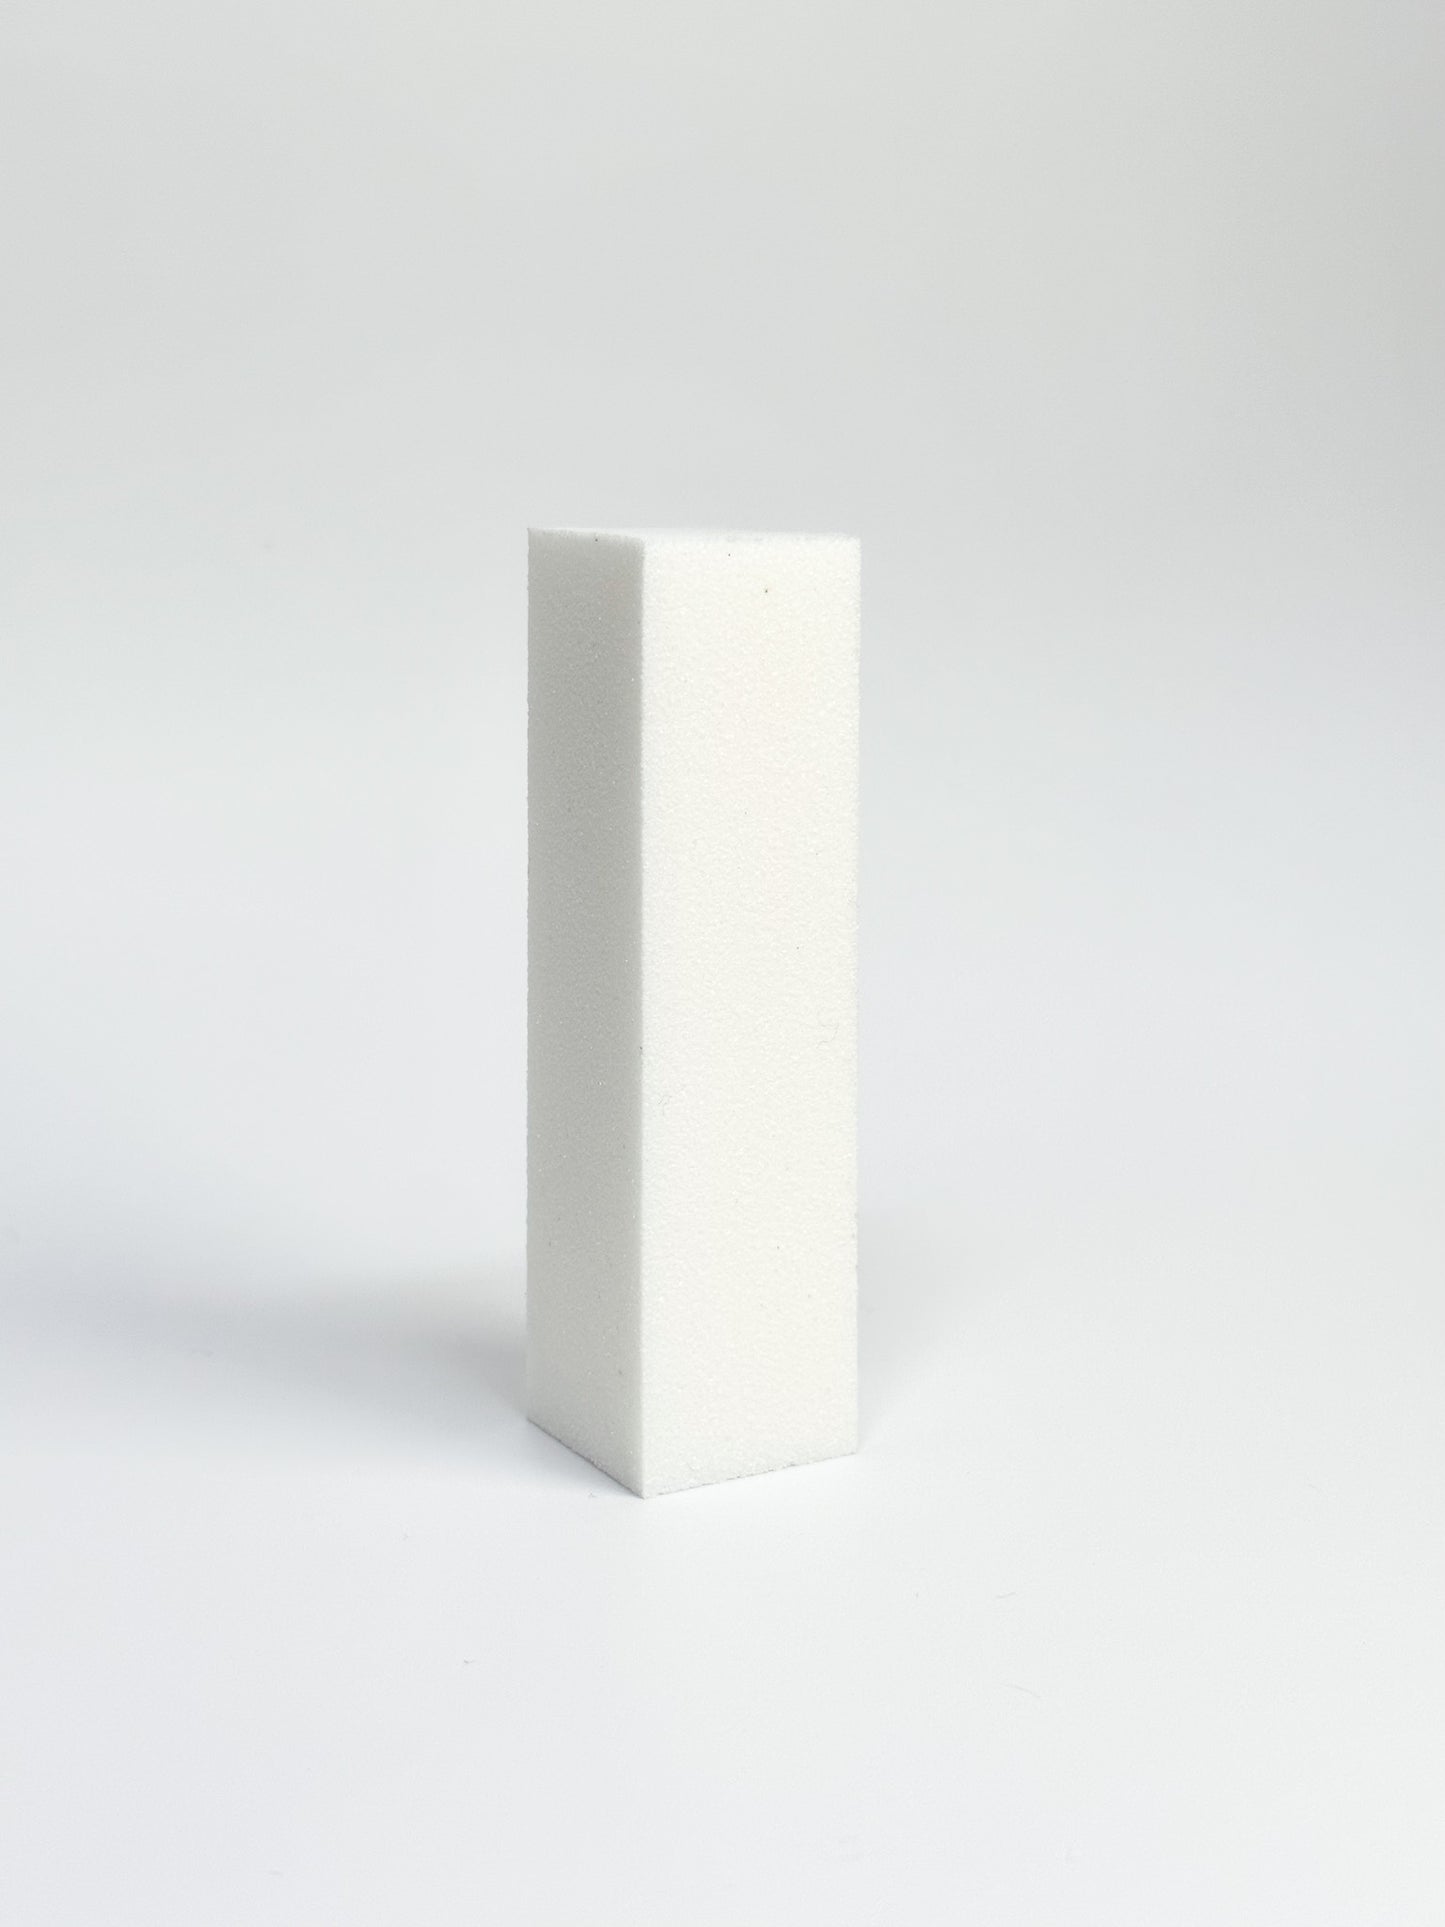
1 x Nail Buffer Block
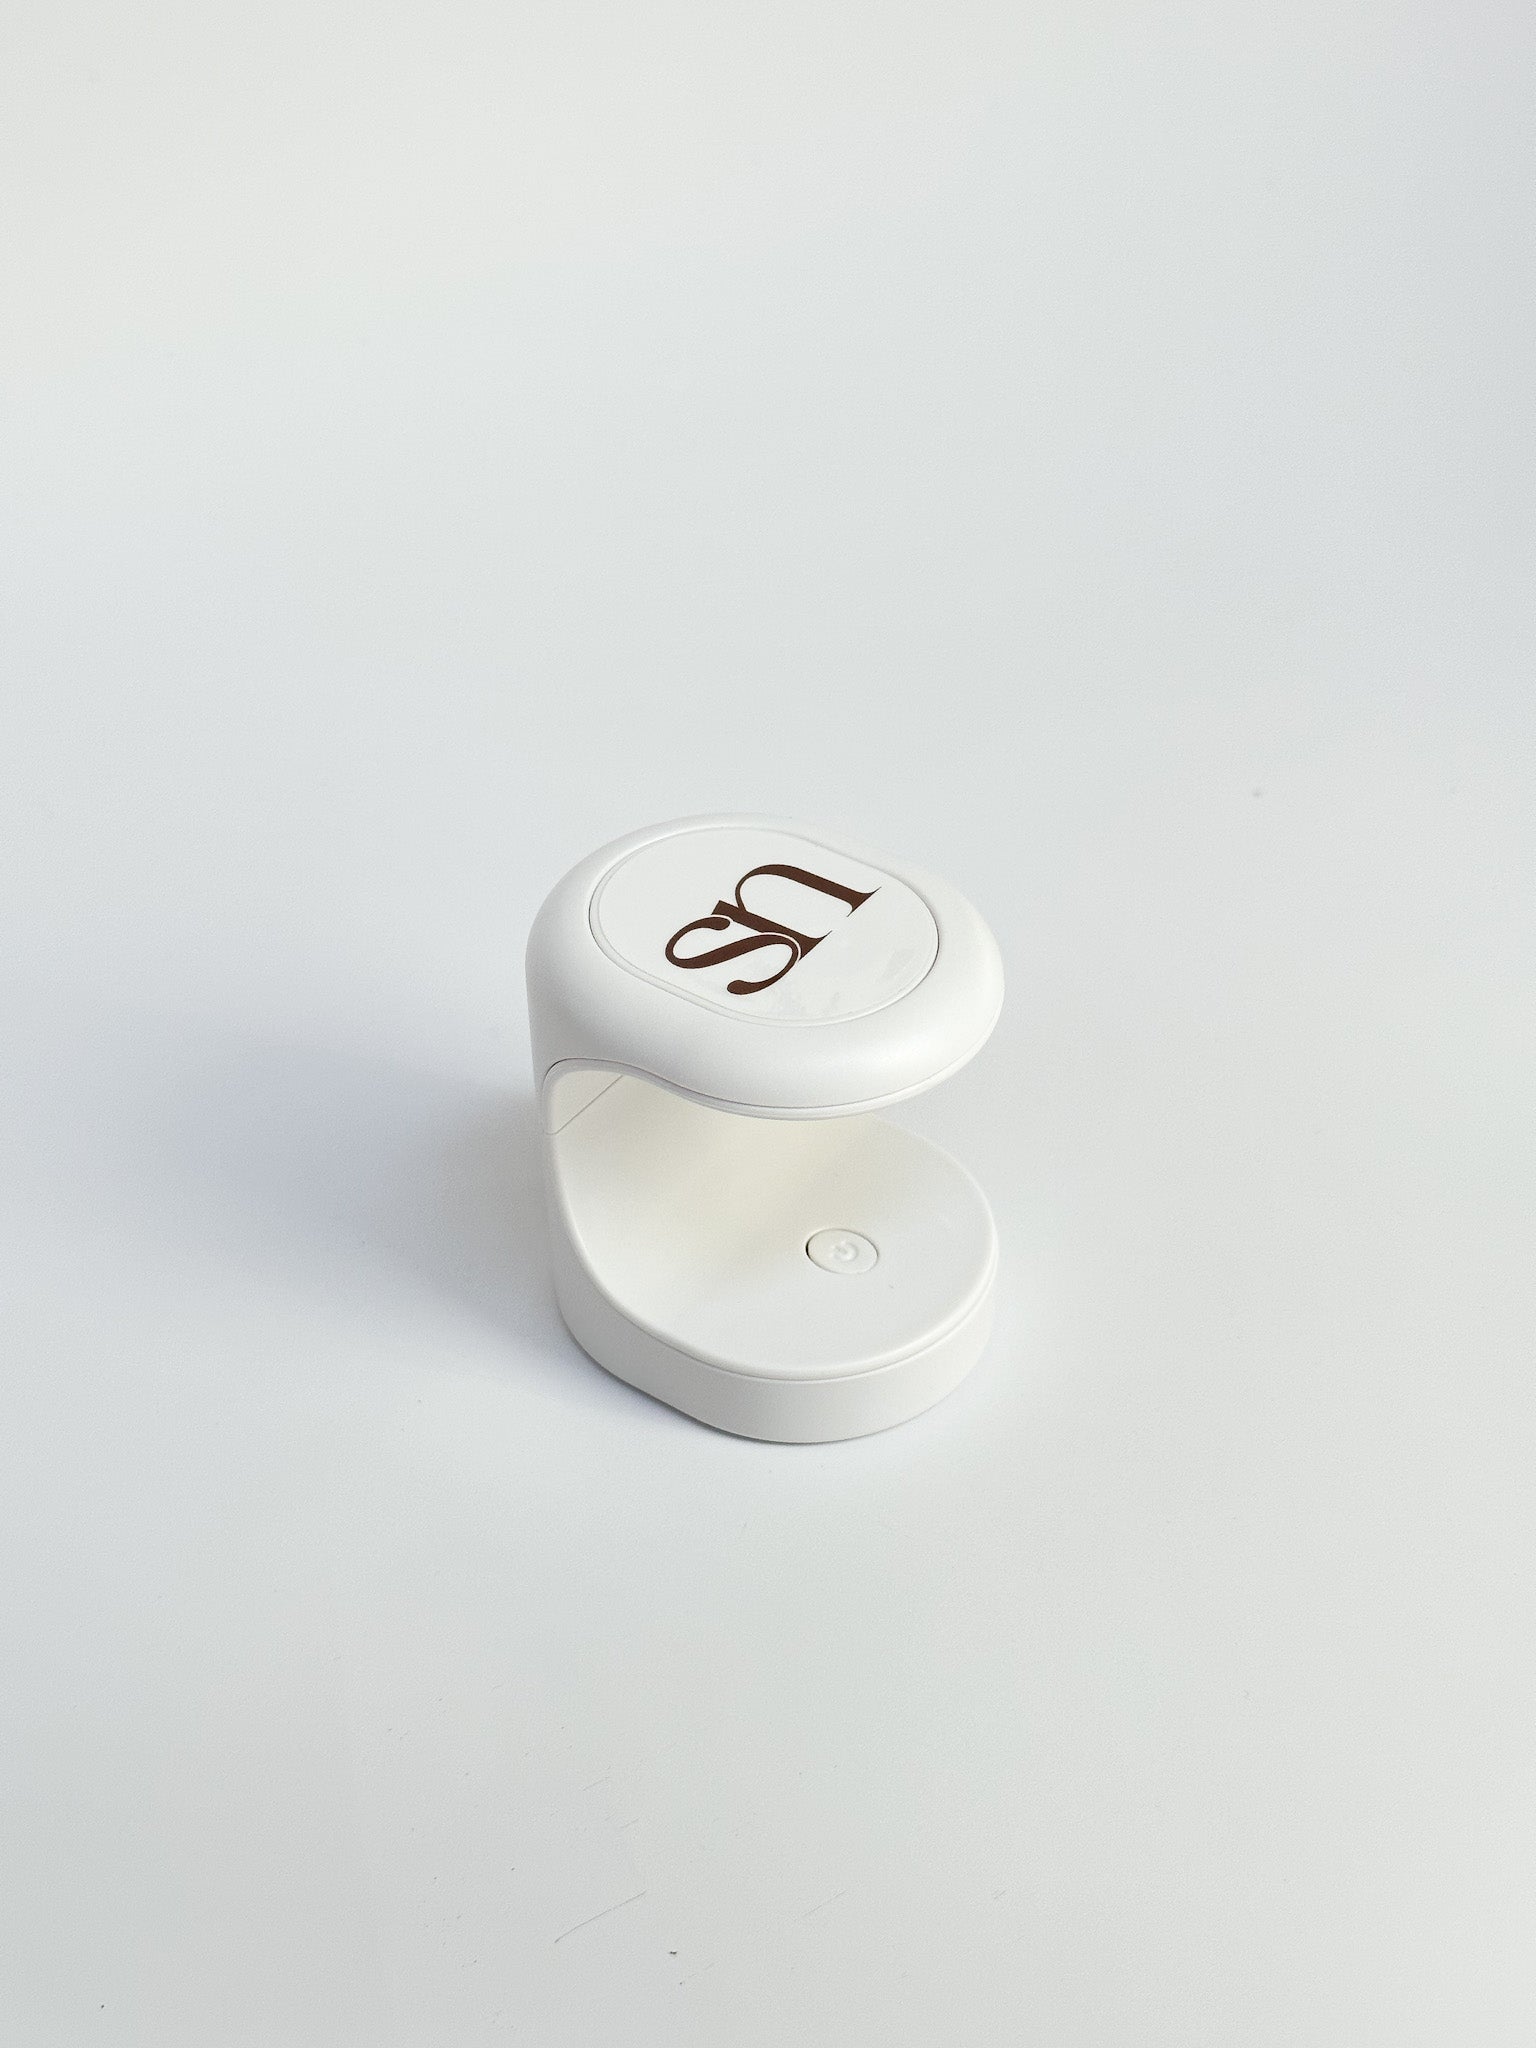
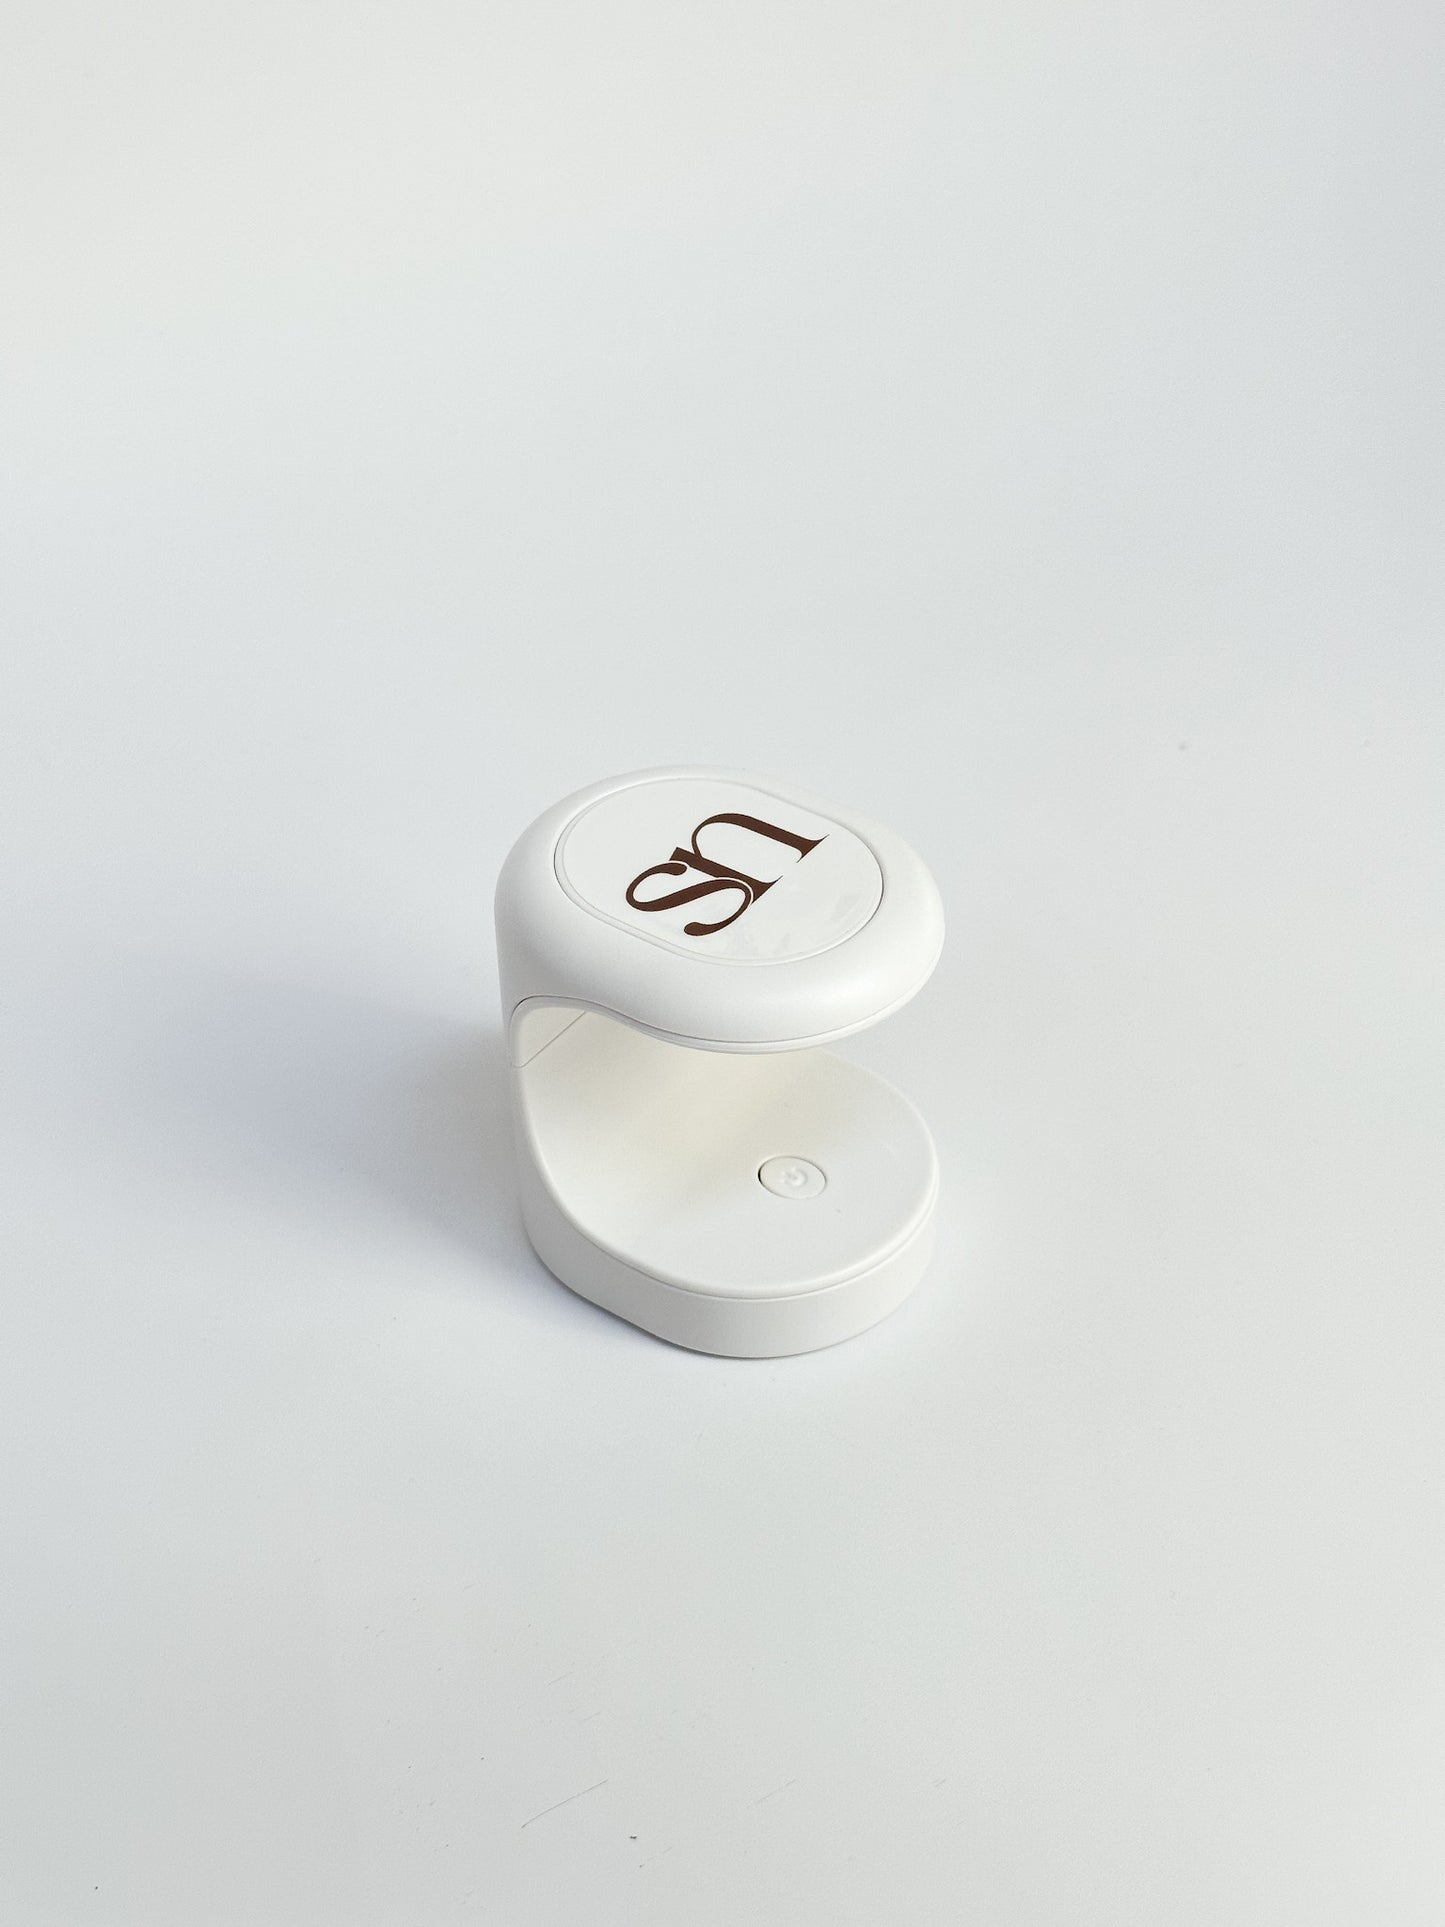
1 x Mini Flash-Curing Lamp
HOW TO USE
HOW TO USE
Step 1: Nail Prep
Trim or file your natural nails to ensure they fit nicely within the shape of your nail extensions. Use the buffer block to smooth out any rough edges and to buff the surface of your natural nail. Use a clean cloth or paper towel to wipe off excess dust.
Step 2: Sizing your nail extensions
Measure out the correct size for each nail by fitting the extension over your natural nail, ensuring that either edge of the extension meet the sides of your natural nail.
Step 3: Applying the extensions
Apply a thin layer of Dehydrator and followed with a thin layer of Primer. Then, apply a thin coat of Gel Glue to each finger on one hand and cure for 60 seconds. Next, apply a bead of Gel Glue to the underside of the Gel Extension and apply the extension to the natural nail on a 45 degree angle, lining it up about 1mm away from the cuticle, then pressing down slowly until the glue spreads to cover the entire natural nail. Hold in place and cure under the flash-curing lamp for 10-15 seconds. Repeat on each finger.
Cure the entire hand under the full-size UV/LED lamp for 60 seconds. Repeat on the other hand.
INGREDIENTS
INGREDIENTS
Dehydrator
Ethyl Acetate, Calcium Pantothenate, Riboavin,
Primer
Ccyclohexyl, Methacrylate.Ethylhexyl, Methacrylate, Copolymer, Acrylates/va Copolymer, Ethylhexyl Dimethyl Paba.
Gel Glue
Acrylates Copolymer, Pentaerythritol tetra (3-mercaptopropionate), Trimethylbenzoyl Diphenylphosphine Oxide, Dimethicone.
Gel Top Coat
Acrylates Copolymer, Cyclohexyl, Methacrylate/ethylhexyl, Methacrylate Copolymer, Exythlhexyl Dimethyl Paba.
REMOVAL GUIDE
REMOVAL GUIDE
Step 1: Remove some product
For gel polish over natural nails:
File the surface the nails to remove the shine of the nail polish. If desired, trim or file off some of your nail length.
For gel extensions:
Trim off the length of the nail extensions, keeping the length of your natural nails if desired. File the surface of the nails to remove the shine.
Optional: For a shorter soak-off time, file further to remove most of the gel polish.
Step 2: Protect your cuticles
Apply cuticle oil around the cuticles and skin to prevent the skin from drying out from the gel polish remover. Alternatively, you could also use Vaseline. This step is optional highly recommended.
Step 3: Soak-off
Cut your aluminium foil into squares (approx. 8cm x 8cm). Soak 3-4 cotton balls with a generous amount of acetone or gel polish remover. Peel off portions of the soaked cotton, enough to cover the surface of your nail, and place over the nail. Wrap tightly with aluminium foil, and allow to soak for 15-20 minutes.
Step 4: Remove the polish
After soaking, gently scrape off the gel polish. It should come off quite easily without too much pressure. For any stubborn bits, soak for a bit longer until it can be easily removed. After, fuff the nail plate with the buffer block.
Wash your hands. Apply cuticle oil after reapplying gel extensions or polish.
Share
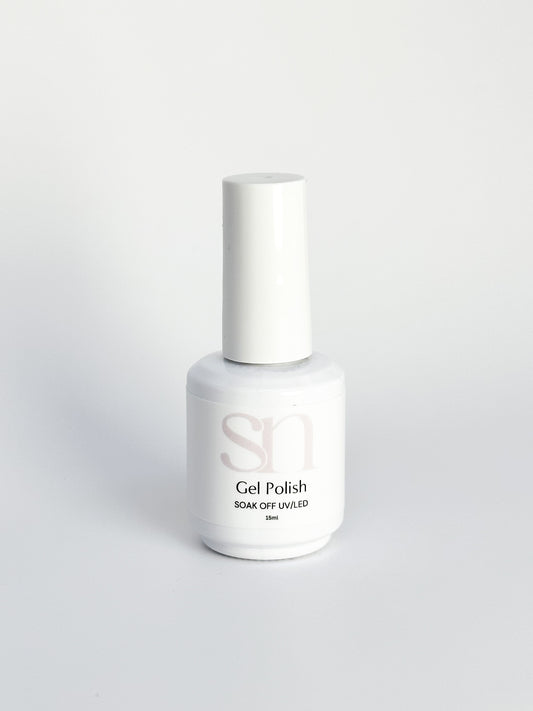
OUR GEL POLISH RANGE
-
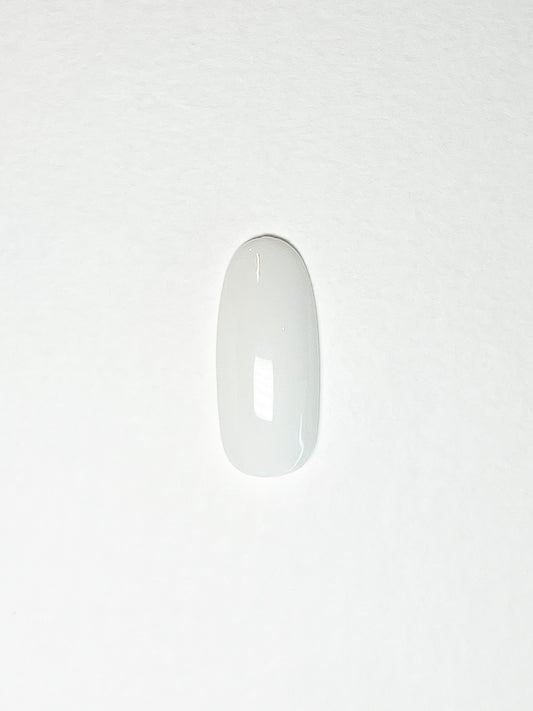
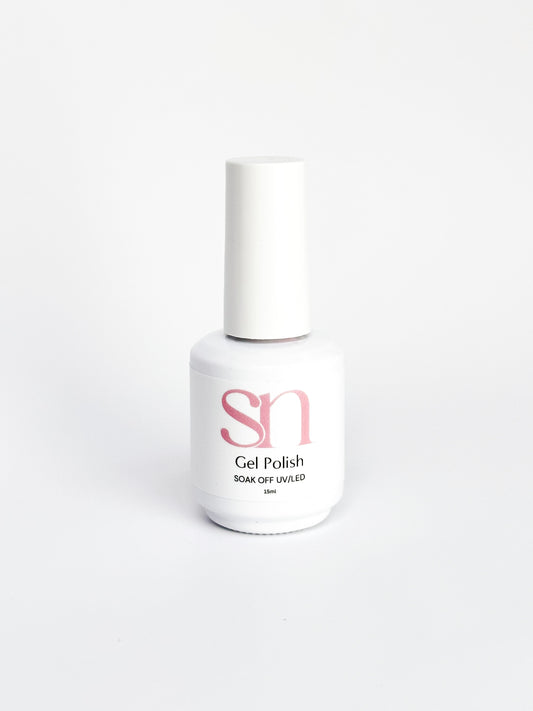
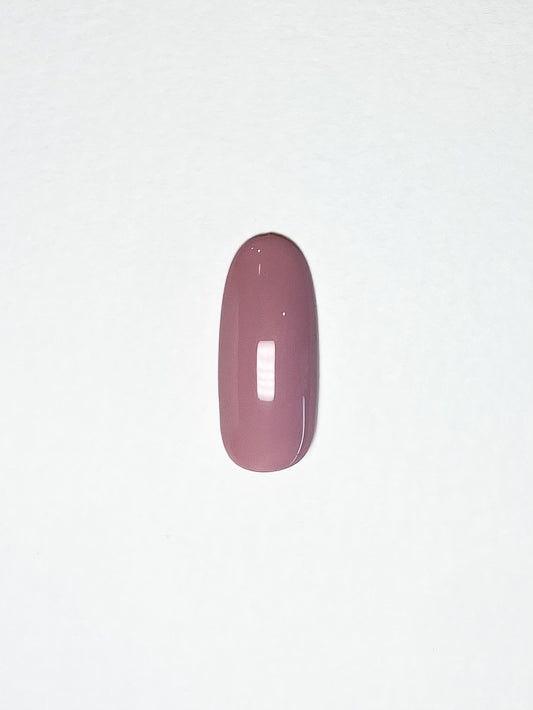
Fairy Floss
Regular price $25.00 AUDRegular priceUnit price / per -
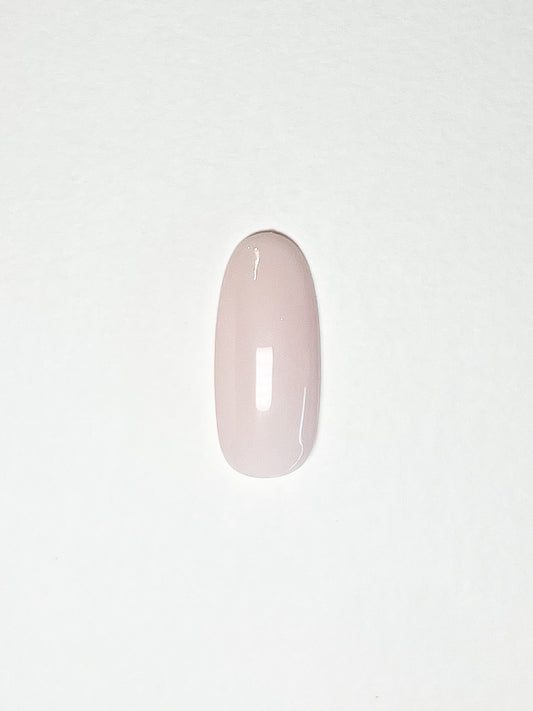
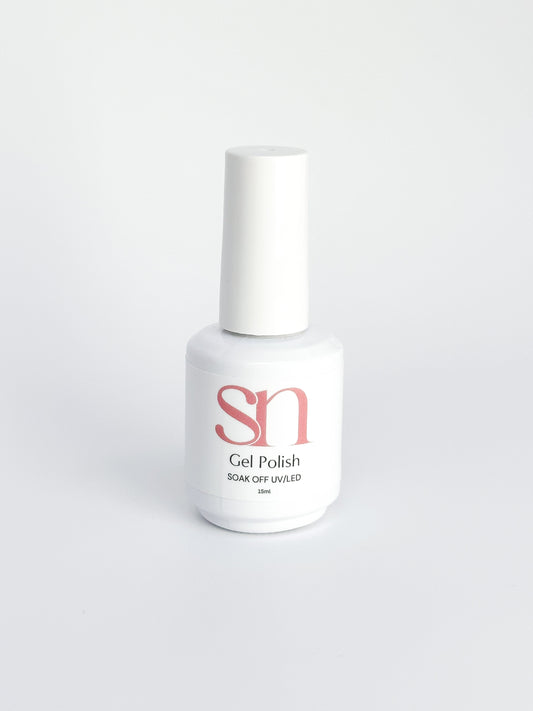
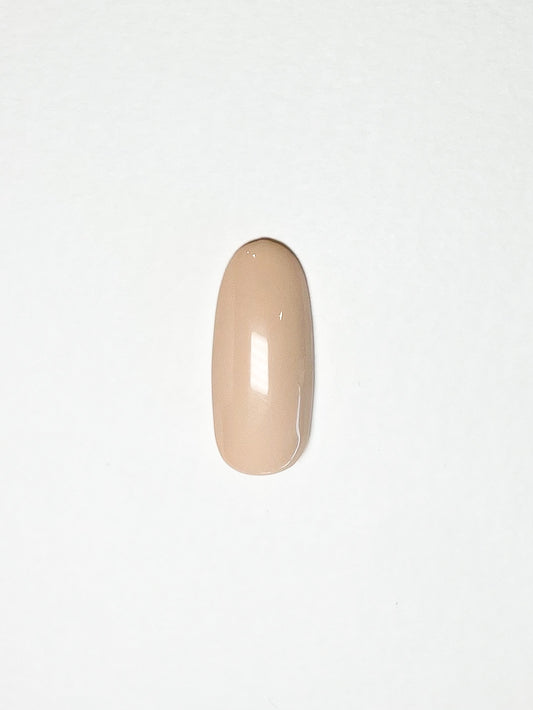
Baby Blush
Regular price $25.00 AUDRegular priceUnit price / per -
Pinky Promise
Regular price $25.00 AUDRegular priceUnit price / per -
Pillow Talk
Regular price $25.00 AUDRegular priceUnit price / per
MAKE IT A KIT AND SAVE UP TO $90
-
Gel Polish Starter Kit
Regular price $70.00 AUDRegular priceUnit price / per -
Gel Polish Ultimate Kit
Regular price $110.00 AUDRegular priceUnit price / per -
Gel-Xtend Ultimate Kit (Short Almond)
Regular price $195.00 AUDRegular priceUnit price / per -
Gel-Xtend Ultimate Kit (Medium Almond)
Regular price $195.00 AUDRegular priceUnit price / per -
Gel-Xtend Ultimate Kit (Short Oval)
Regular price $195.00 AUDRegular priceUnit price / per -
Gel-Xtend Ultimate Kit (Extra Short Almond)
Regular price $195.00 AUDRegular priceUnit price / per -
Gel-Xtend Ultimate Kit (Extra Short Oval)
Regular price $195.00 AUDRegular priceUnit price / per -
Gel-Xtend Starter Kit (Short Almond)
Regular price $150.00 AUDRegular priceUnit price / per -
Gel-Xtend Ultimate Kit (Medium Oval)
Regular price $195.00 AUDRegular priceUnit price / per -
Gel-Xtend Ultimate Kit (Medium Square)
Regular price $195.00 AUDRegular priceUnit price / per -
Gel-Xtend Ultimate Kit (Short Square)
Regular price $195.00 AUDRegular priceUnit price / per -
Gel-Xtend Ultimate Kit (Extra Short Square)
Regular price $195.00 AUDRegular priceUnit price / per -
Gel-Xtend Ultimate Kit (Short Coffin)
Regular price $195.00 AUDRegular priceUnit price / per -
Gel-Xtend Starter Kit (Extra-Short Almond)
Regular price $150.00 AUDRegular priceUnit price / per -
Gel-Xtend Starter Kit (Medium Almond)
Regular price $150.00 AUDRegular priceUnit price / per -
Gel-Xtend Starter Kit (Extra-Short Oval)
Regular price $150.00 AUDRegular priceUnit price / per -
Gel-Xtend Starter Kit (Short Oval)
Regular price $150.00 AUDRegular priceUnit price / per -
Gel-Xtend Starter Kit (Medium Oval)
Regular price $150.00 AUDRegular priceUnit price / per -
Gel-Xtend Starter Kit (Extra-Short Square)
Regular price $150.00 AUDRegular priceUnit price / per -
Gel-Xtend Starter Kit (Short Square)
Regular price $150.00 AUDRegular priceUnit price / per -
Gel-Xtend Starter Kit (Medium Square)
Regular price $150.00 AUDRegular priceUnit price / per -
Gel-Xtend Starter Kit (Short Coffin)
Regular price $150.00 AUDRegular priceUnit price / per -
Gel-Xtend Starter Kit (Medium Coffin)
Regular price $150.00 AUDRegular priceUnit price / per -
Gel-Xtend Ultimate Kit (Medium Coffin)
Regular price $195.00 AUDRegular priceUnit price / per

